TRAVELERS NOTEBOOK: MY WAY
Hello dear friends,
In this post I would like to share my TN experience with you. I started to use a traveler's notebook to document my past trips. There are several type of TN and it took time to find the one, which works good for me.
My first traveler's notebook
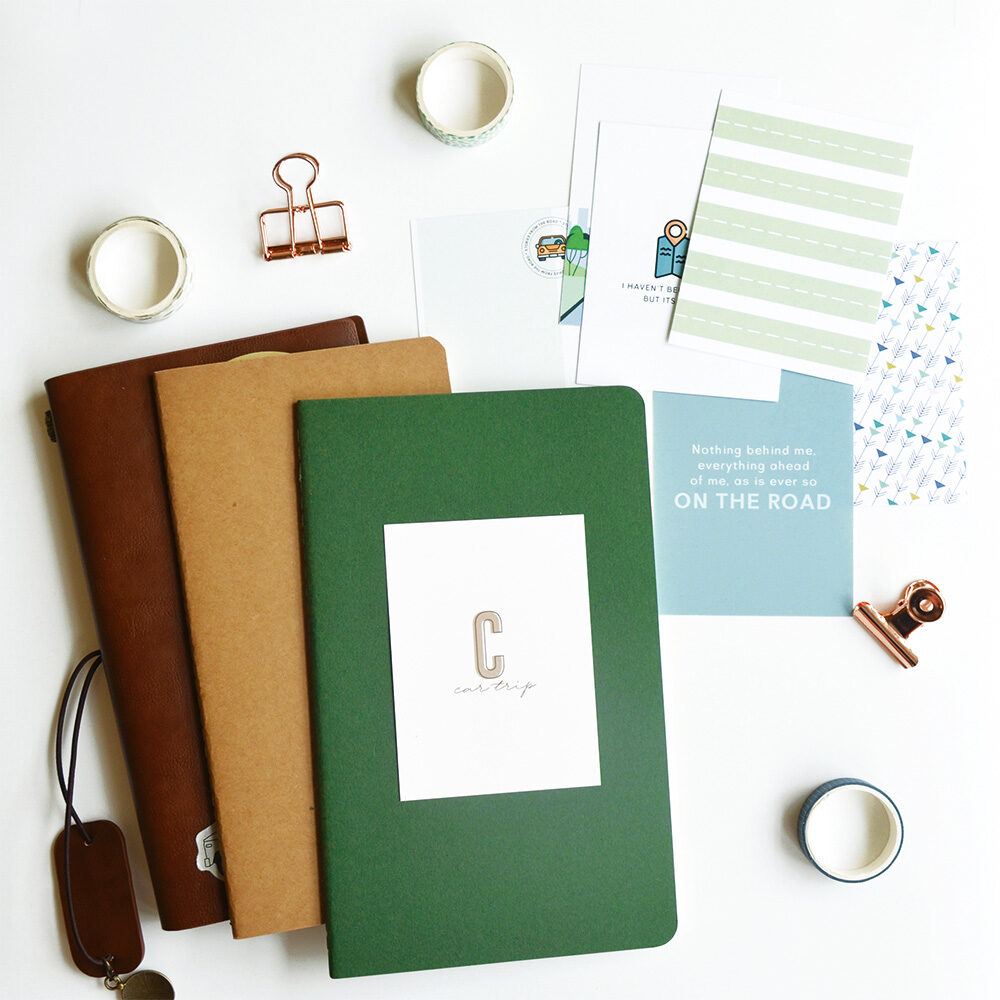
I created my first TN in 2022. I chose the standart TN refill with plain pages to document our weekend trip to Bavaria. And I don’t think I will ever use this type of TN again. At least for documenting my travel memories. Here are the reasons:
1. Low space. A lot of tutorials recommend to keep your TN in a quick and easy way. But what if you like telling long stories and don’t want to limit yourself with the numbers of pages? Of course it’s possible to add some extra pages, using washi tapes and patterned paper, but it can make your TN too thick (as it happened in my case). It’s not very convenient to use and store it, and this kind of TN doesn’t look very aesthetically.
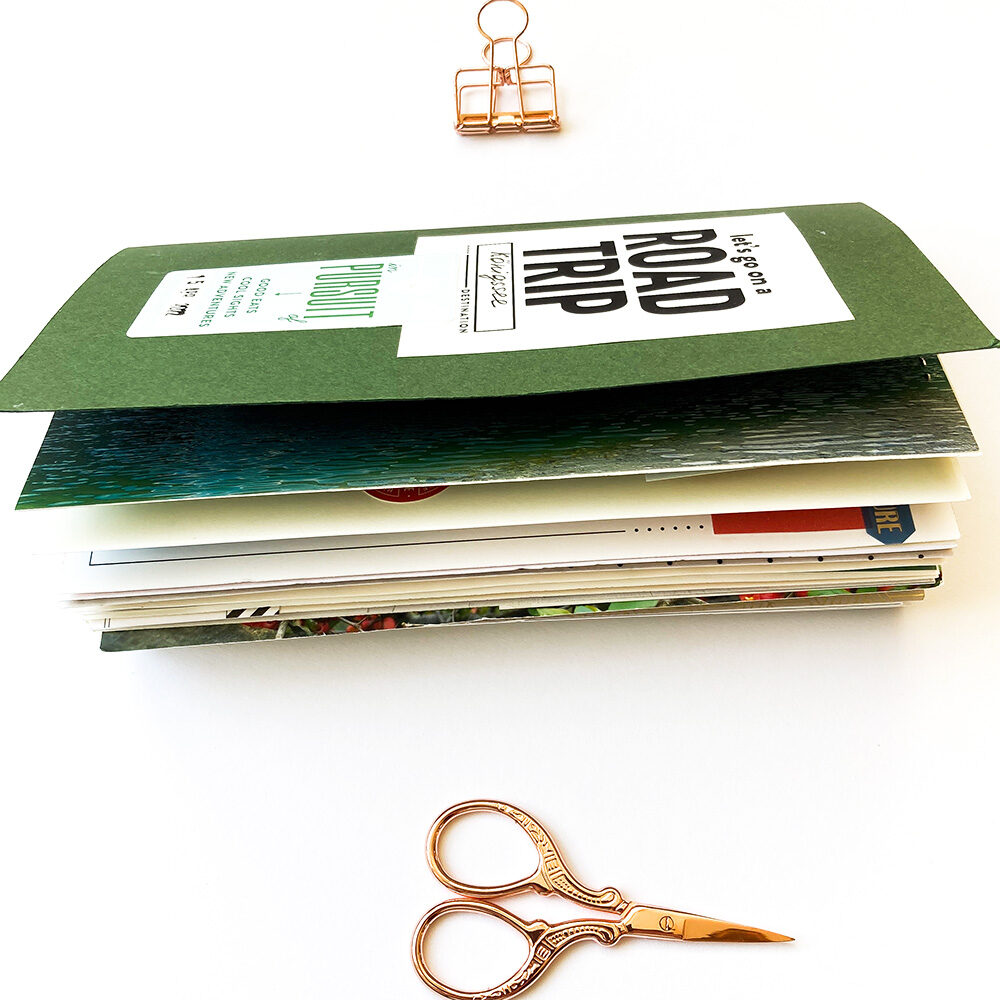
- It’s not the best way for adding the layouts from patterned papers to your TN. I don’t recommend to glue the plain page with the decorative paper, because thin paper may wrinkle. The better way is to use the washi tape. But if you want to have every spread with the patterned paper on the one side I truly recommend to choose a semi-finished TN, f.e. from Studio Calico.
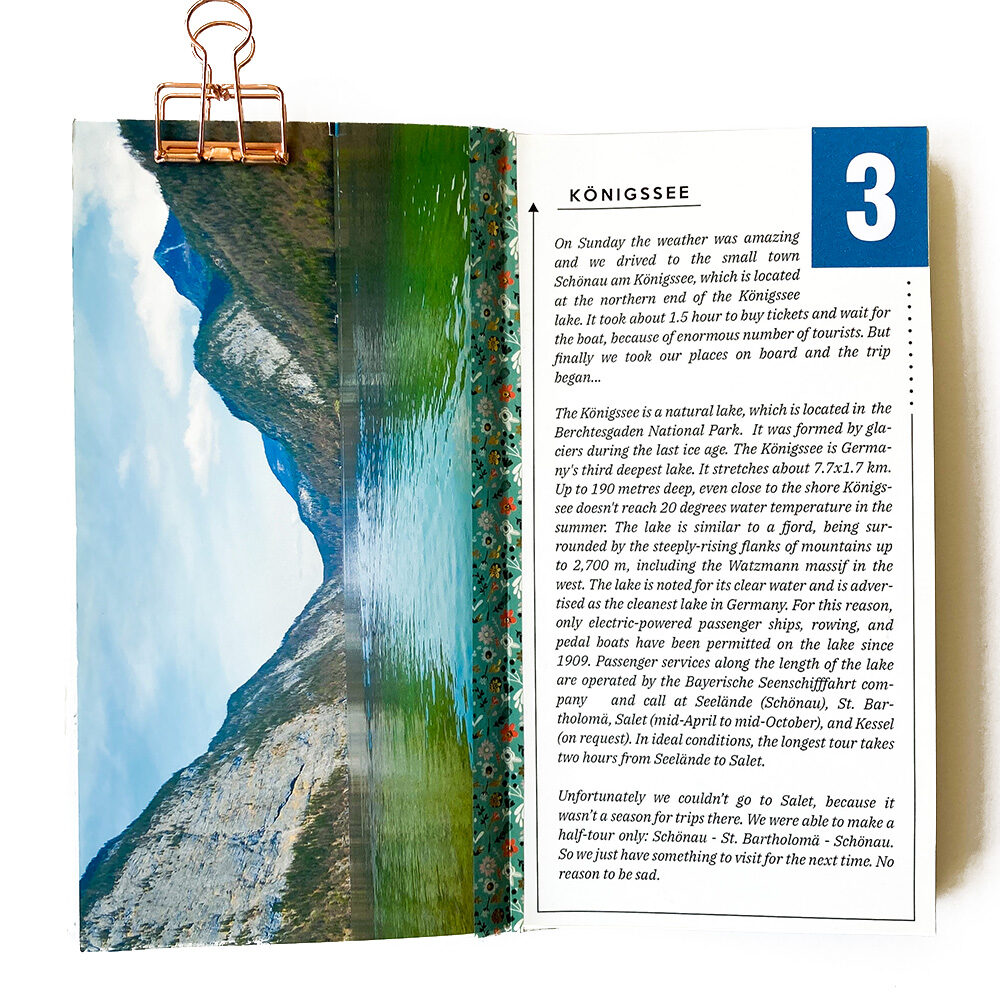
- Paper thickness is very important. The most of scrapbooking elements like pocket cards, tags, stickers and cuts are printed on a high quality paper. When you glue them to the thin TN pages, it doesn’t look good. And when you plan to use the stamps, the ink will be printed to the other side of the page, what is terrible.
- If you didn’t like the finished page, you can’t just remove it from the TN. You need to find an alternative method like gluing pages together etc.
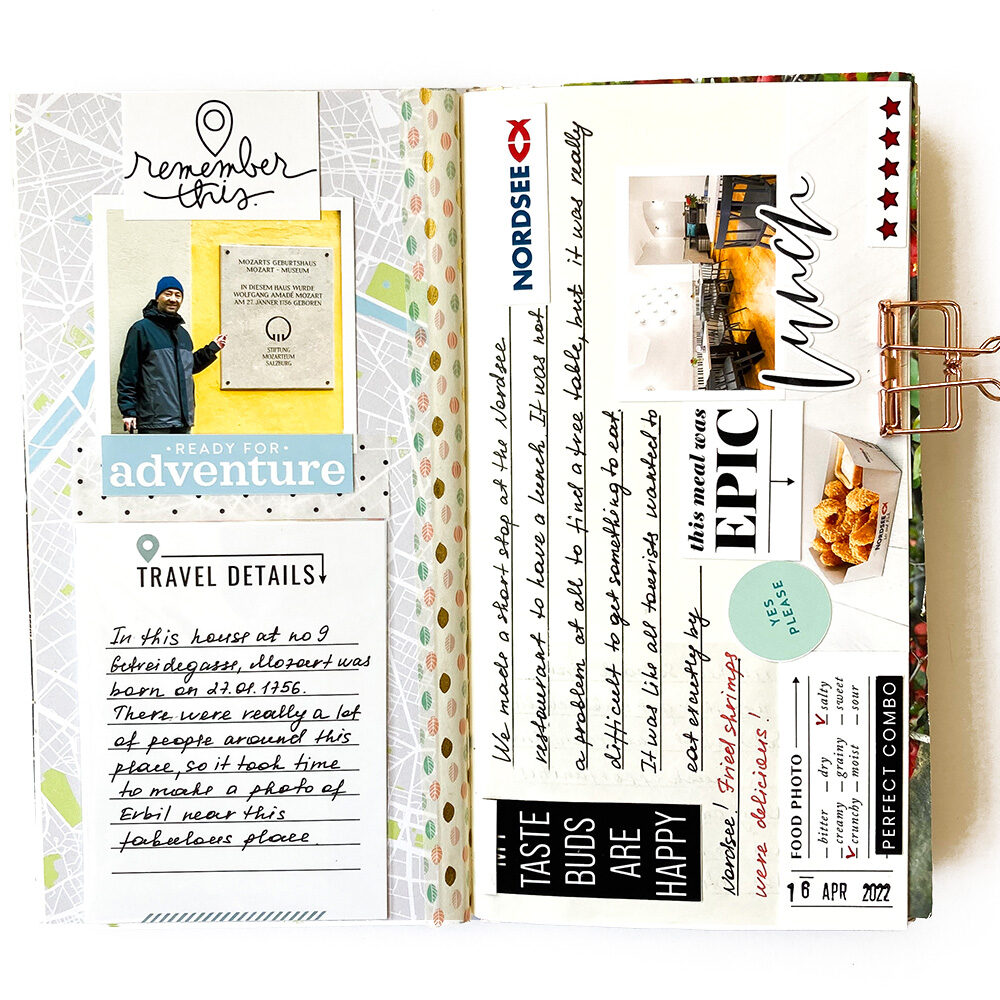
Tips: if you want to use the plain TN refill, you need to keep your traveler's notebook short and simple and choose the product in a high quality.
My second traveler's notebook
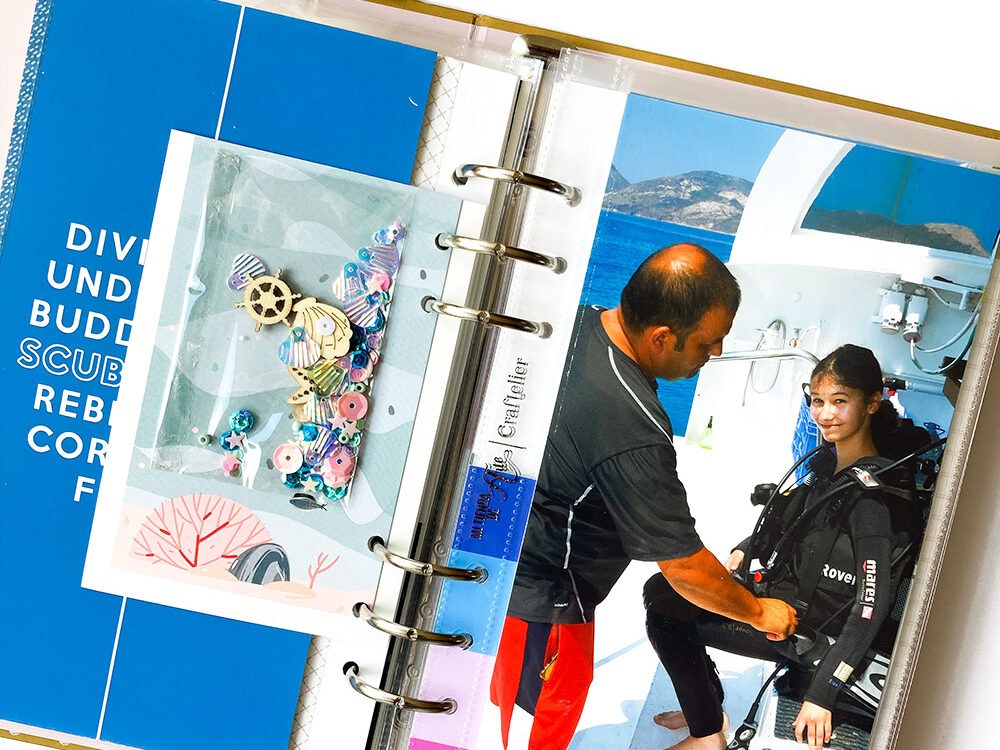
My next TN was about our summer vacation to Antalya in 2022. I chose the ring binder cover, which offers place for more pages, easy to insert and remove with flexible metal bars. Here are my comments:
- It’s very easy to put new pages inside, change their places or completely remove them from the TN.
- To fill my TN, I used the 4x6 page protectors to add the main pages and hole puncher from We R Memory Keepers to add the extra pages.
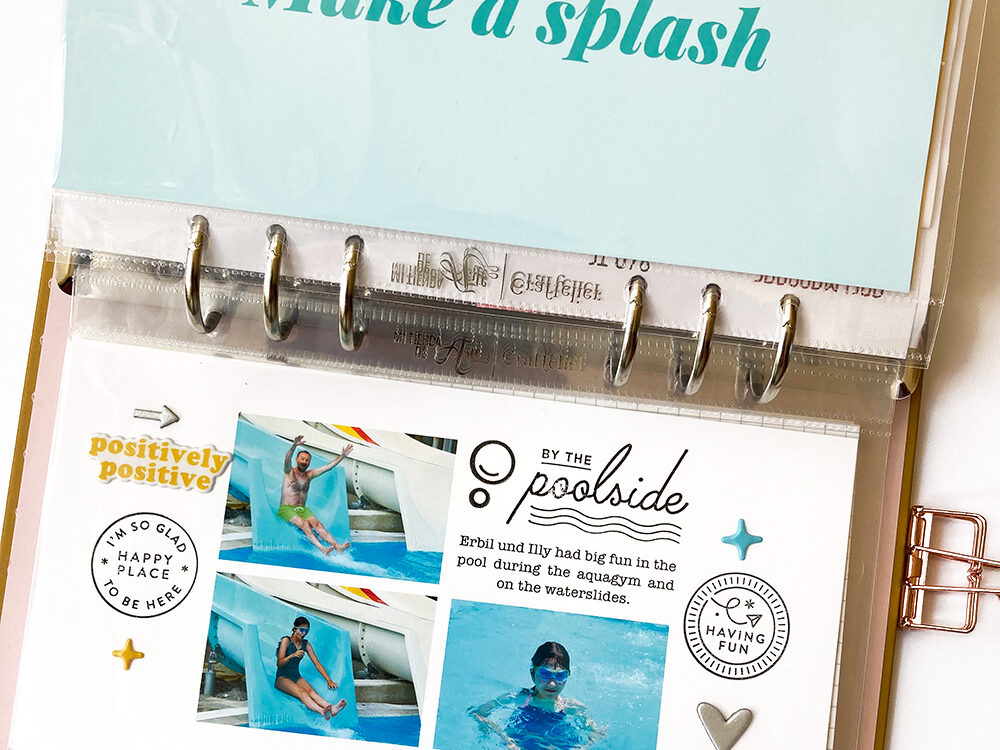
- Using the page protectors doesn’t require a hole puncher and protects your content from external damage. But it also adds extra weight to your TN and requires extra money.
- With the ring binder system it’s easy to add extra elements like pocket cards, transparent pockets with decorative elements inside, flip flap pages etc.
- It’s the best way to mix digital and traditional scrapbooking together.
Tips: it’s a great alternative for scrapbookers, who need more flexibility and more space by creating a TN.
My third traveler's notebook
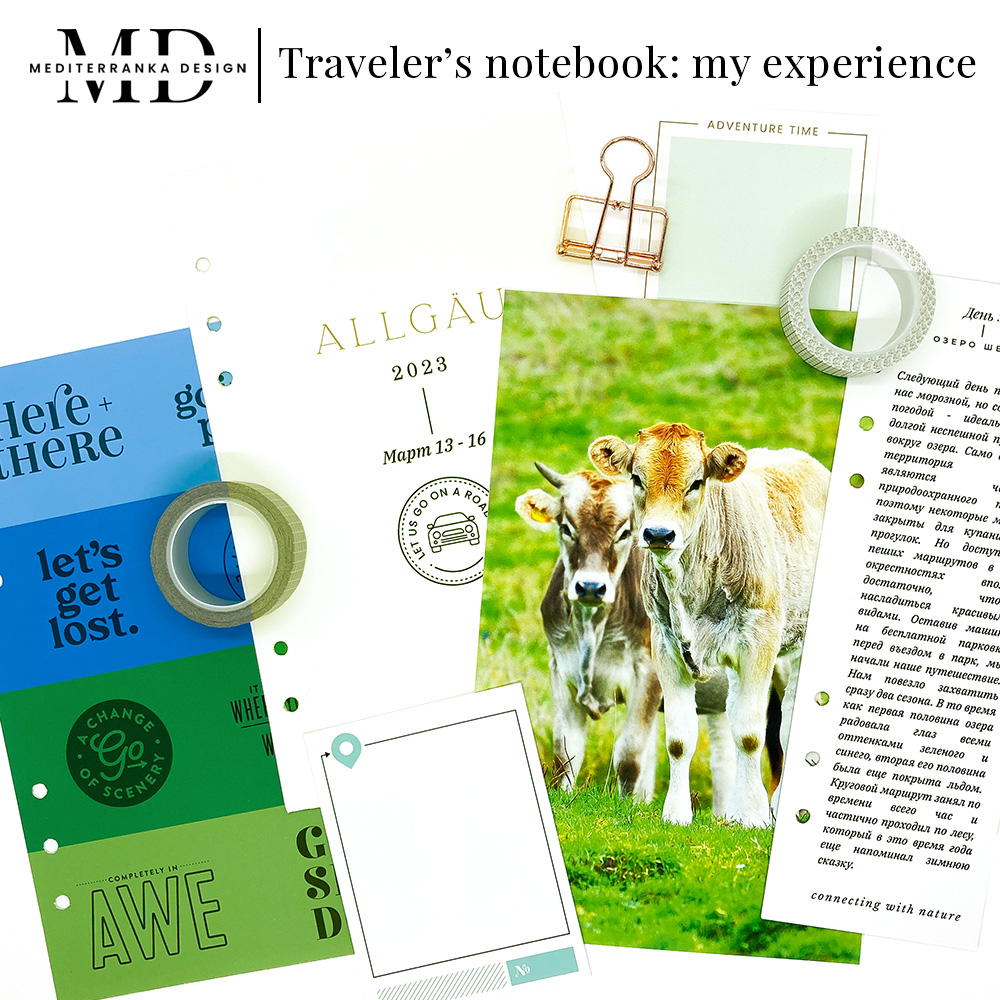
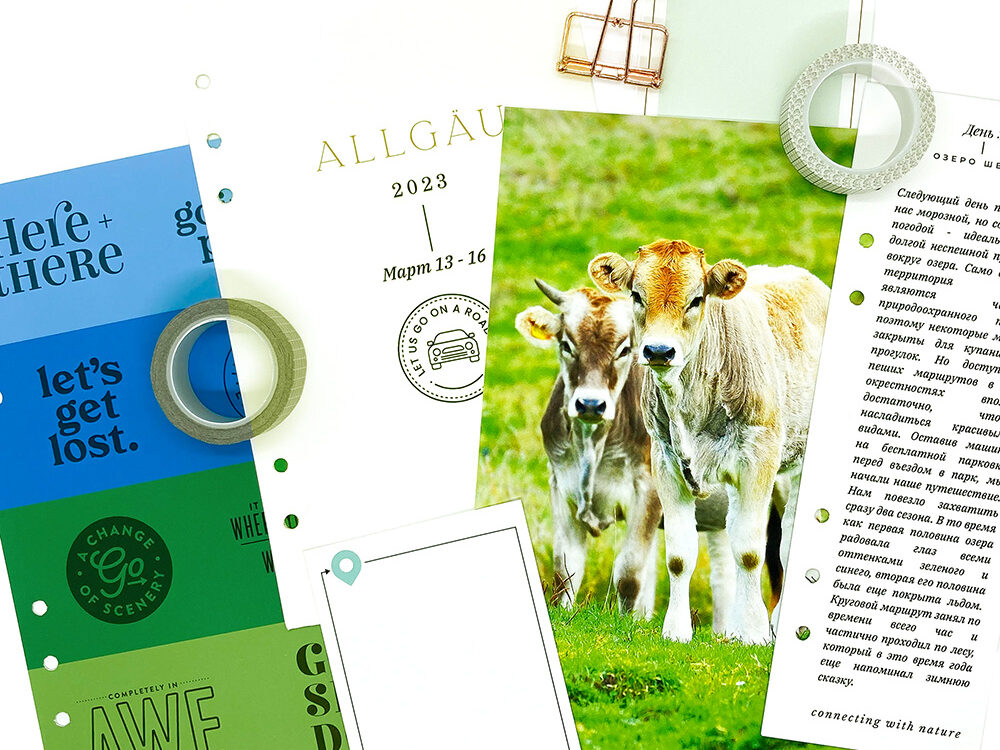
I just finished my third TN (and the last for now) is about our trip to Allgäu. I used the ring binder cover again, but this time without page protectors. I also made the page wider (13 cm instead of 11 cm), but it’s just my personal preference. I created the pages in Photoshop, then simply printed them using our home printer, cut, glued, punched the holes and added to the TN. Sometimes I mixed digital scrapbooking with traditional by adding pockets, ephemeras, tags etc. I like this way of keeping my travel memories, because it’s easy and quick, and I will start the new TN very soon in the same format.
Olesya Rudenko Manaz
Hi there! I’m a graphic designer, scrapbooker and storyteller. I enjoy creating quality supplies to make scrapbooking and storytelling easy, fun and practical for you.
