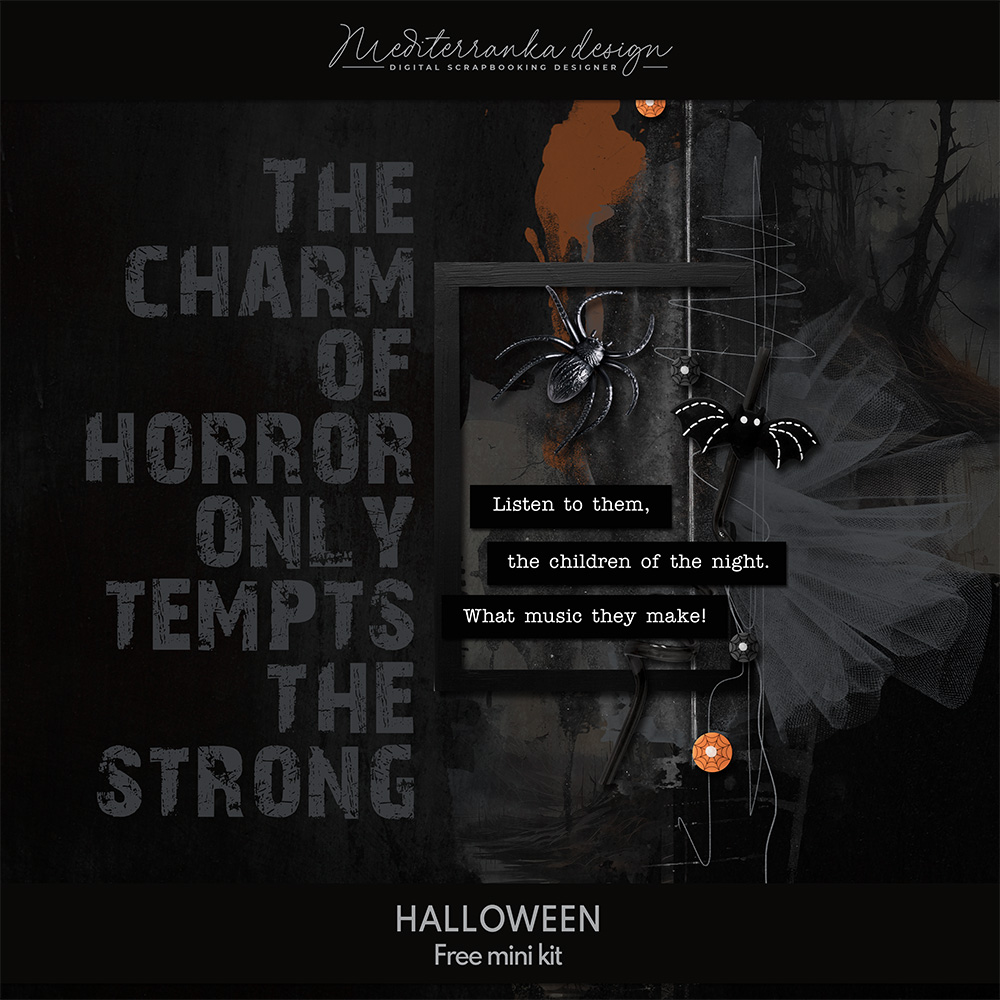
HALLOWEEN TUTORIAL
If you want to give your layout a special look, there is nothing better than lighting effect. I used it very often in the past years and it always worked perfect, exspecially with holiday layouts. Unfortunately now Photoshop’s 3D feature set doesn't work reliably for technical reasons, but we still can use some features.
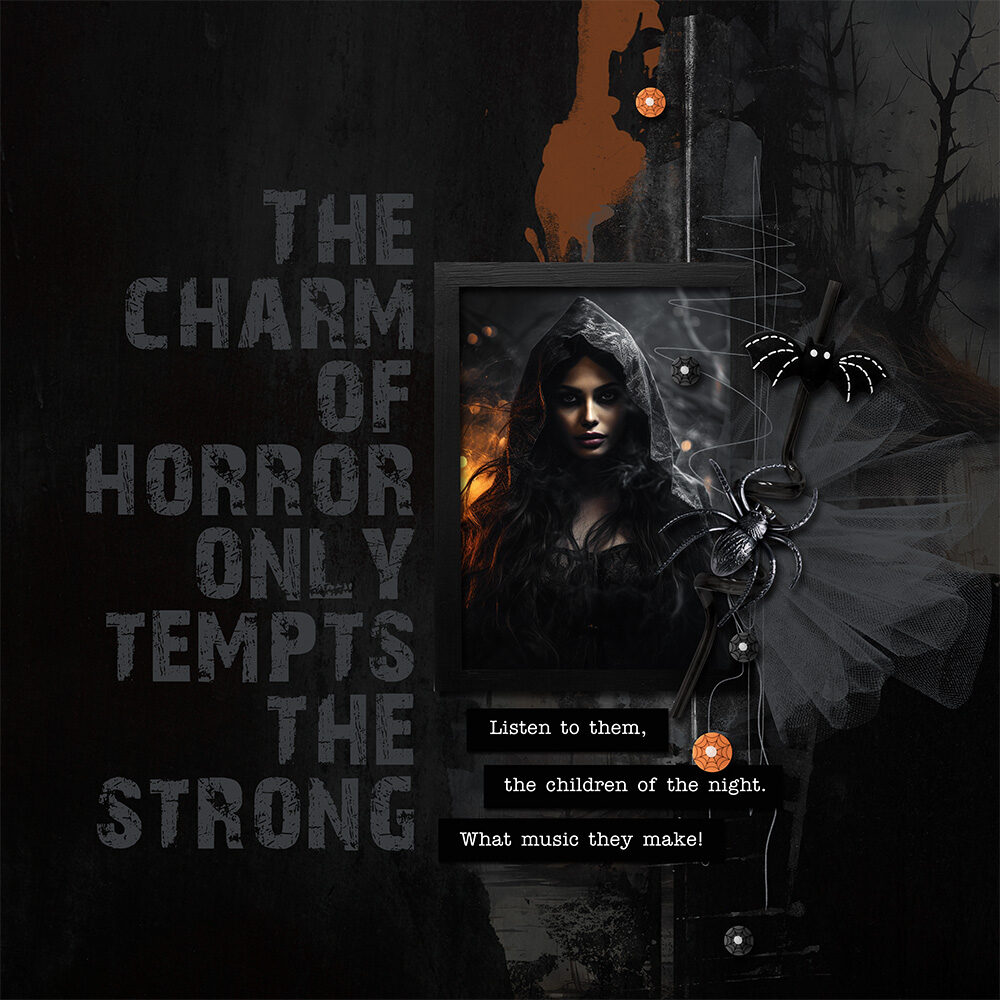
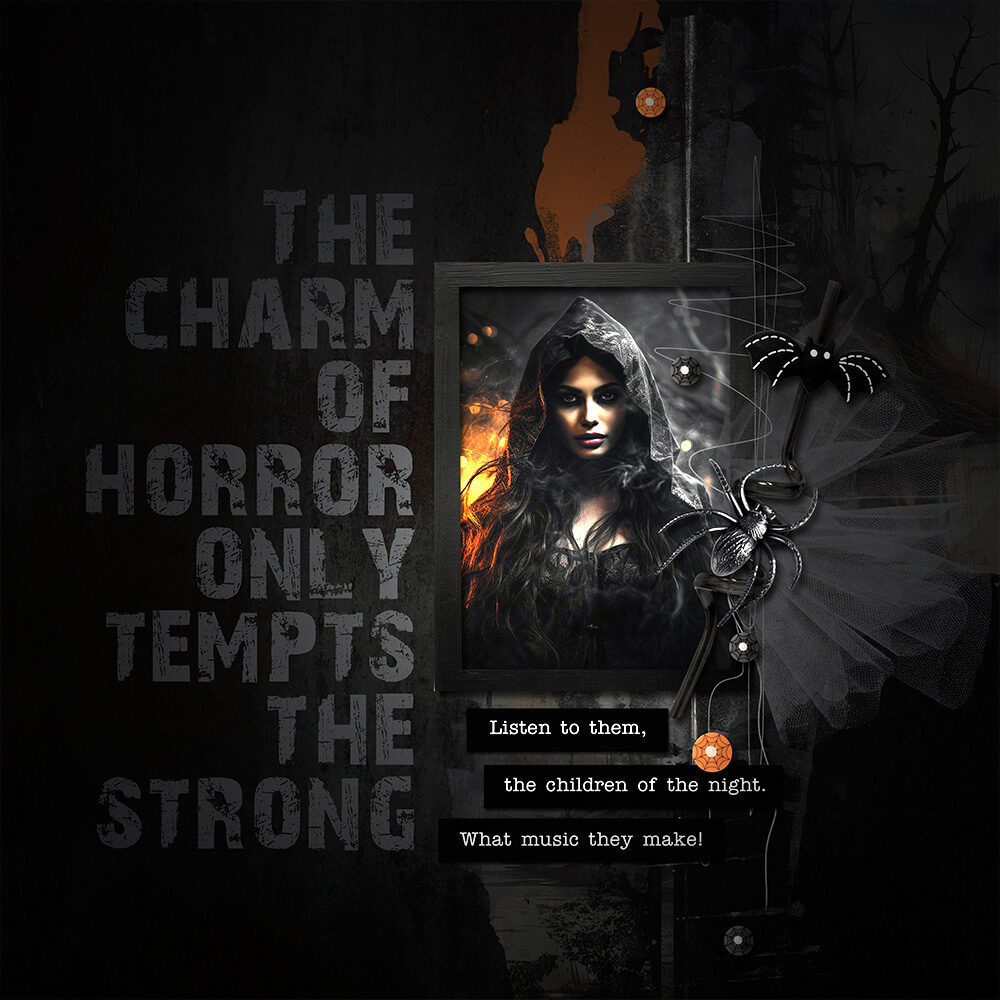
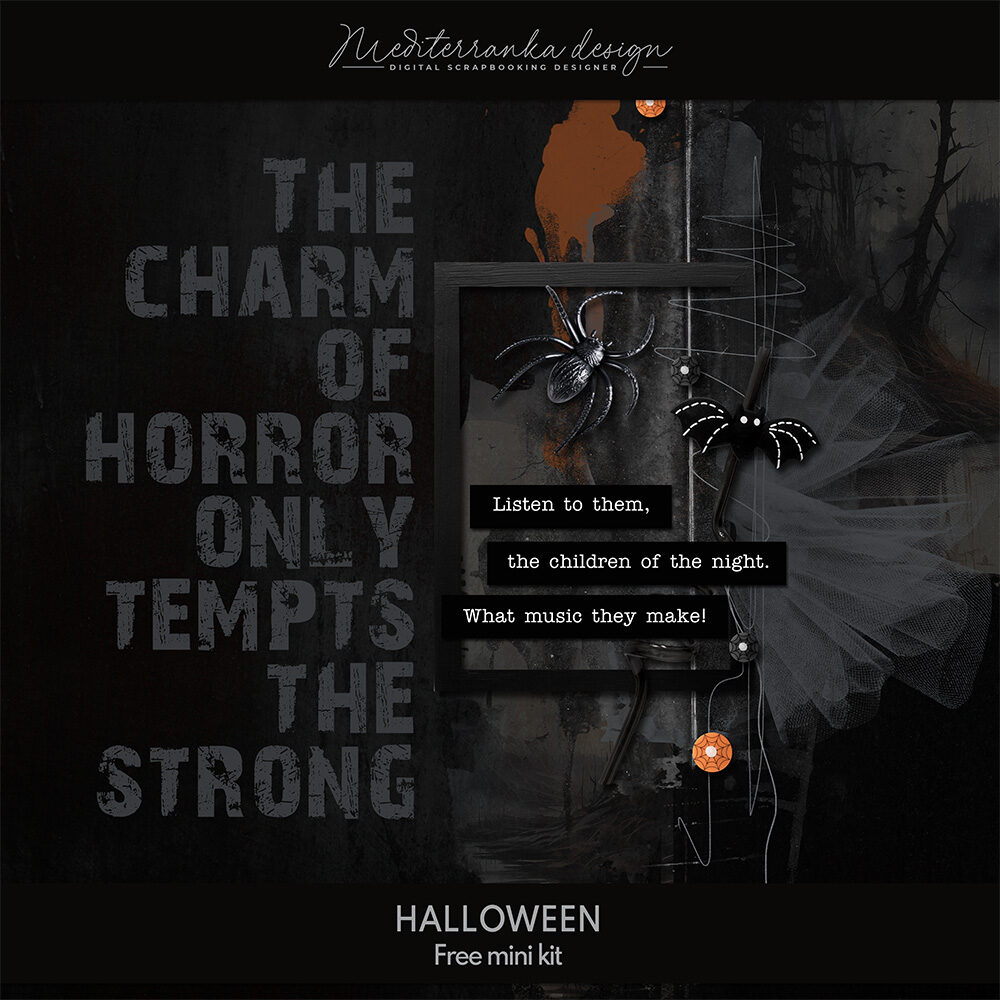
Here is a page, which I created with free Halloween mini kit. It looks spooky-good, but I want to add some extra lighting to the face of young witch. Let's do it together!
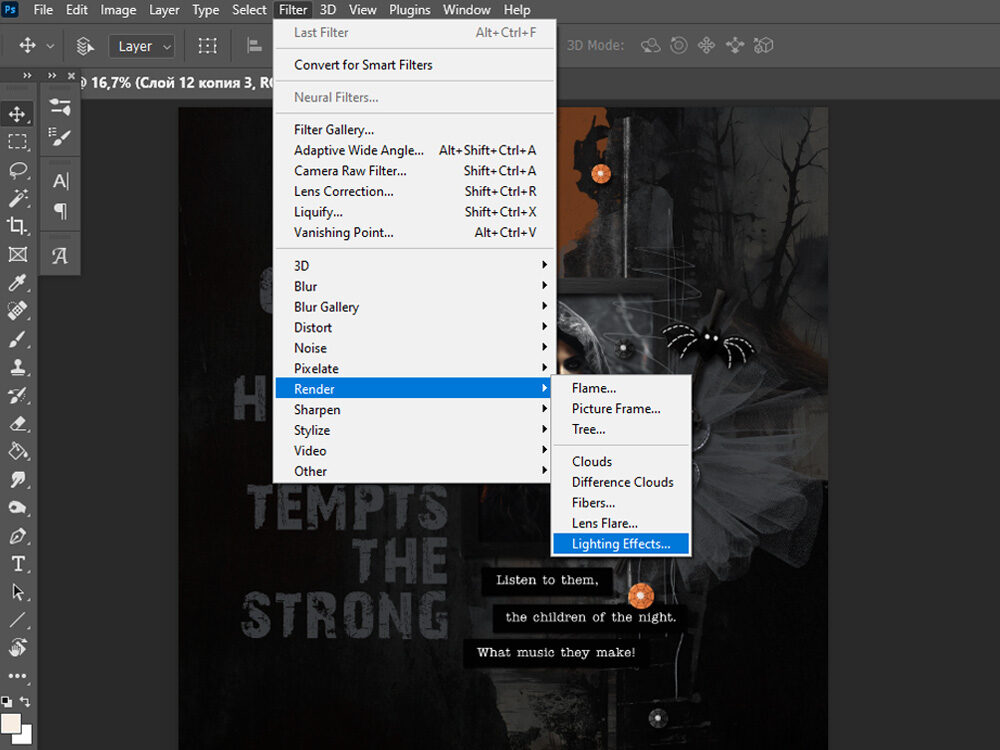
Head to the top menu bar and select Filter > Render. In the drop-down menu, click on Lighting Effects.
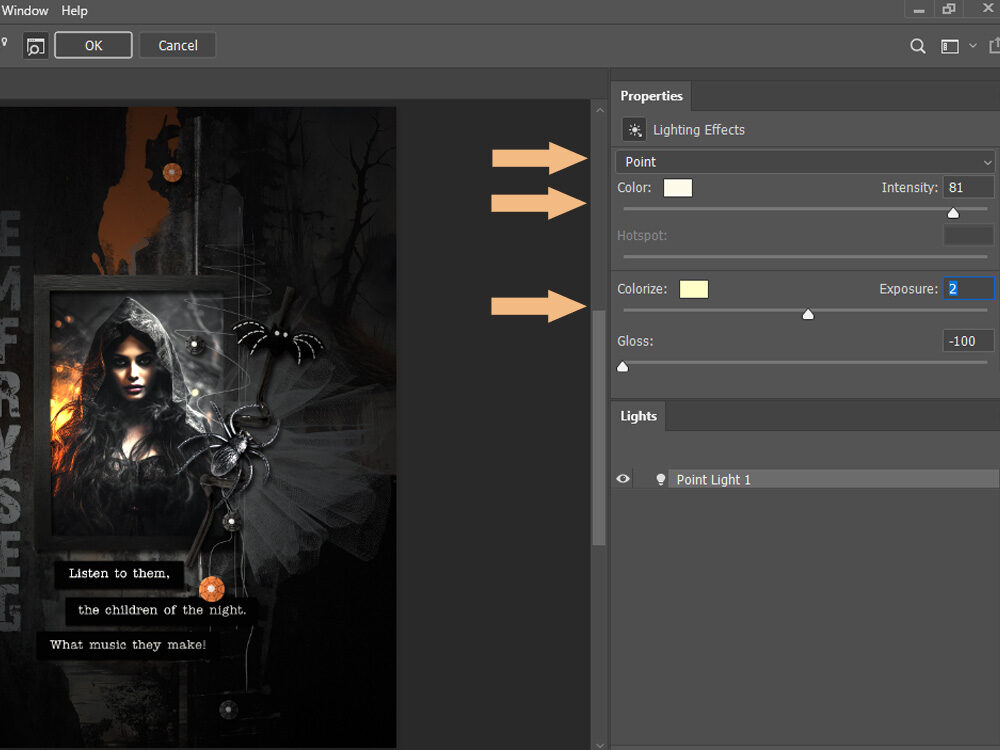
When Lighting Effects is clicked, the Properties Panel of the Lighting Effects Filter will open. This allows you to select customized settings for your lighting effects.
A preview window will open giving you a preview of the lighting effects filter adjustments.
The Lighting Effects Options Bar will open above the canvas window. Chose the Flashlight.
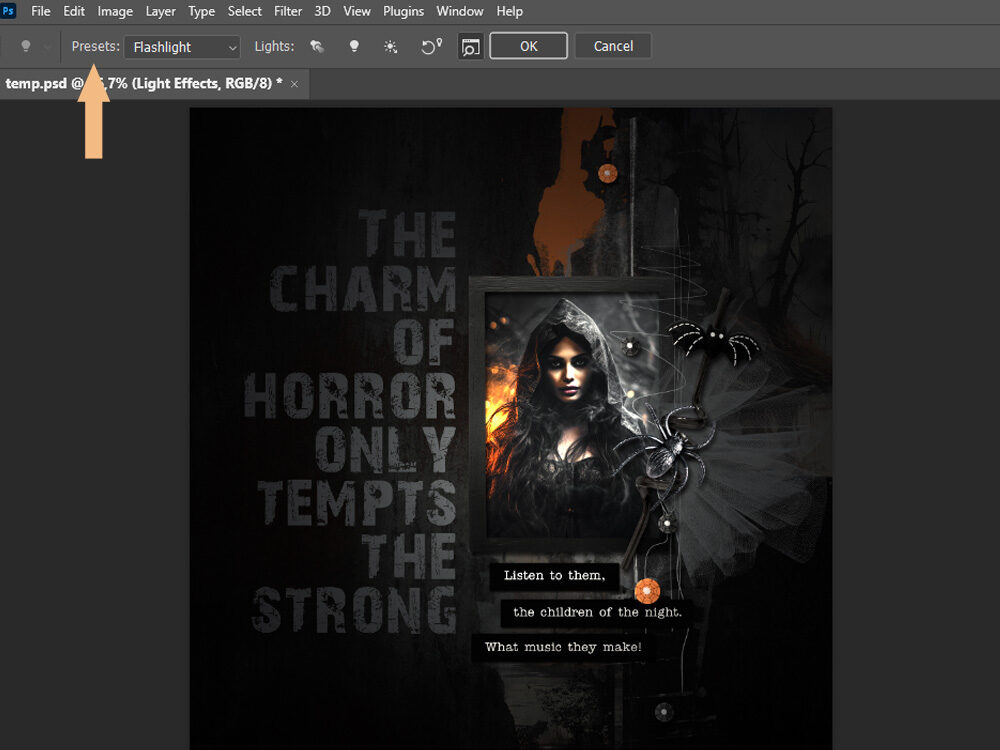
Play with the Properties Panel in the right side to change the brightness of lighting effect. Then click ok.
Look at the layout before and after. I think, now it looks much dramatic and I like it.

Olesya Rudenko Manaz
Hi there! I’m a graphic designer, scrapbooker and storyteller. I enjoy creating quality supplies to make scrapbooking and storytelling easy, fun and practical for you.



2 Comments
Breon Randon
That was a really cool effect. thanks for sharing!
Mediterranka Design
You are welcome, Breon 🙂