TUTORIAL: AUTUMN LAYOUT
Hello dears,
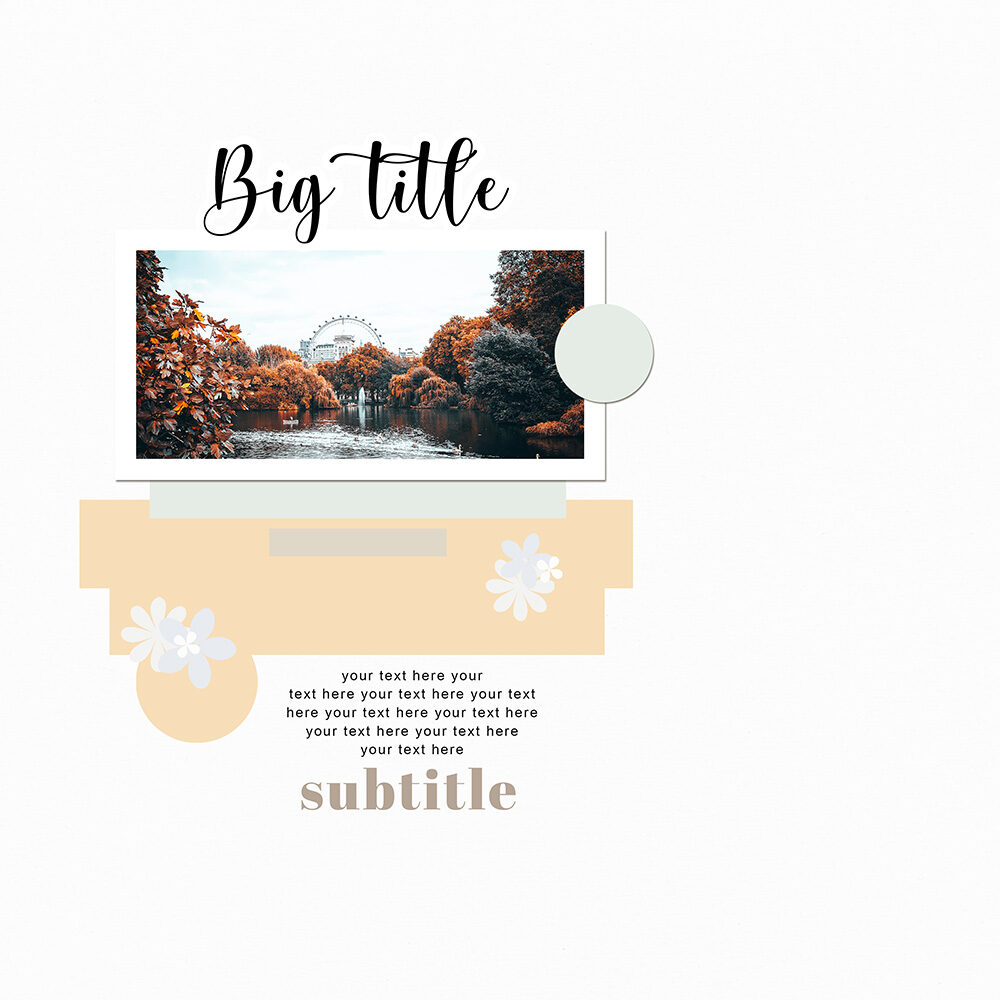
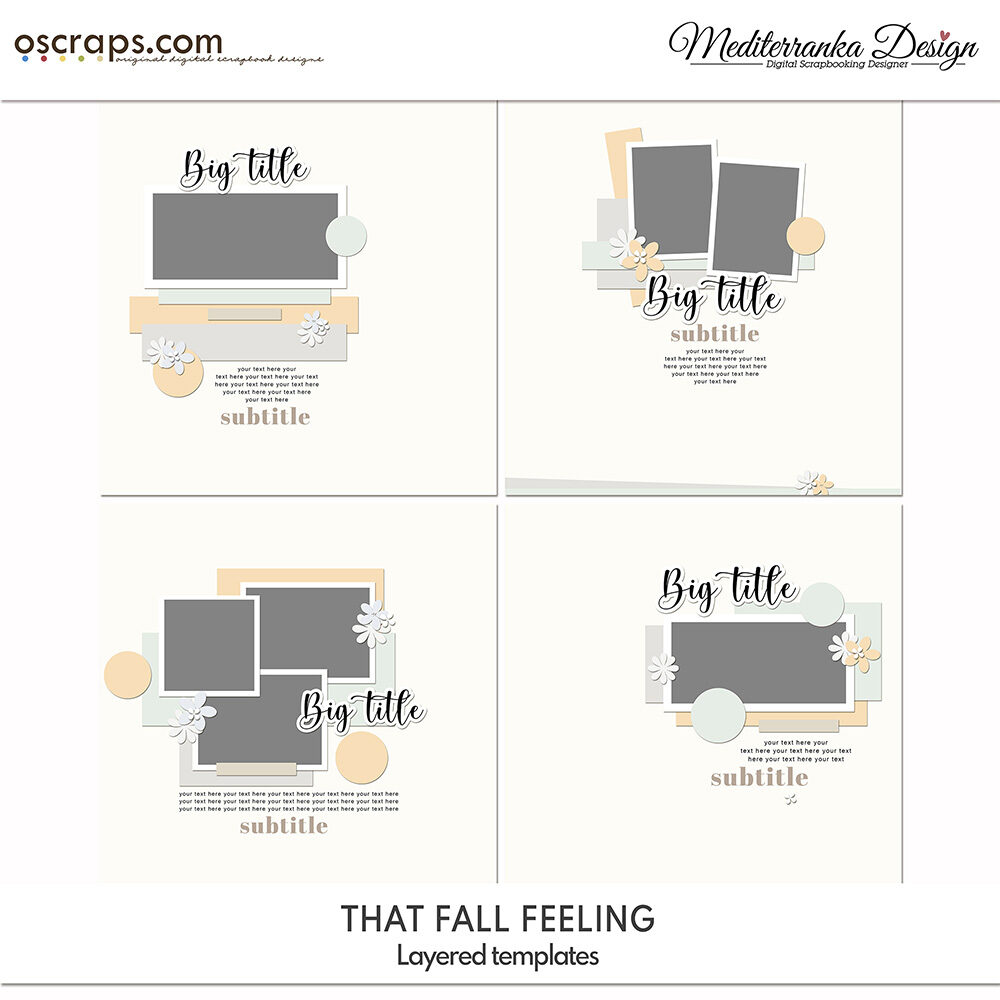
Today I want to show you how to create an autumn layout just in 15 minutes. I truly recommend using a template, because it saves your time and along with this gives you a lot of options to play with it. For this project I chose one of the templates from That fall feeling collection.
1
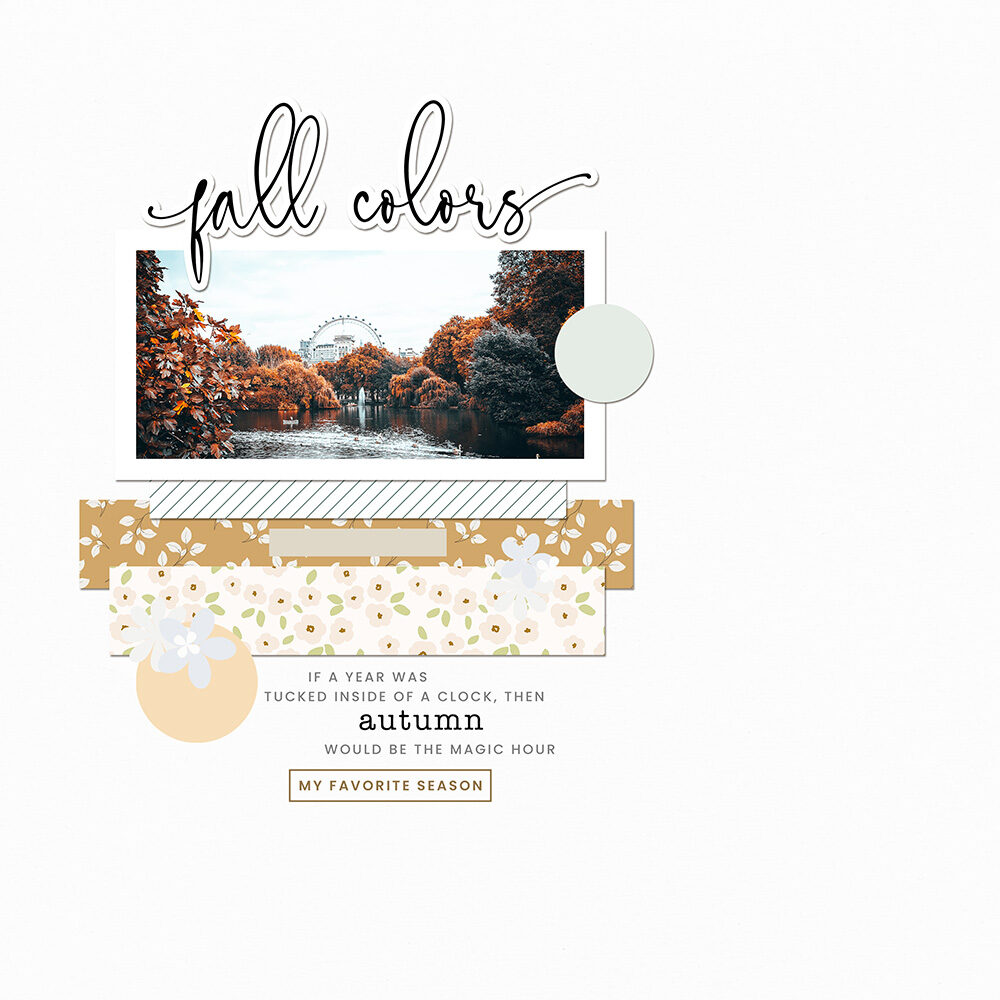
Open your photo. Use clip mask to add it to your page. For clipping mask, click ALT + the space between two layers - templated's layer named ''photo'' and your photo.
2
Change the background. I like to work with white or almost white backgrounds. For my page I used the solid paper #10 from That fall feeling collection and change the brightness to +20.
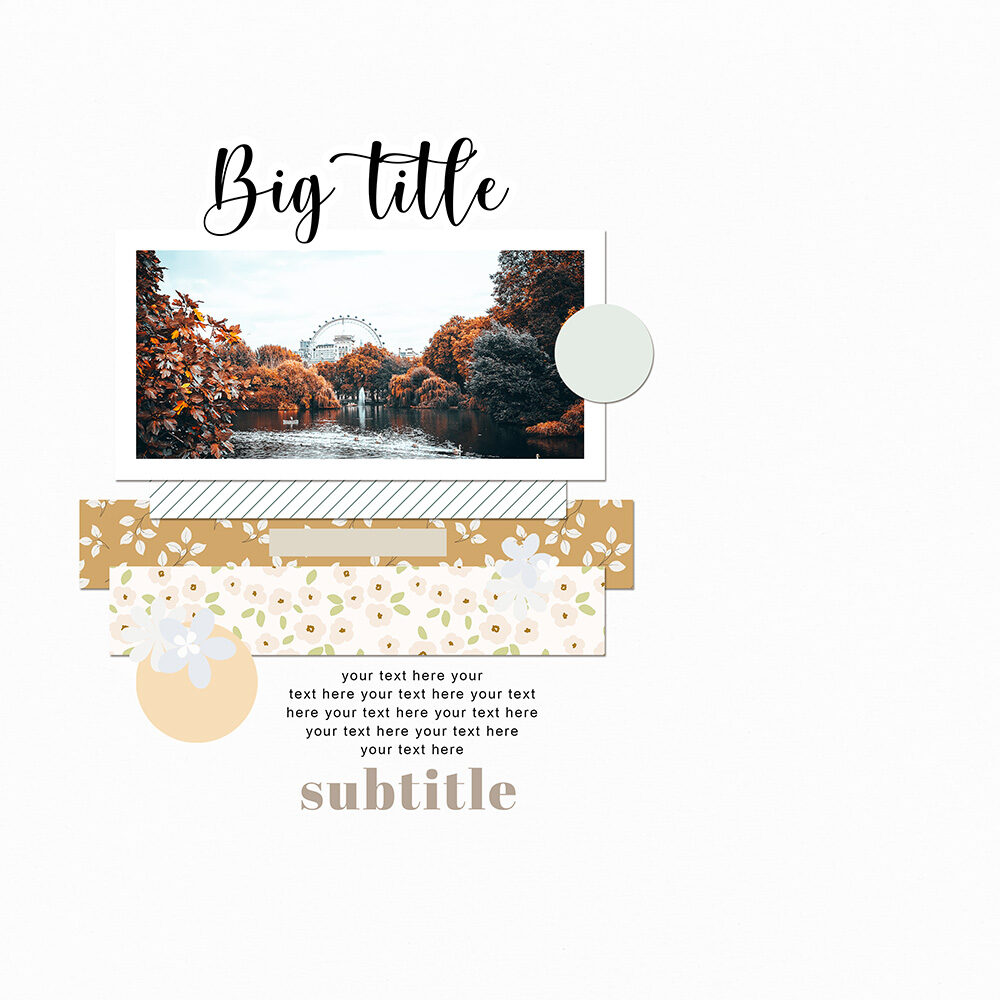
Add some patterns. Choosing the patterned papers I always focus on colors and elements of the photo. My current photo has brown, orange and light blue (sky color) tons, that's why I chose:
- pattern #10 (foliage and its color);
- pattern #11 (white is always a priority, light blue strips = sky color);
- pattern #5 (soft colors are working perfect with dark colors of the photo).
Use clip mask to add patterns. Move patterned papers, change their orientation and size, then merge every pair of layers and add shadows.
3
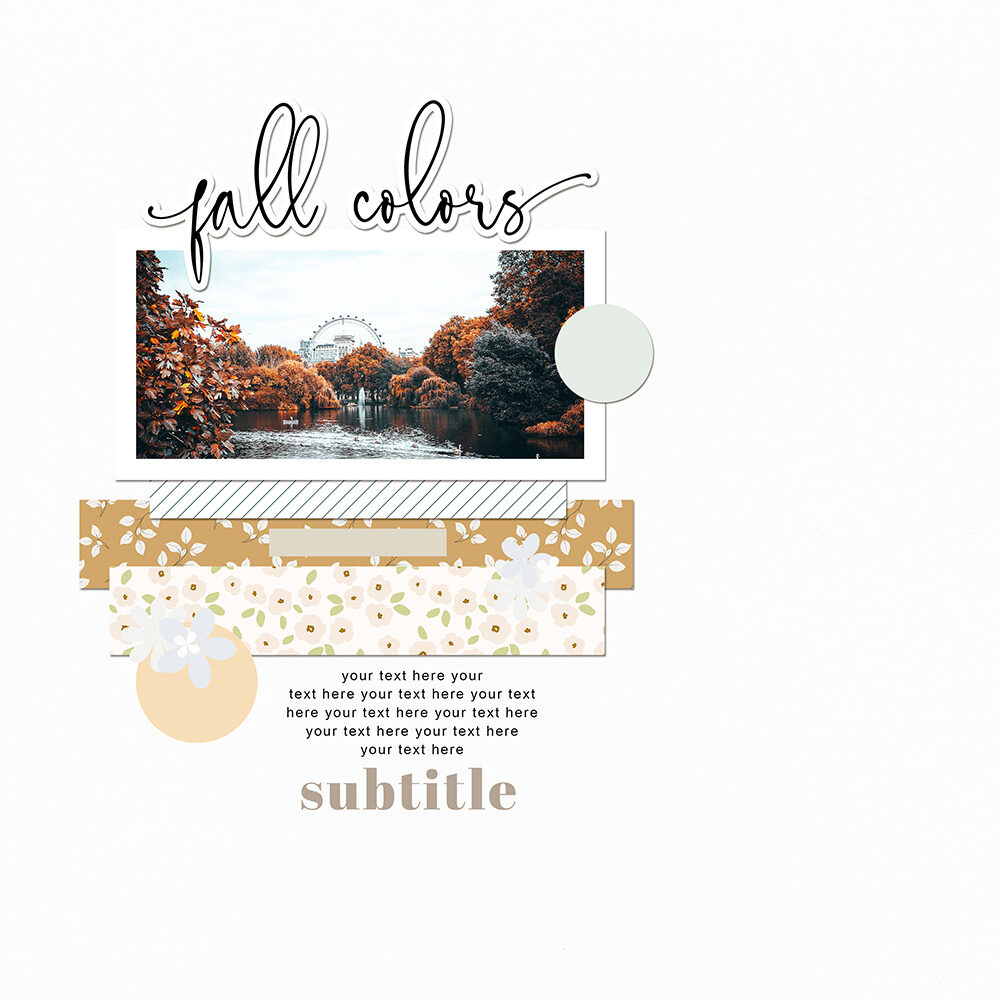
Place title and add shadows.
4
Place wordart and subtitle. Change their colors, if you want. I picked the color for my subtitle (digital stamp #9) from the patterned paper with leaves.
5
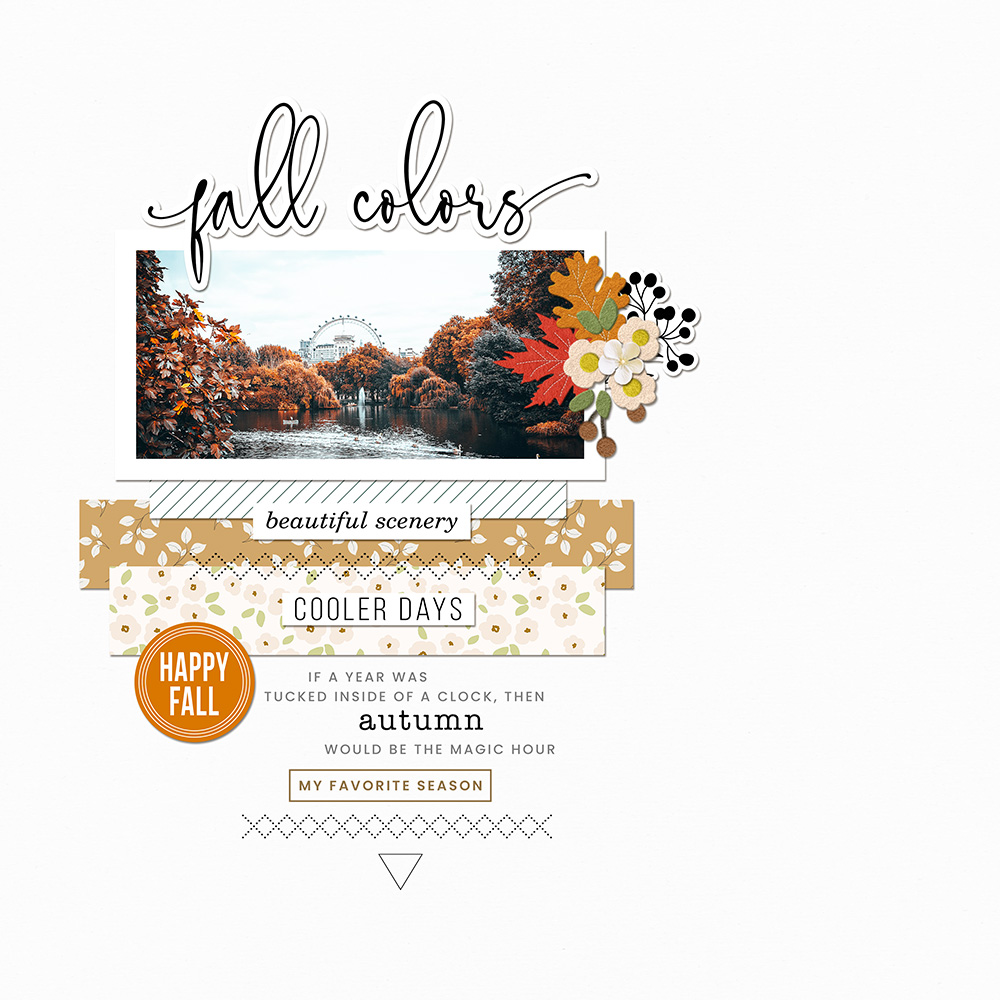
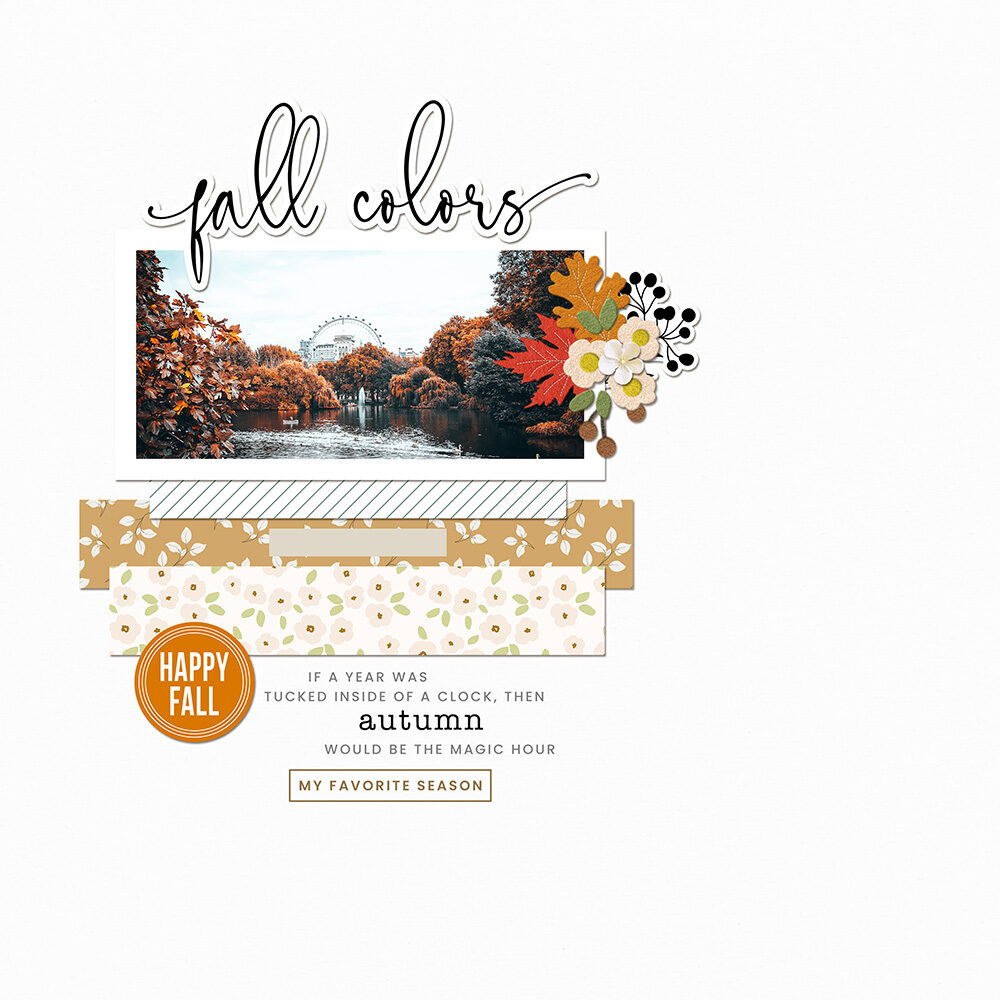
Add main cluster/decoration elements. On my page I have 3 main elements:
- cluster with felt leaves and flowers. I placed it as if the leaves from the cluster were part of leaves on the photo;
- black berry sticker works perfect with black title;
- tag ''Happy fall'' has the same color like felt oak leaf.
6
Add other decoration elements like wordbits, scatters etc. Don't overupt your page, if you still want to create a clear and simple layout.
I added two wordbtis (the both are white so that they don't pull too much attention) and a small white flower, which looks just like a part of cluster.

7
Add some stamps or accents to the background. I used a small triangle, because it visualy extends the whole composition in vertical direction. The cross stitches stamp go well with patterned papers, which are stretched horizontal.

8
Make last edition. On this step you can rotate elements, move them and try other combinations. Then merge all layers and save your layout.


X.O., your Olesya

