TUTORIAL: 01/22 POCKET LIFE KIT
Hello dears.
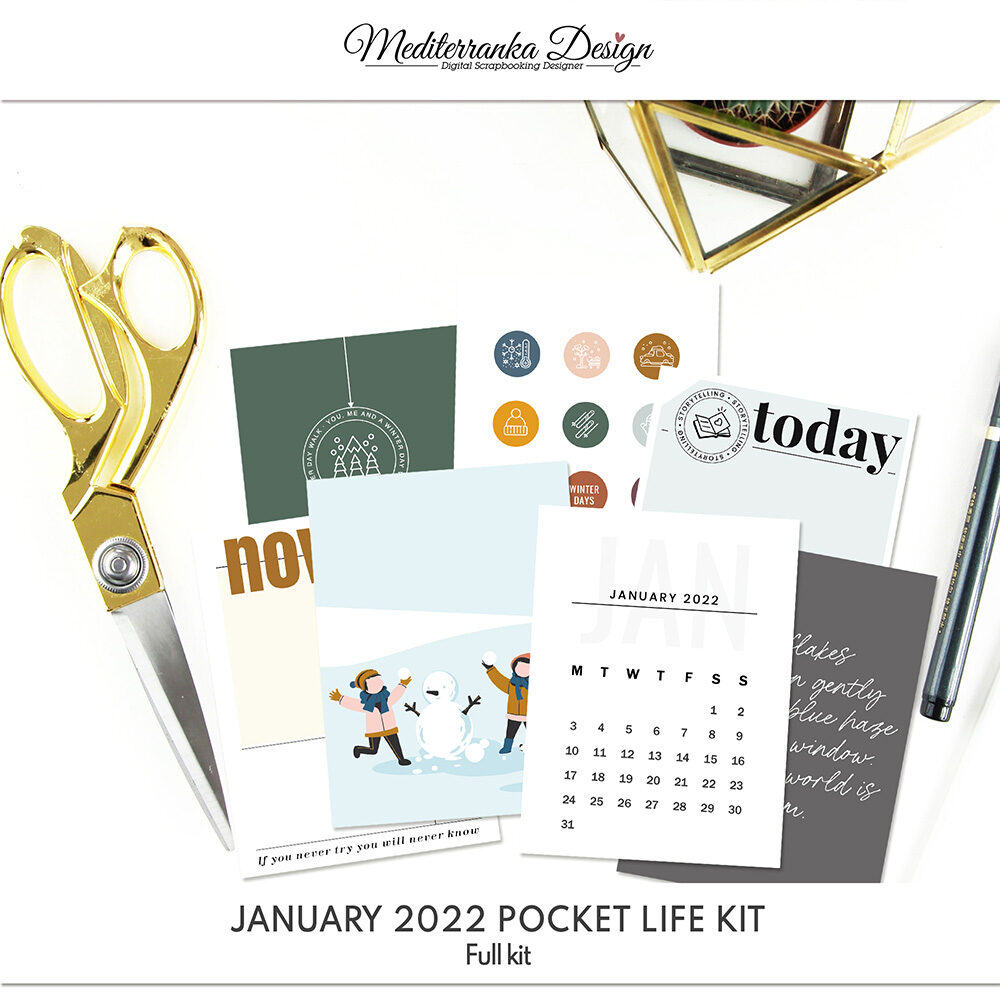
I already started with my 2022 storybook and today I want to show you, how easy and quickly it is with my January 2022 Pocket life kit.

START WITH A DRAFT
I always start with a draft. It saves your time and helps to vizualize the finished work. Just take a sheet of plain paper and think, how many photos, story cards and pocket cards you plan yo use. Think all in details (composition, sizes, orientation, colors etc.), make notes and draft a sketch.
CHOOSE A TEMPLATE
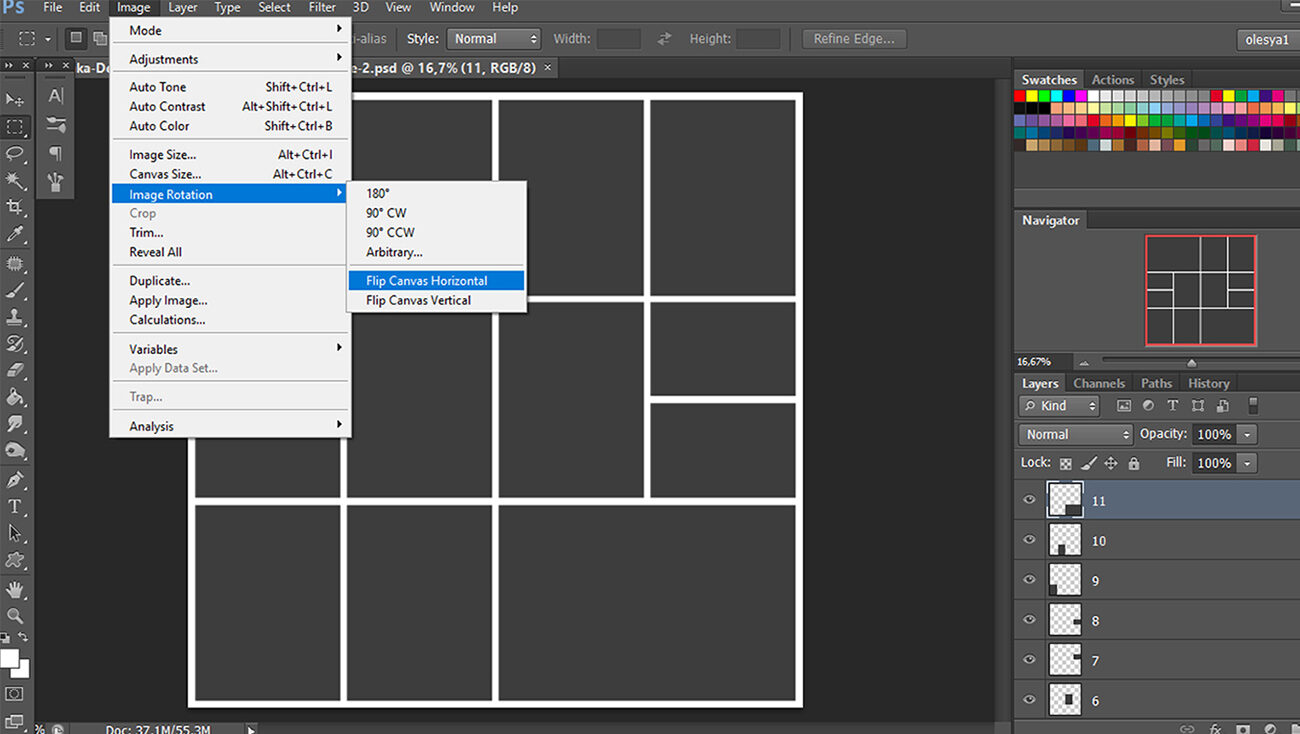
Open the template in Photoshop. Change its orientation, if you need it. I used the template from my January 2022 Pocket life kit, which I rotated horizontally. Image - Image rotation - Flip canvas horizontal.
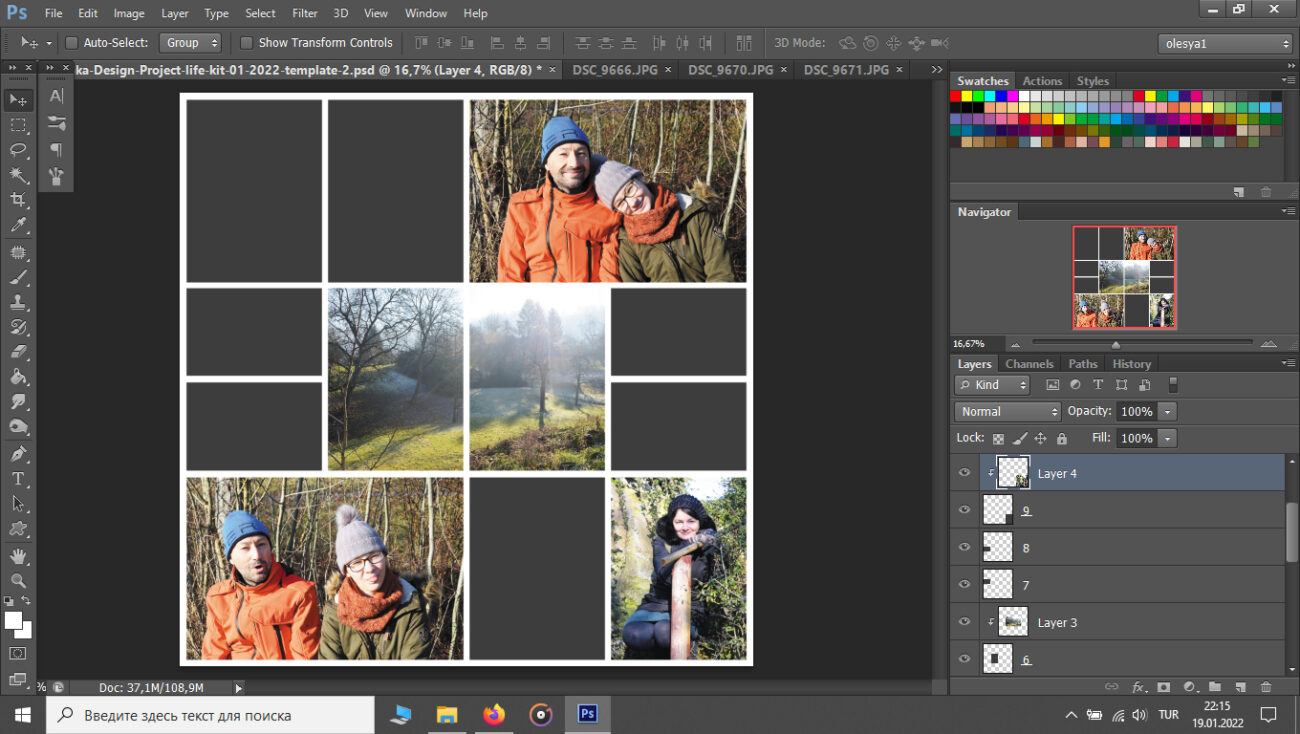
PLACE YOUR PHOTOS
Place your photos to the template. Click ALT + the space between the two layers «photo original» and «photo 3» (when the clipping mask cursor appears). You will get the clipping mask.
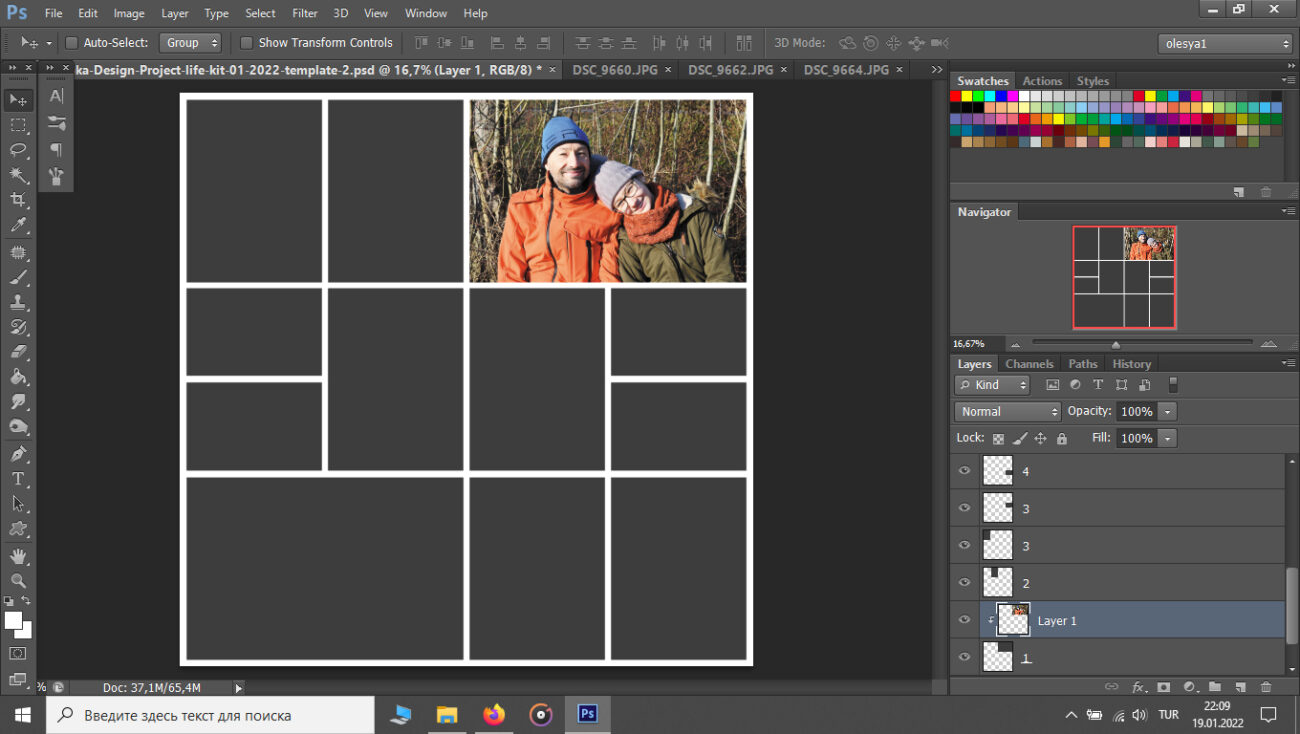
I usually evenly alternate photos with cards. Don't merge the layers at this stage. You need to have a possibility to replace the photos until you are quite sure, that everything is in its right place. At this stage I also pay attention to brightness and contrast of the photos, because it looks not good, if one photo is brighter than others.
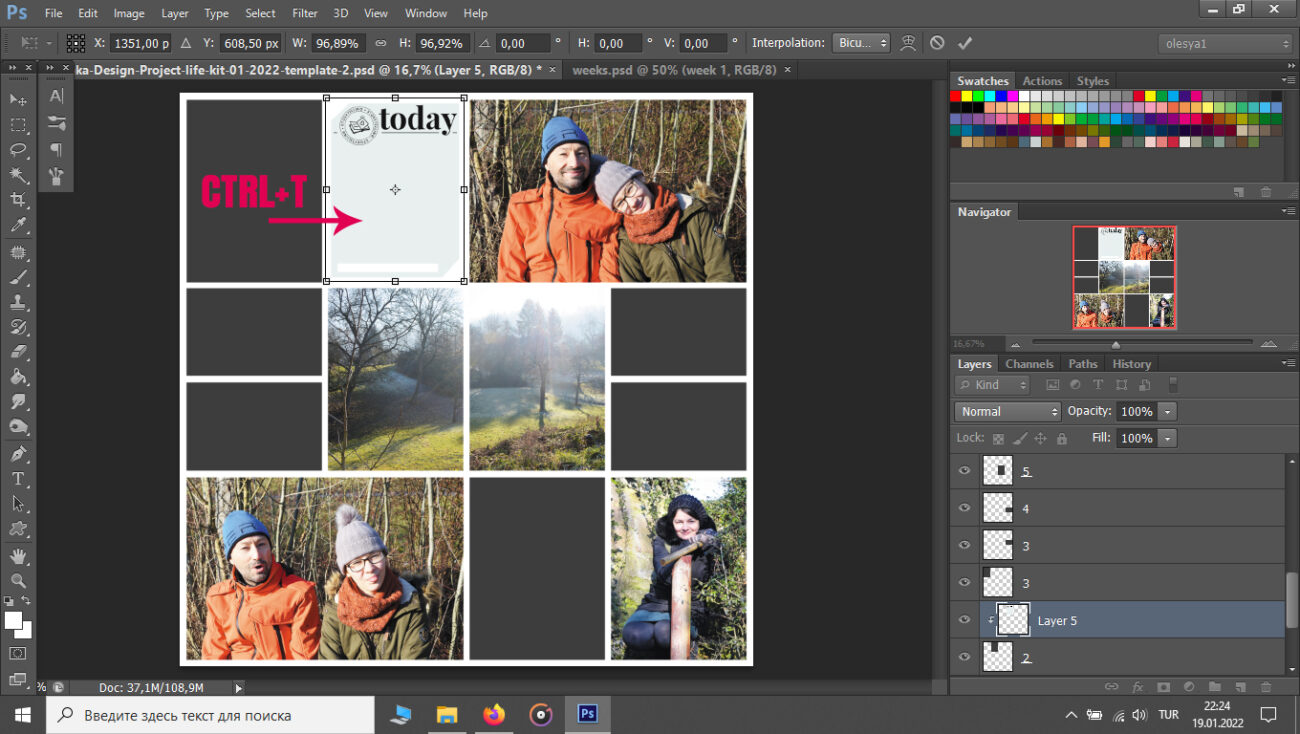
ADD STORY CARDS
Add story cards to the template using the clipping mask. Use CTRL+T to resize story card, if you need it.
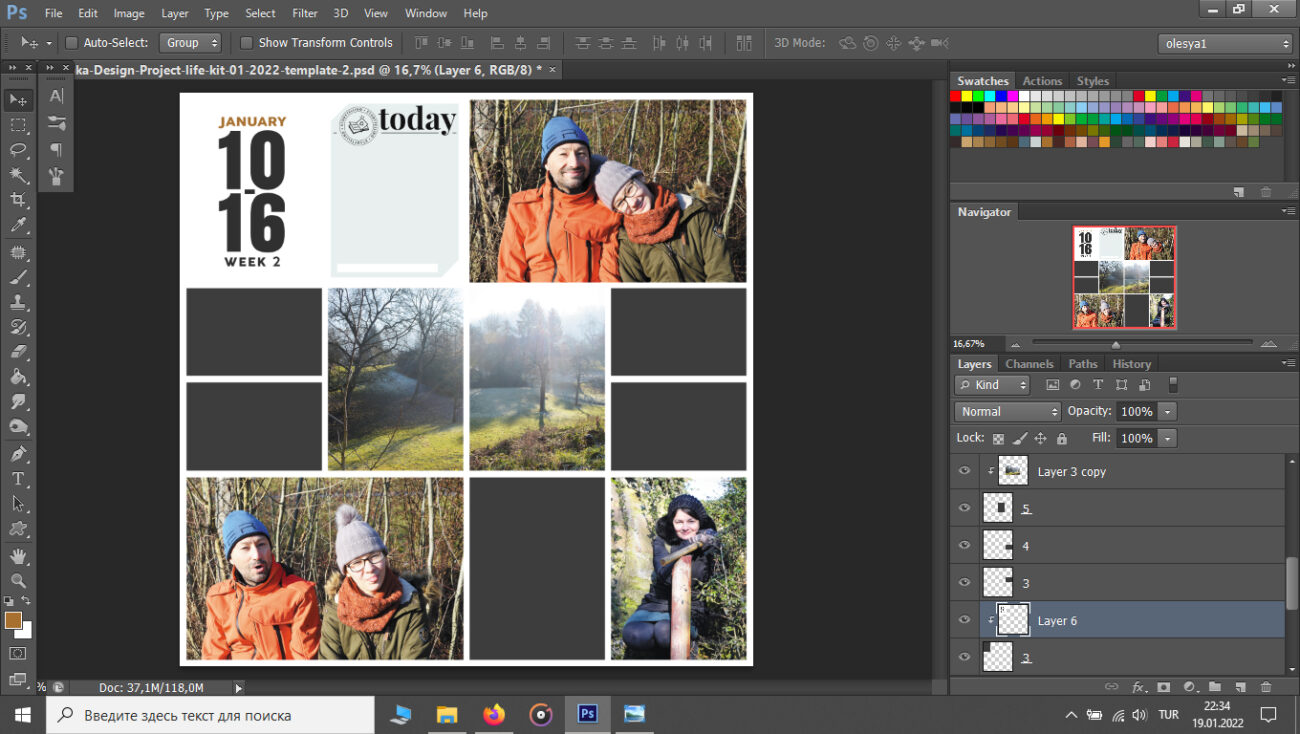
ADD A DATE/WEEK CARD
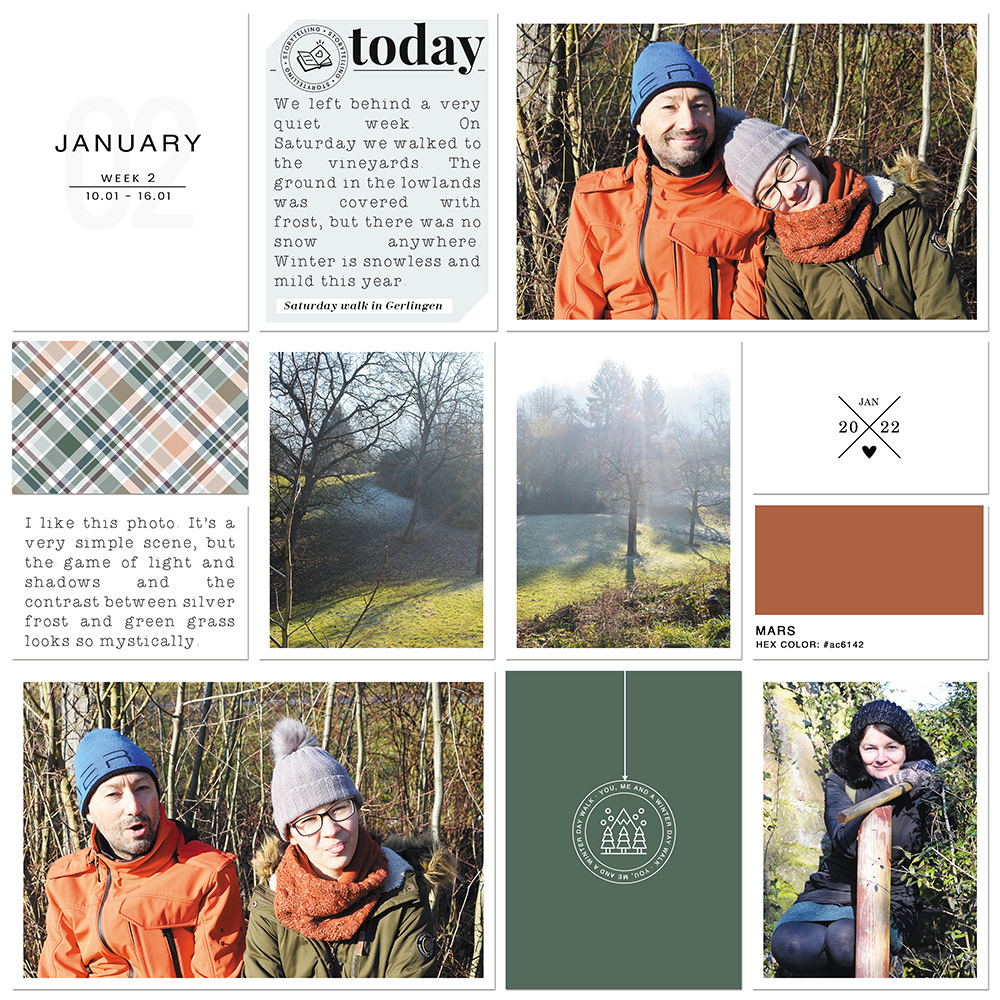
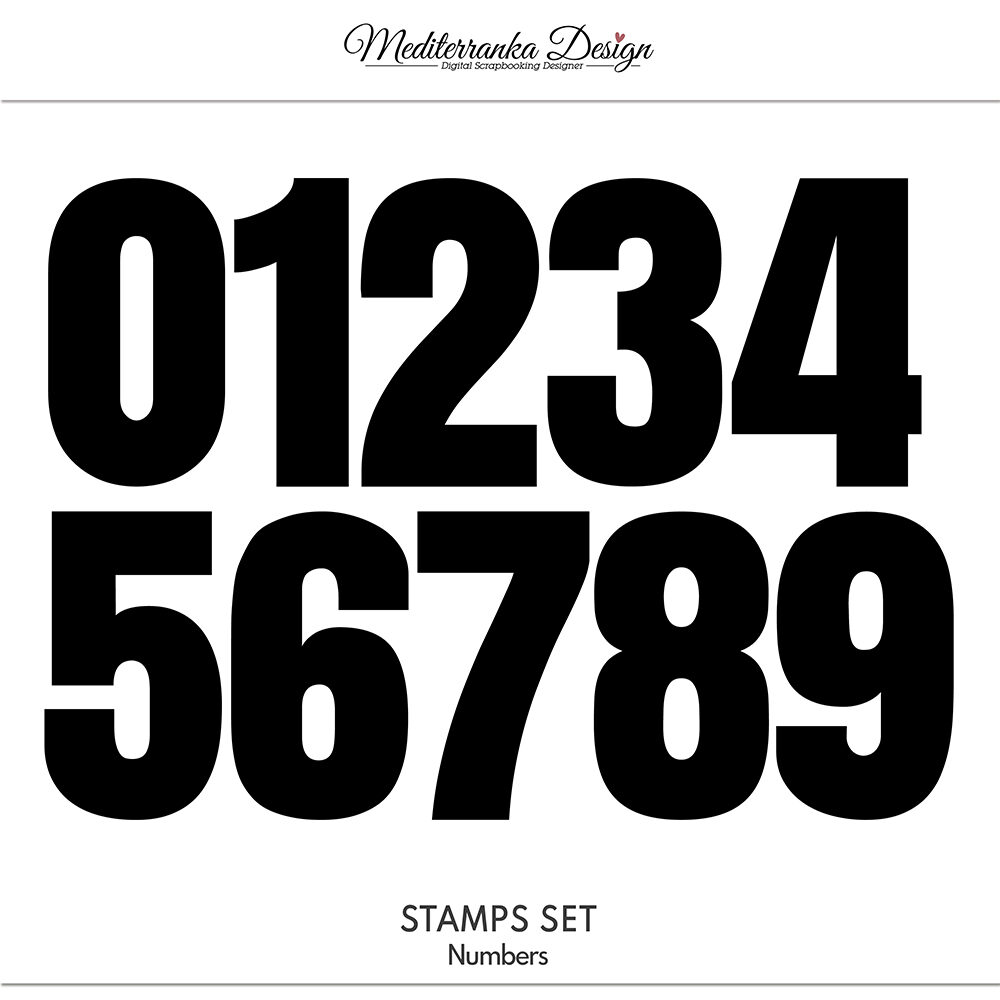
I always start my storybook page with a week card. For this one I used my new numbers stamp set. I left them black, because I like this typography-look like the title letters from newspaper. But you can color them, if you want. I also added the name of the current month and the number of the current week.
ADD OTHER POCKET CARDS
Choose and place other pocket cards. I like the pages, that look clean, simple and have enough white space. That's why I pick up the white pocket cards first and than add some color to my page using the colored cards.
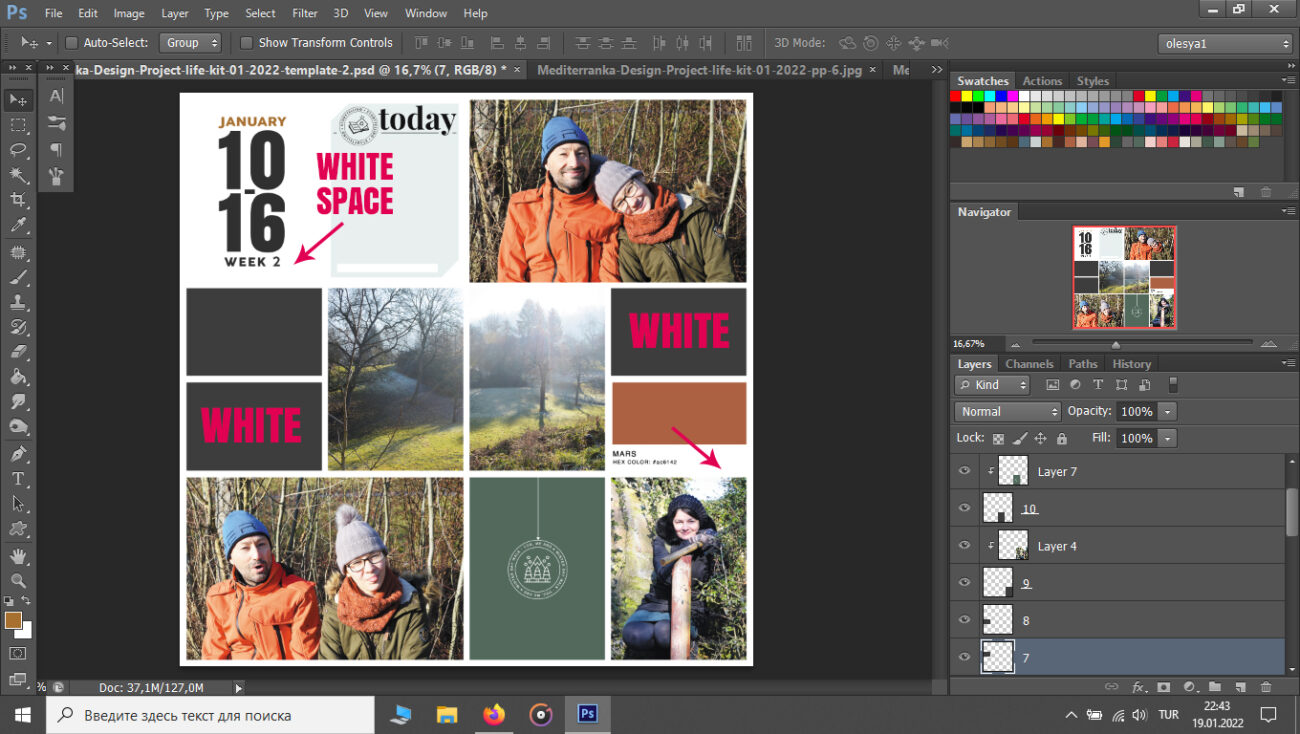
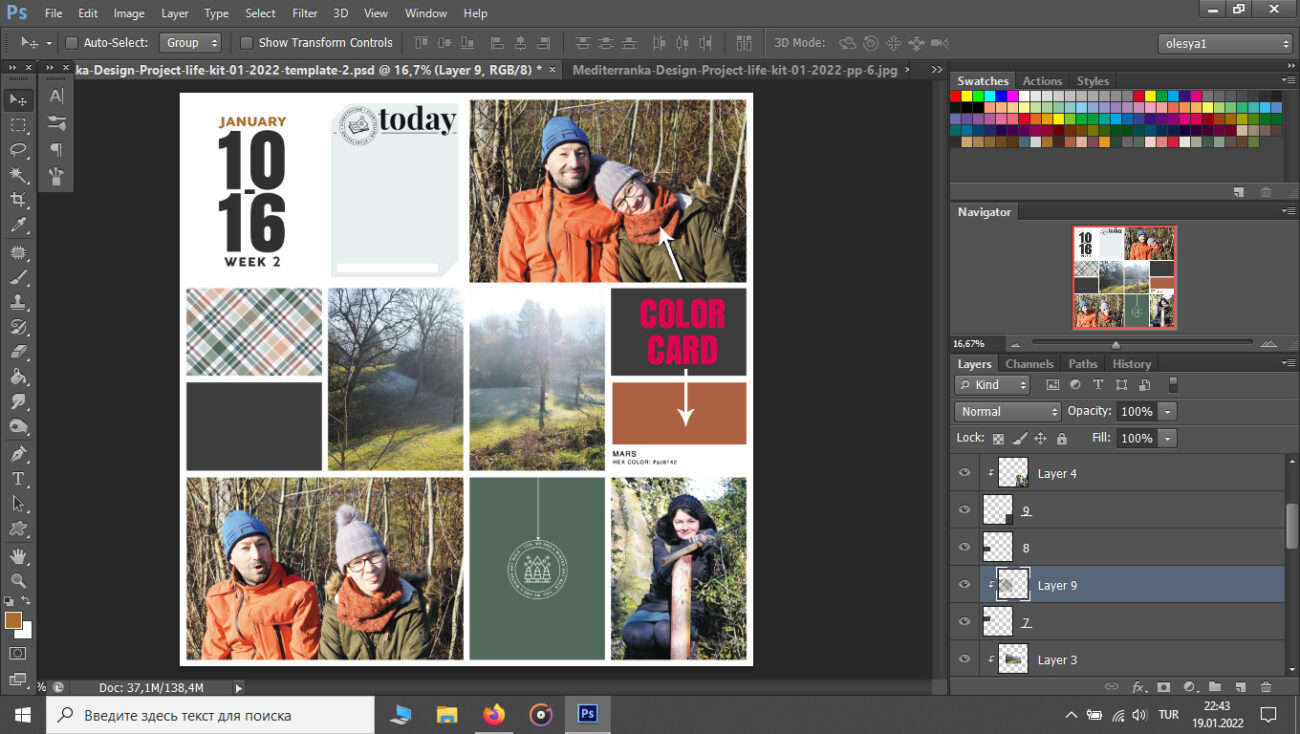
USE COLOR CARD AND PATTERNED PAPER
It's optionally, but I like to use the hex color cards in my projects. For this page I used the card named Mars, because this is the color of Illy's scraf and dried leaves on the ground. It's also optionally to use patterned pape. You can use other pocket cards or some kind of decorative elements/wordbits to fill this space. The small photo will also work good.
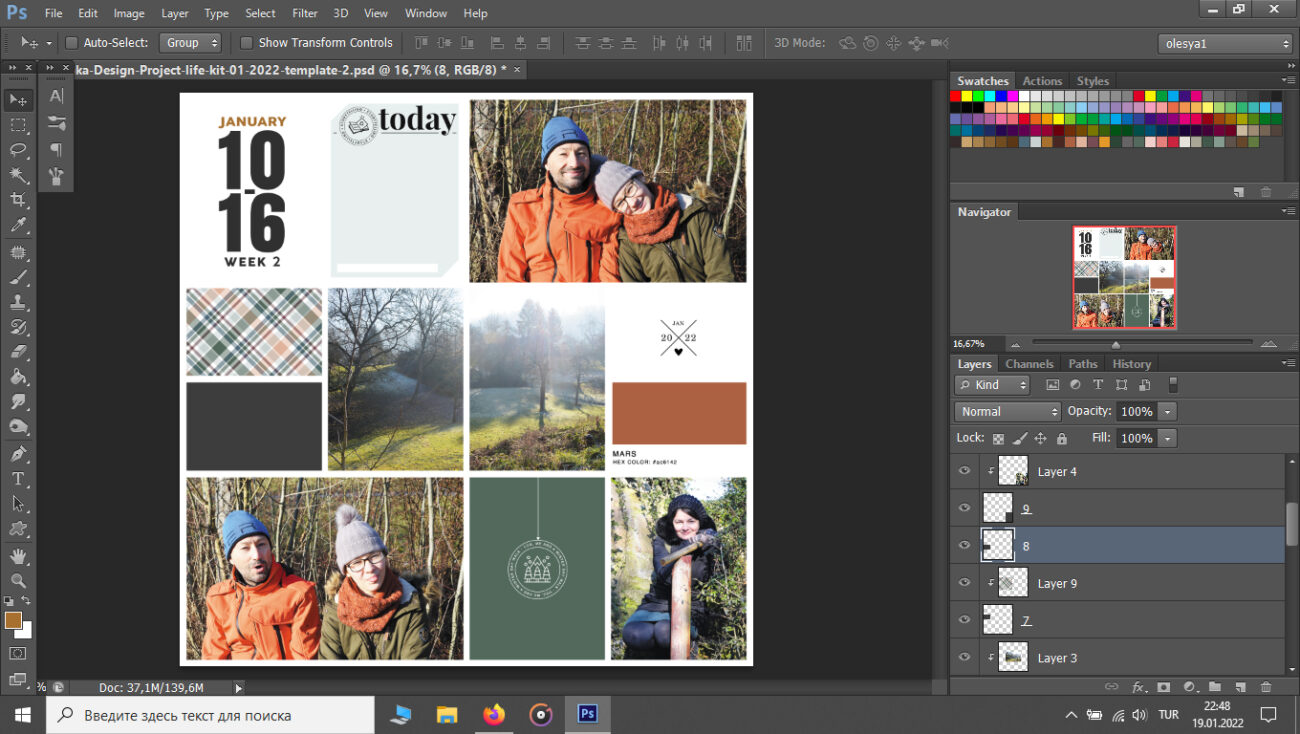
WHITE SPACE
For the right side I used the January 2022 card from the free add-on to January Pocket life kit. It looks simple, but very attractive.
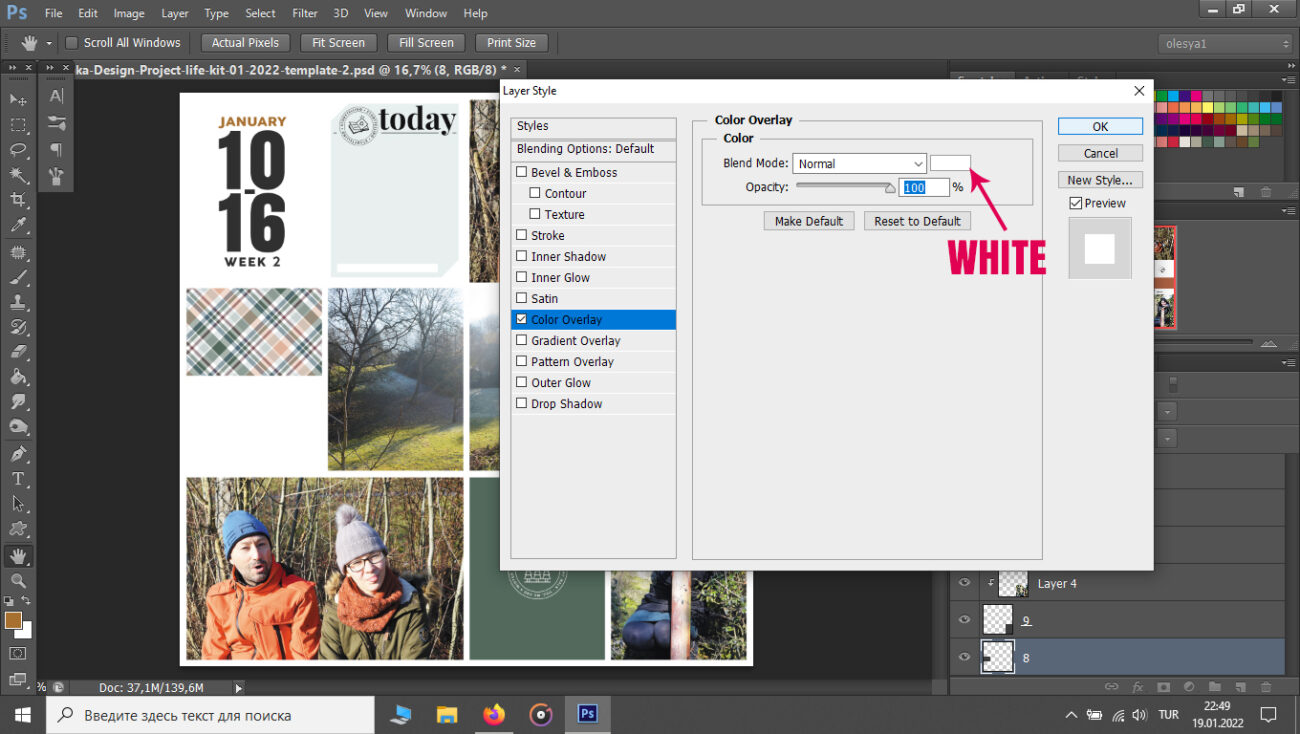
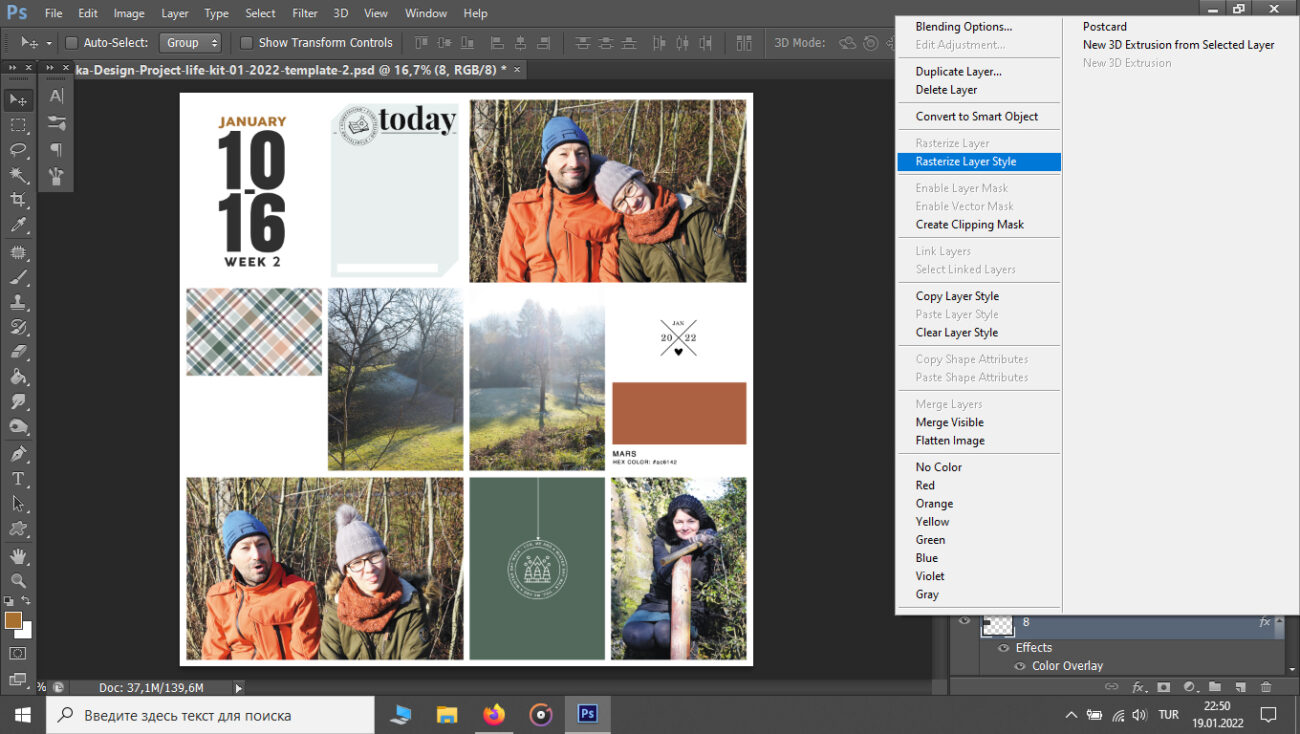
To the small card left side I decided to add a couple of sentences about the photo in the centre of the page. I simply colored it. Double click to the picture of the layer - Blending options - Color overlay - Select white color. Rasterize layer style.
CHECK ALL COMPOSITION
Look at your page. Does everything look good? You still can replace photos and cards, if you need it to get the better result.
MERGE LAYERS
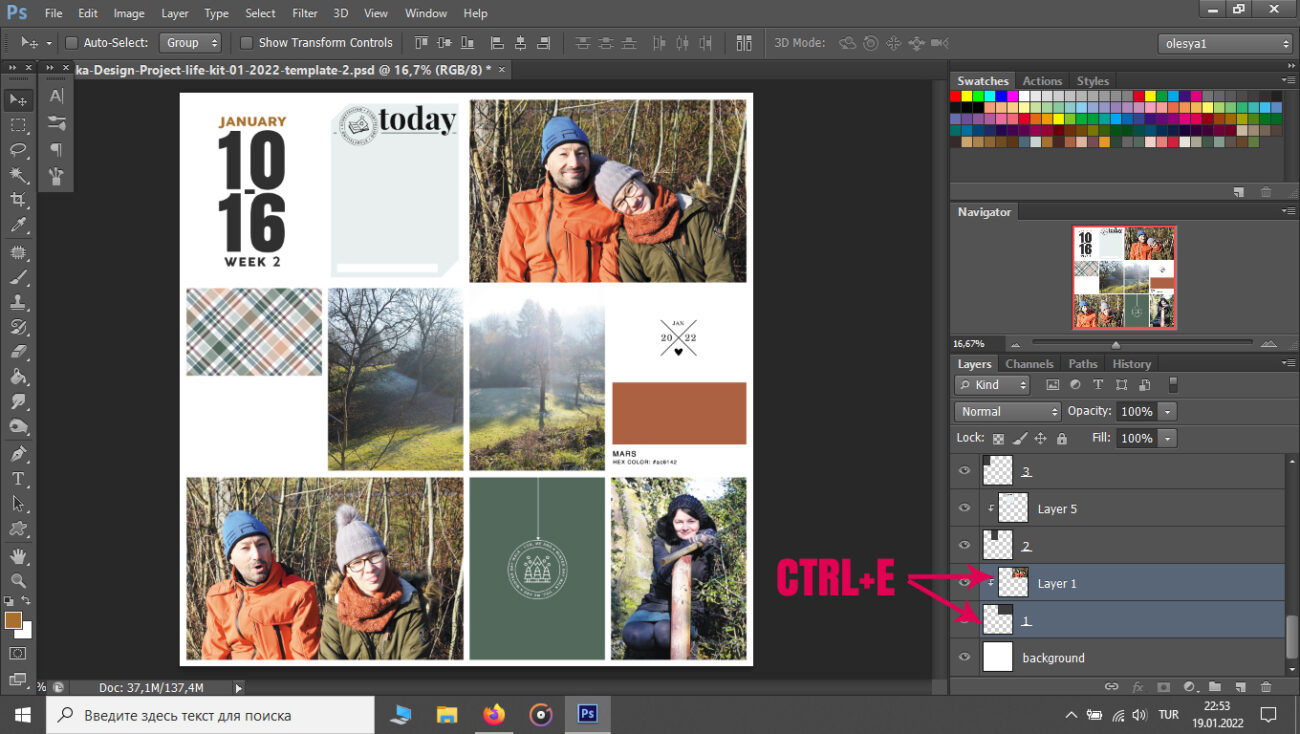
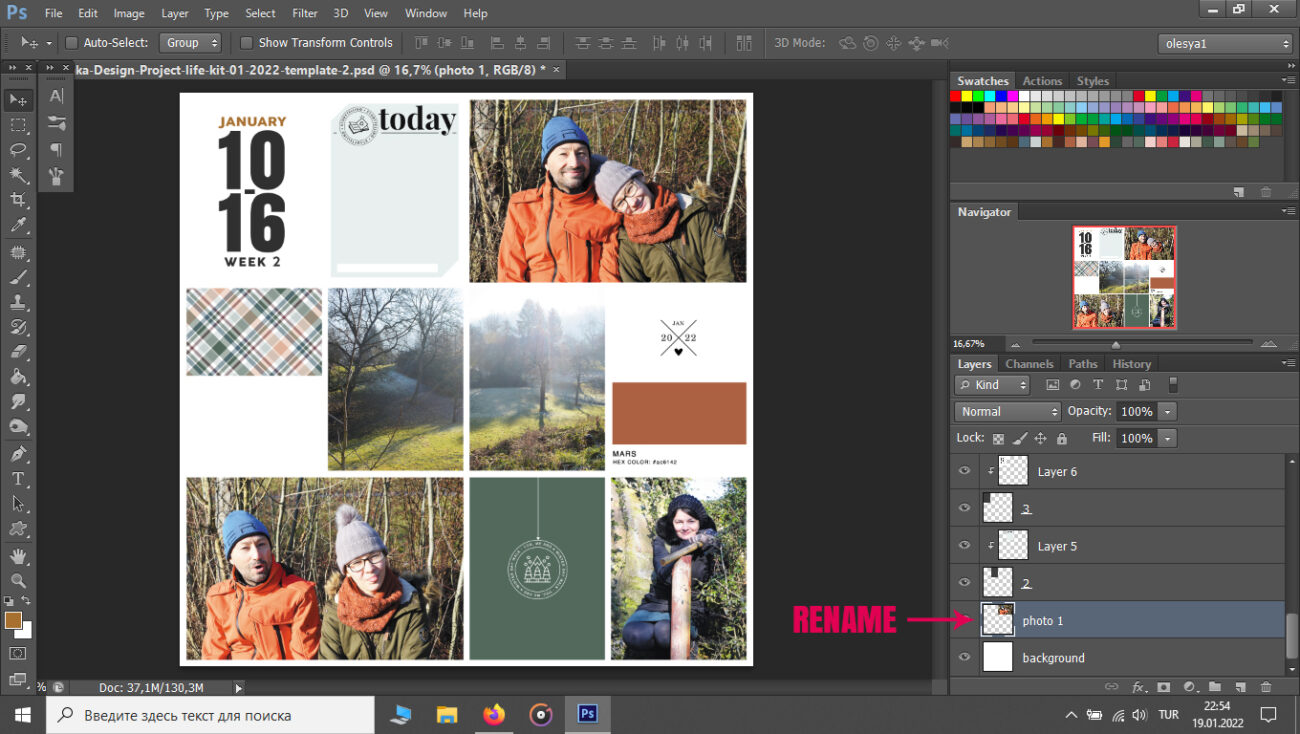
Use CTRL+E to merge each block of template with its clipping mask. Rename the new layer. It saves time to find it later. Repeat with other layers.
ADD WHITE FRAME TO THE PHOTOS
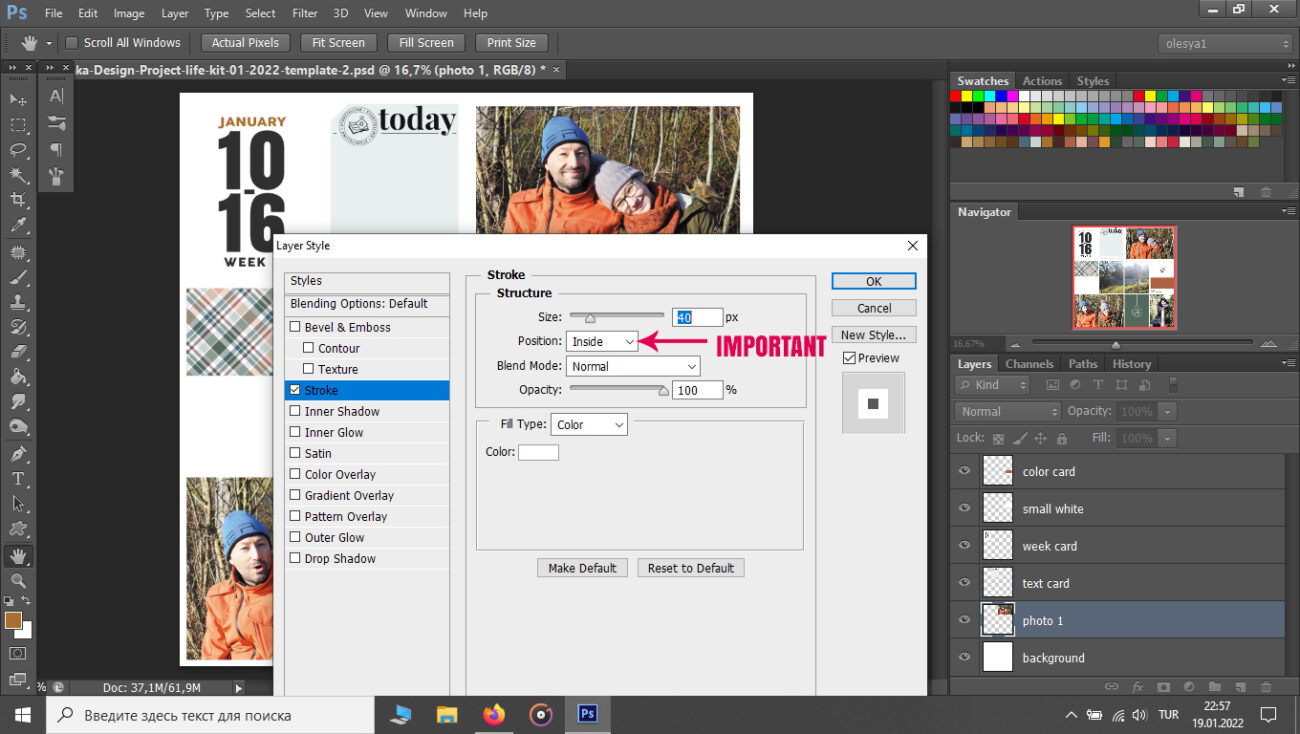
Frame the photos with white stroke gives extra white space to your page. Double click to the layer with photo - Blending options - Stroke. Play with size to change the frame thickness. Position must be choosen as inside.
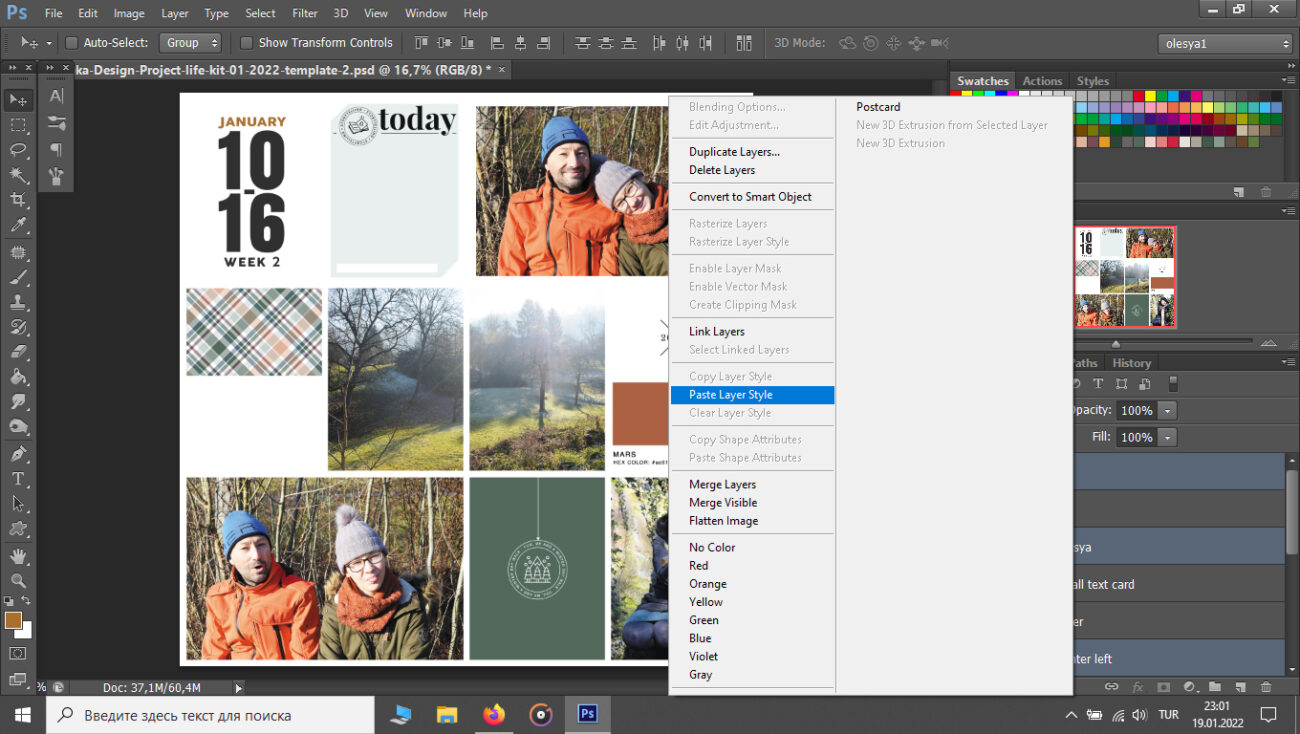
Copy layer style.
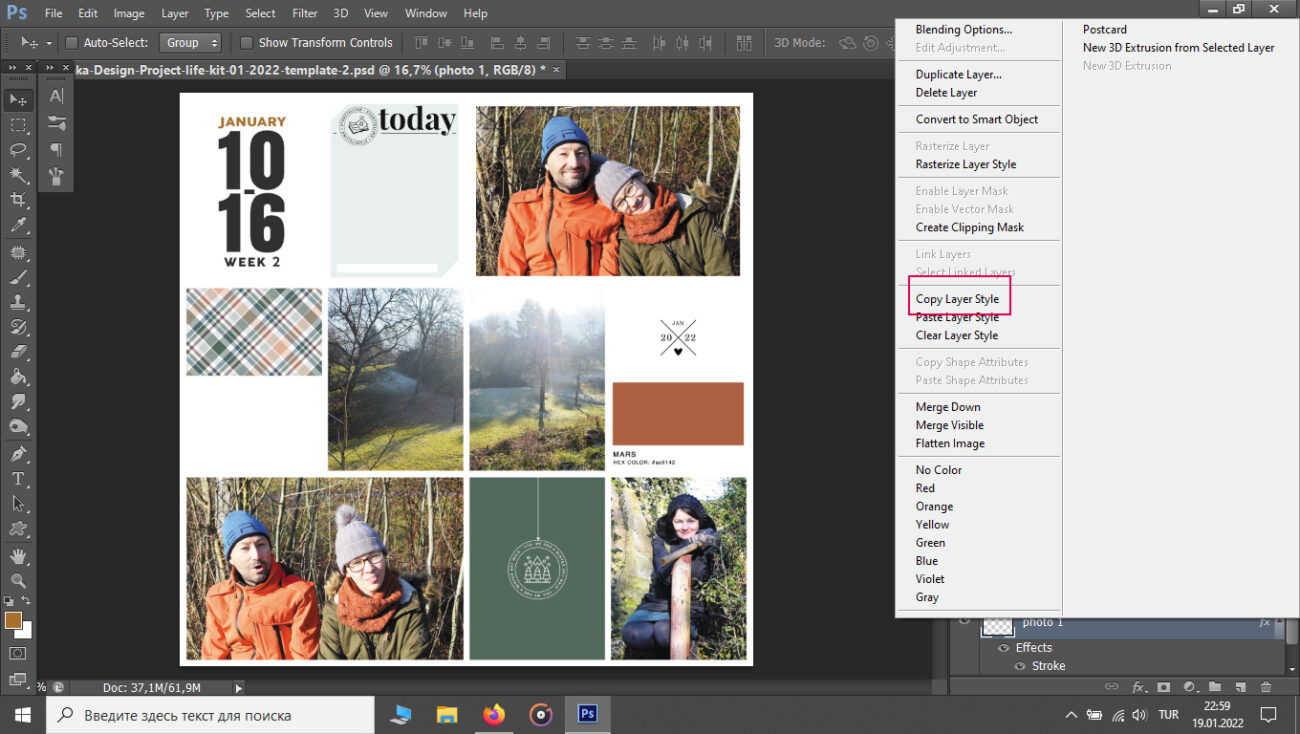
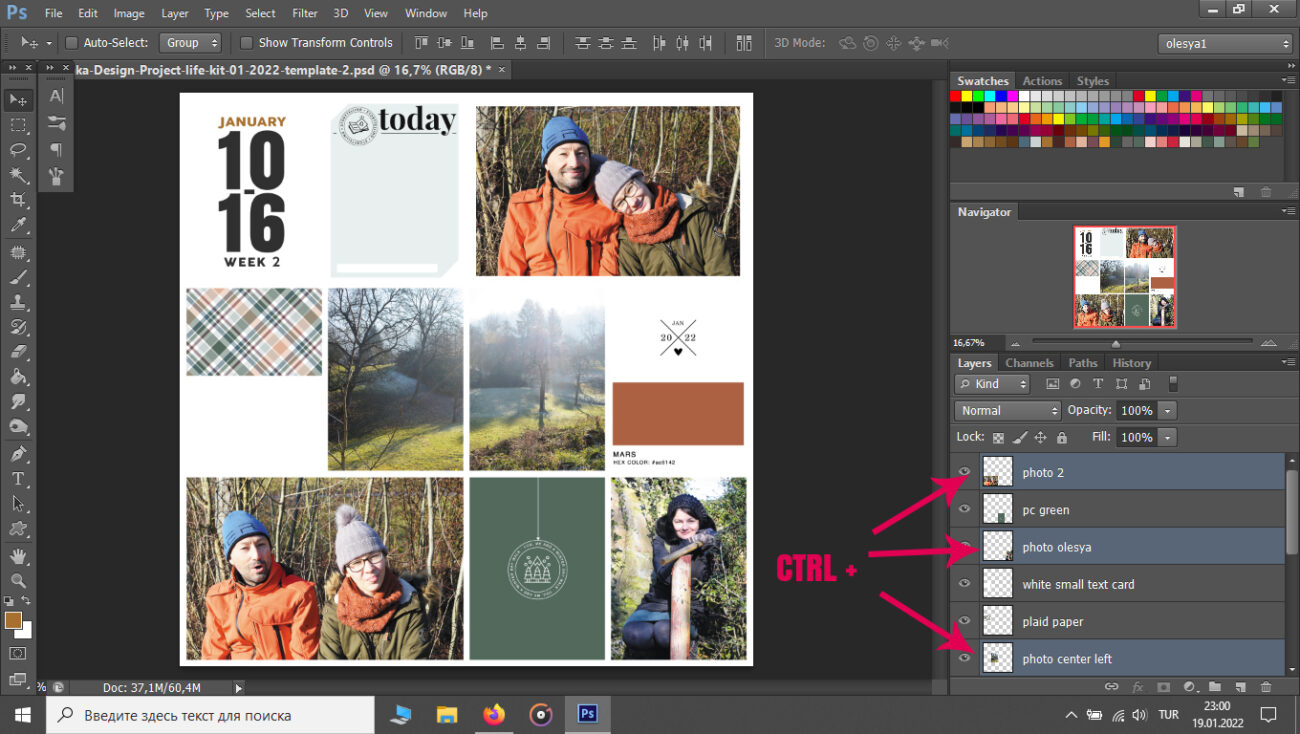
Select ALL photo layeres (CTRL+ layers one by one), paste layer style and rasterize all photo layeres.
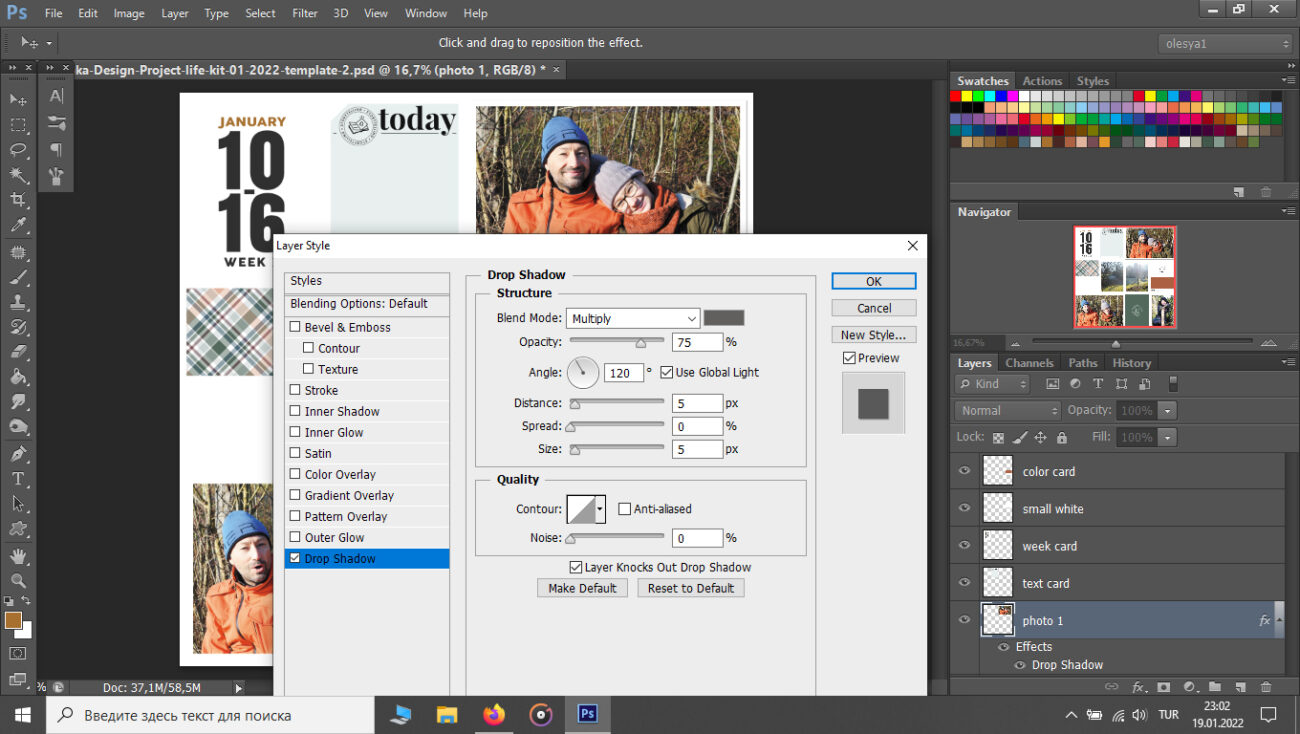
ADD SHADOWS
Add shadows to all layers. Double click to the layer - Blending options - Drop shadow.
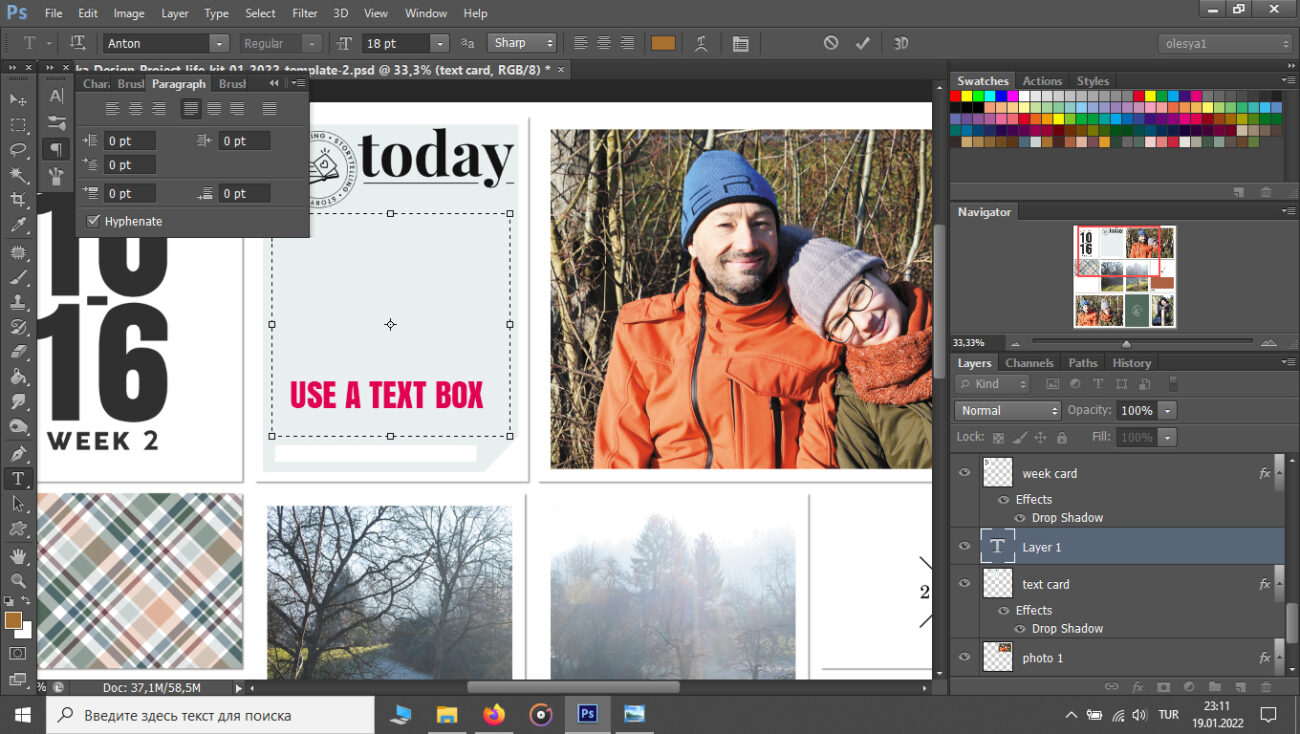
ADD YOUR TEXT
Add your story. Press T to activate text. Click and drag your mouse to create a text box. Move the text box by clicking on its outer edges and moving it to your desired location. Change the size of the text box by clicking and dragging one of the tiny boxes in each of the text box's corners. I truly recommend to create the text box to be sure, you will not going out of card with your text. It's time to write your story!
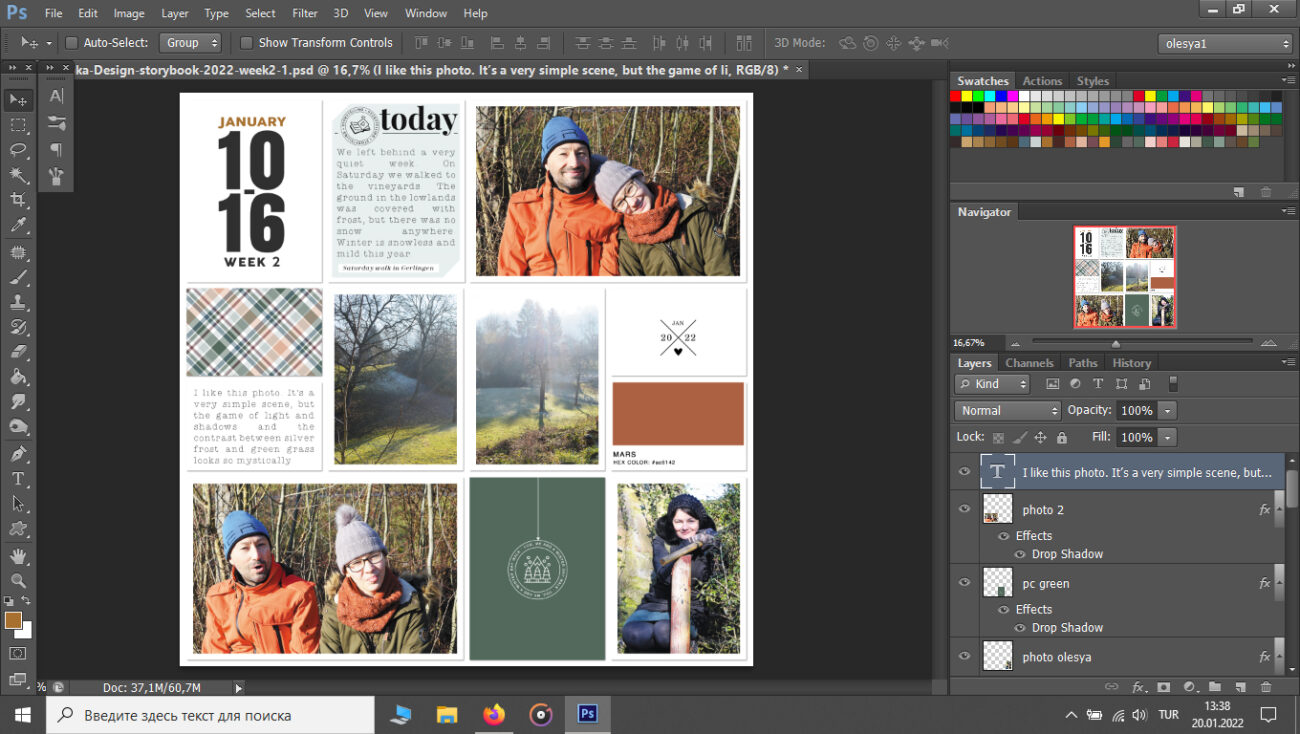
FINISH YOUR PAGE
Merge all layers CTRL+SHIFT+E. Save your page.
It's all for today. Use comment box for your questions, tips and suggestions.
X.O., your Olesya.

WELCOME 2022
