
No-photo memory keeping
Sometimes in life, we experience moments that are too special to forget — yet we don’t have a single photo to remember them by. Maybe it was a quiet evening, a meaningful conversation, or simply a feeling that stayed with you. So what do you do when there are no pictures to tell the story? The answer is simple: you document it anyway. The absence of photos doesn’t mean the memory isn’t worth keeping. In fact, it opens up a whole new creative opportunity to focus on words, textures, and embellishments that reflect your emotions. Today, I’ll show you how to create a Traveler’s Notebook page without using any photos — and still capture the full beauty of the moment. In the first half of September, I had shoulder arthroscopy surgery. After the operation, a long recovery process began, and I really wanted to document it, even though I didn’t have any photos. Over time, I collected quite a few memorable little paper items, including a business card from the physical therapy center where I attended sessions with my physiotherapist, as well as my personal schedule of exercises. I decided it would be a great idea to use these pieces to create a page in my Traveler’s Notebook. By incorporating these little mementos, I could capture the story of my recovery in a creative and meaningful way. This approach shows that even without photos, your memories can come alive through thoughtful documentation.
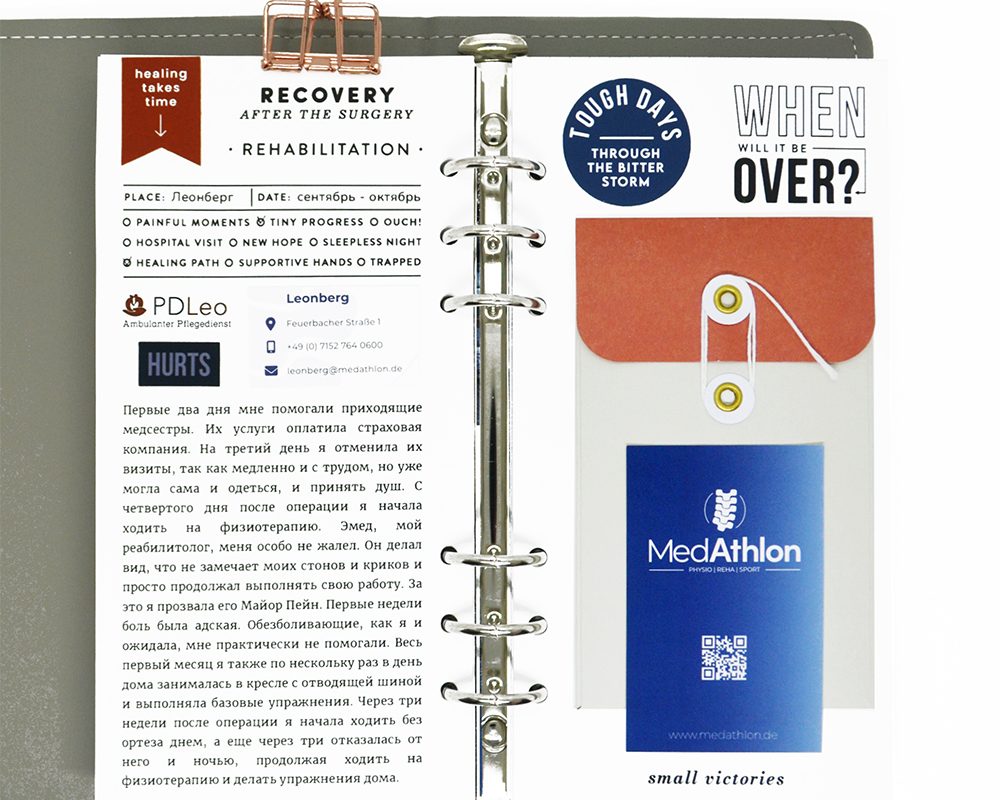
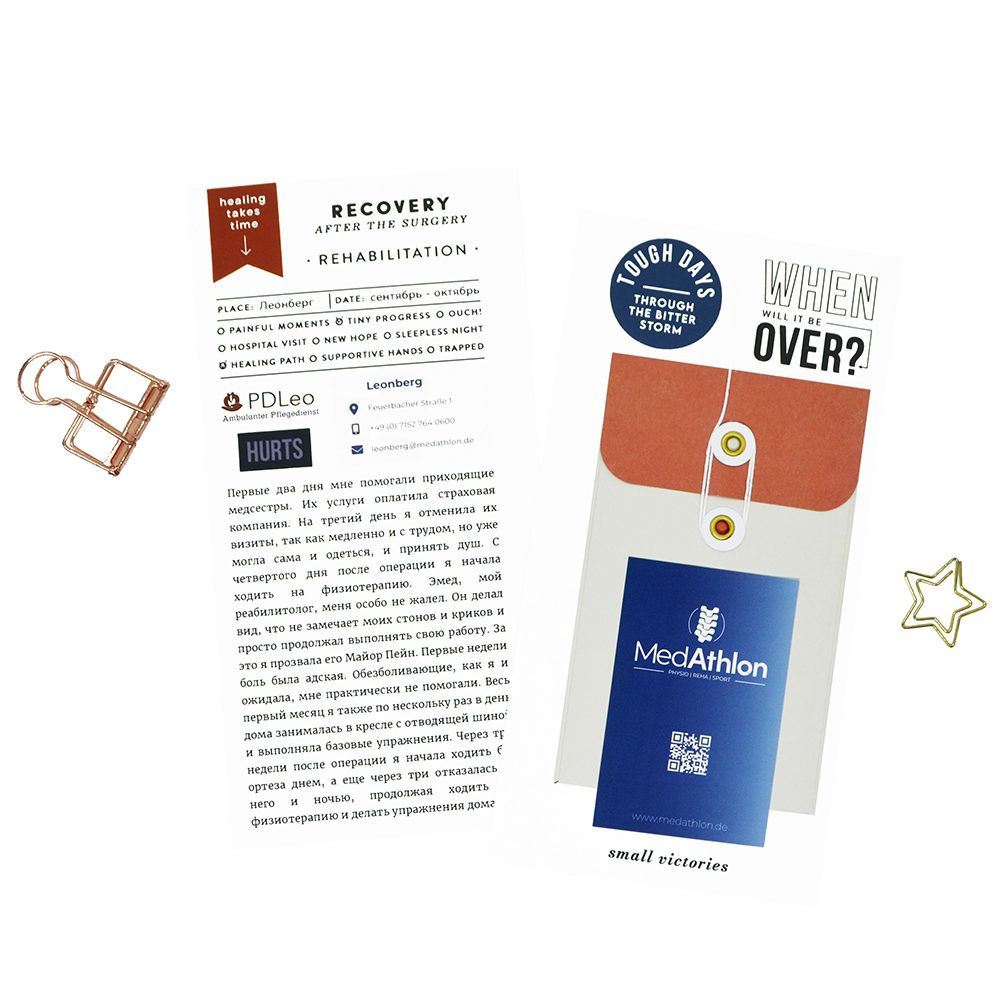
I thought using a pocket would be the best way to keep all the paper memorabilia from my physiotherapy sessions in one place. There are many ways to make a pocket yourself, but this time I went the easy route and used one of the ready-made options from Pinkfresh Studio. When creating a layout for a page without photos, it’s important to plan your composition in advance, decide on the main focal points, and balance them across the spread. I decided to dedicate the left side of the spread for journaling, while placing the pocket with my memorabilia on the right side. This way, the page tells a story visually and through words, even without a single photo.
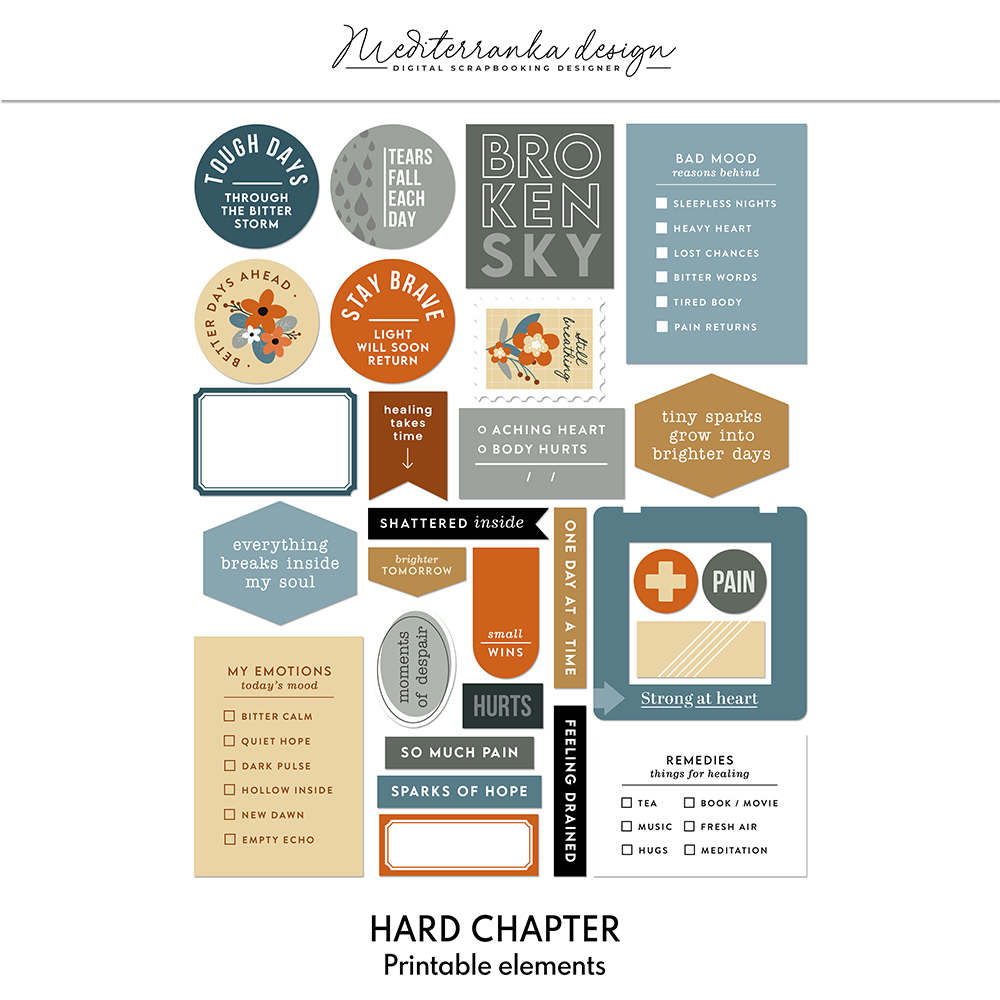
I prepared the layout for the right side of the spread using a couple of digital stamps from my "Hard Chapter" set. They were the perfect fit for my memories of this challenging period. After printing, I adhered the pocket, and on top of it, slightly overlapping, I added the business card from the physiotherapy center. I just needed to add a few decorative elements, and this side of the spread was complete. A page like this is not just a collection of items — it’s a small universe of moments and feelings captured in paper. Even without photographs, the textures, colors, and layers speak volumes about the journey I’ve been through.
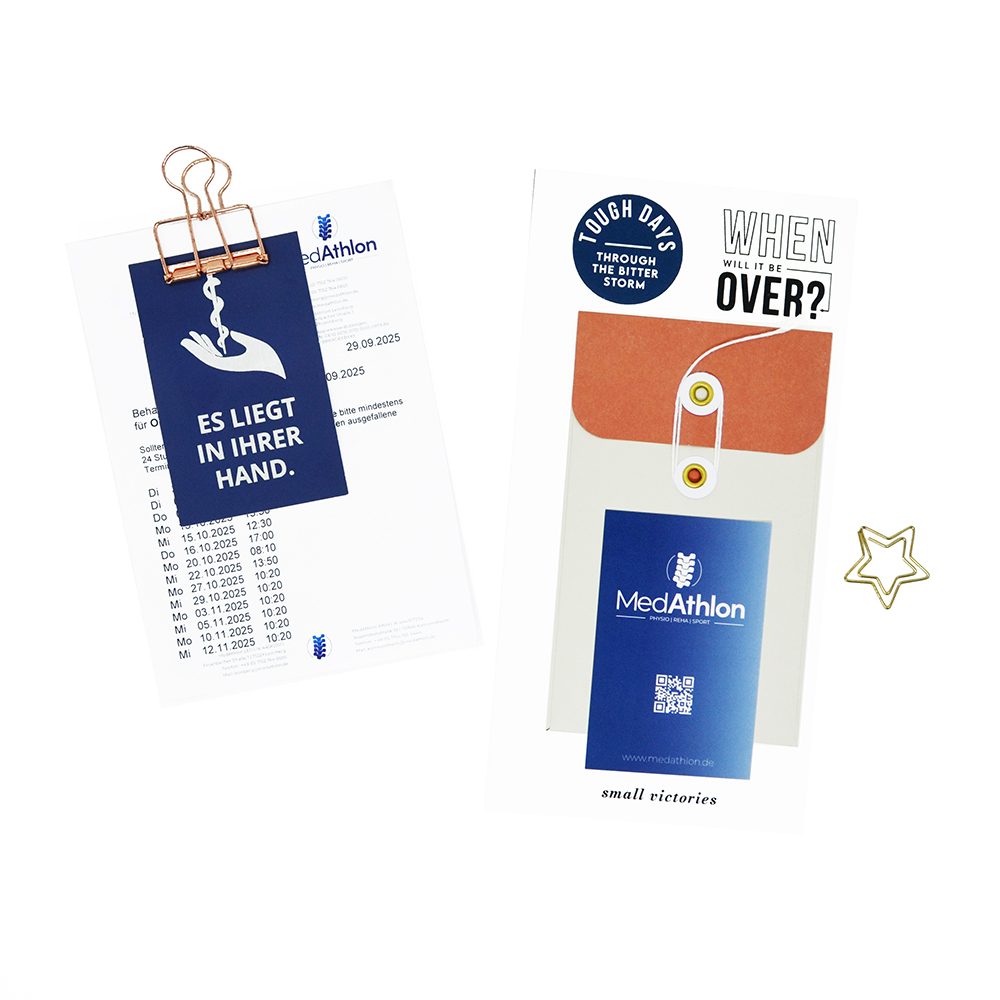
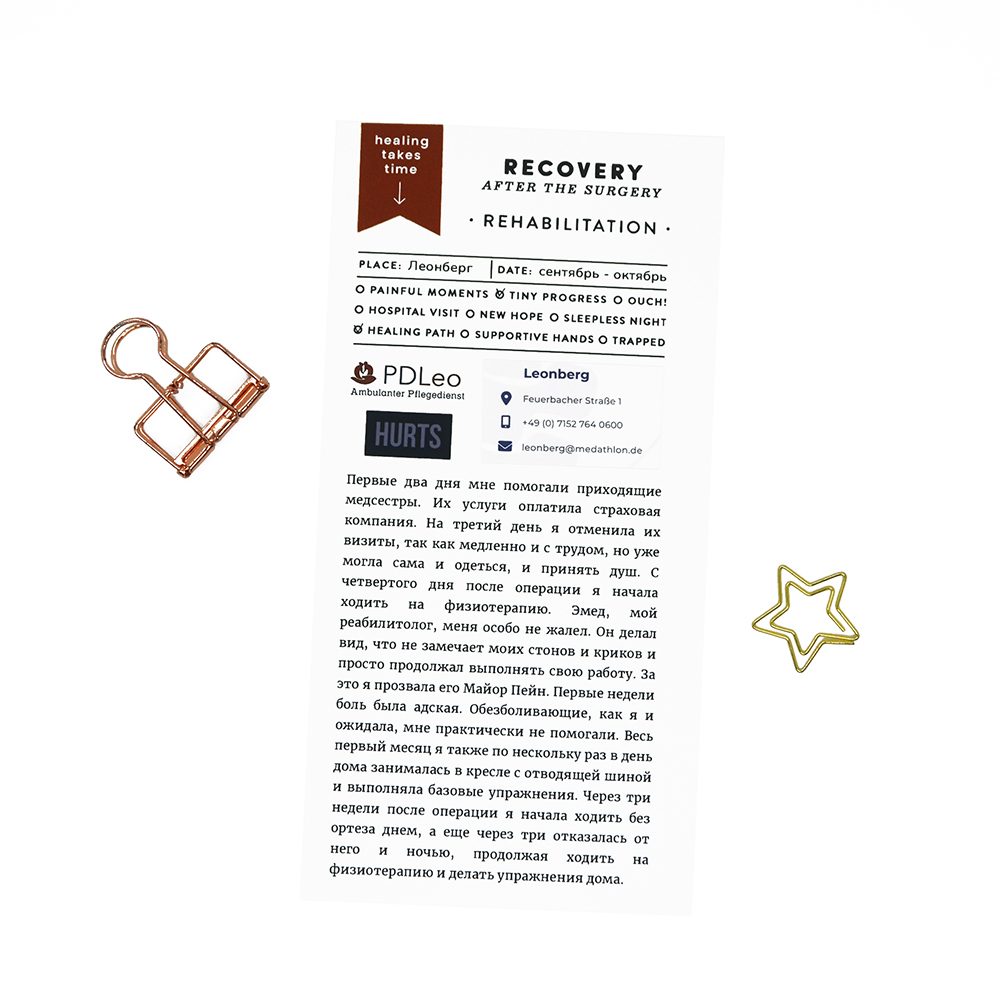
For the journaling side, I used several stamps from the same set, including one that allows you to choose a topic from pre-set options. This saves time on writing headers and gives the page a neat, organized look. The text takes up most of the space, and to visually separate it from the table stamp, I added the logo of the visiting nurse service and a small piece of the physiotherapy center’s business card with contact details. After printing, I checked off the relevant items in the table stamp and added a couple of tags. And that’s it — my spread is complete!
Even without photos, documenting memories can be a deeply satisfying and creative process. Using little pieces of memorabilia, stamps, and thoughtful layout choices allows you to capture moments that might otherwise be forgotten. This spread in my Traveler’s Notebook became more than just a record of my after-surgery journey — it turned into a visual diary of resilience, effort, and small victories along the way. I loved seeing how words, textures, and tiny decorative elements could bring a story to life in a way photos sometimes cannot. Creating pages like this reminds me that every moment, no matter how quiet or challenging, deserves to be remembered. It also shows that memory-keeping can be flexible and personal — there’s no single “right” way to tell your story. I hope this tutorial inspires you to experiment with your own spreads, even when you don’t have pictures. Sometimes, the absence of photos can open up entirely new possibilities for creativity.
PRODUCTS I USED IN THIS TUTORIAL

Olesya Rudenko Manaz
Hi there! I’m a graphic designer, scrapbooker and storyteller. I enjoy creating quality supplies to make scrapbooking and storytelling easy, fun and practical for you.

