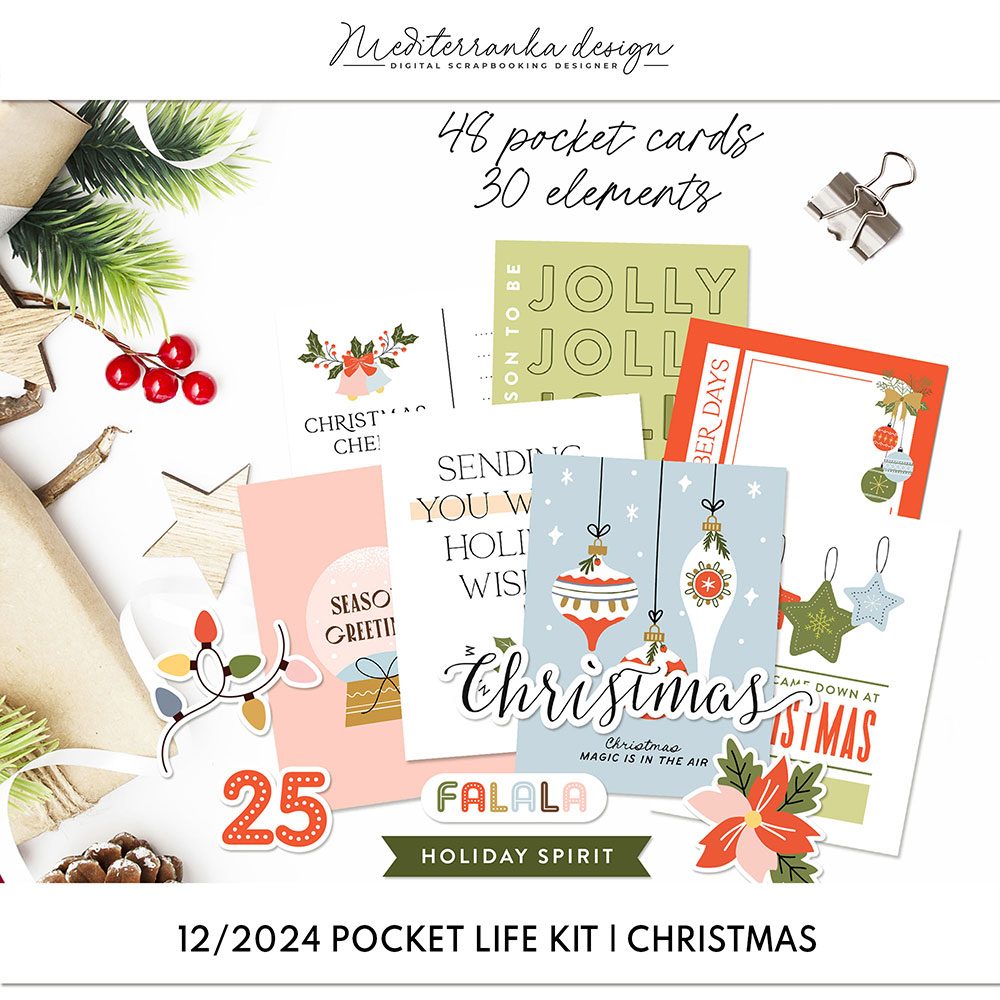
LETTER TO SANTA
Letters to Santa are such a heartwarming part of Christmas. I must say that I DO believe in Santa Claus! So this year I wrote a letter to Santa to let him know what’s on my wish list this year.
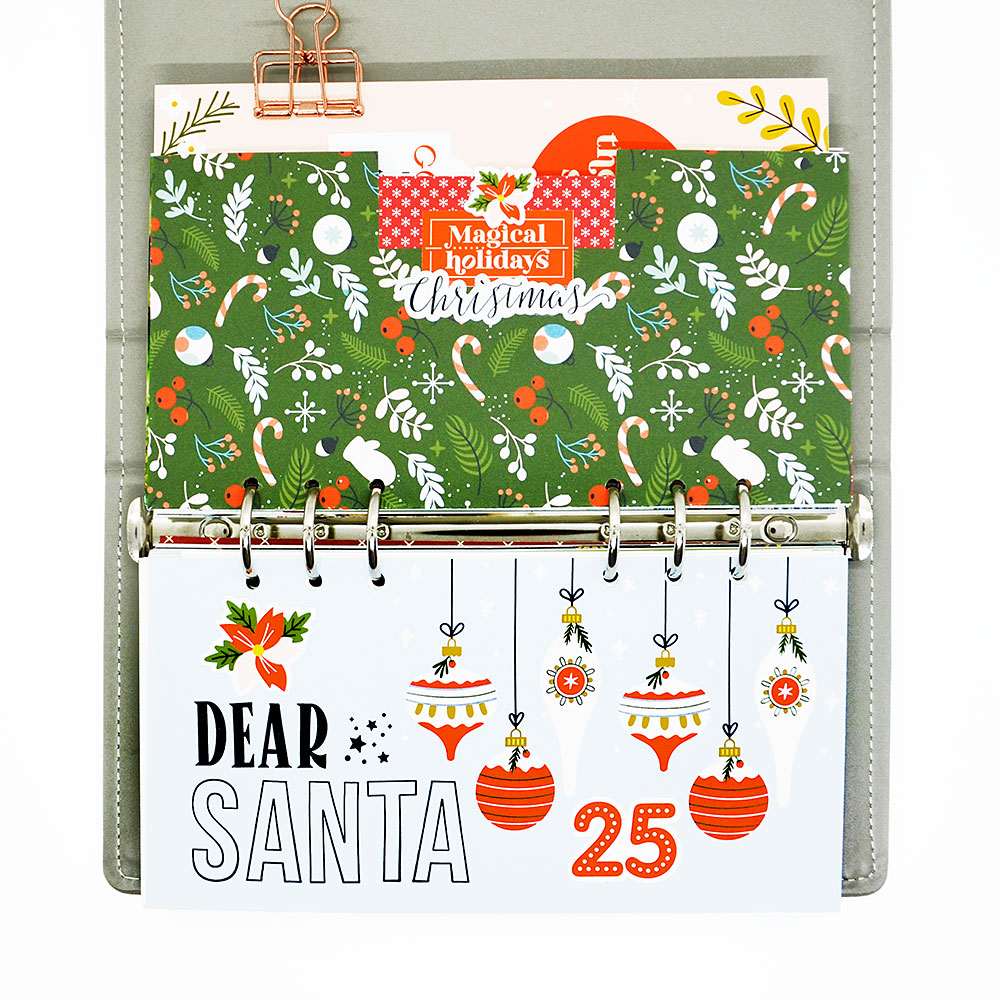
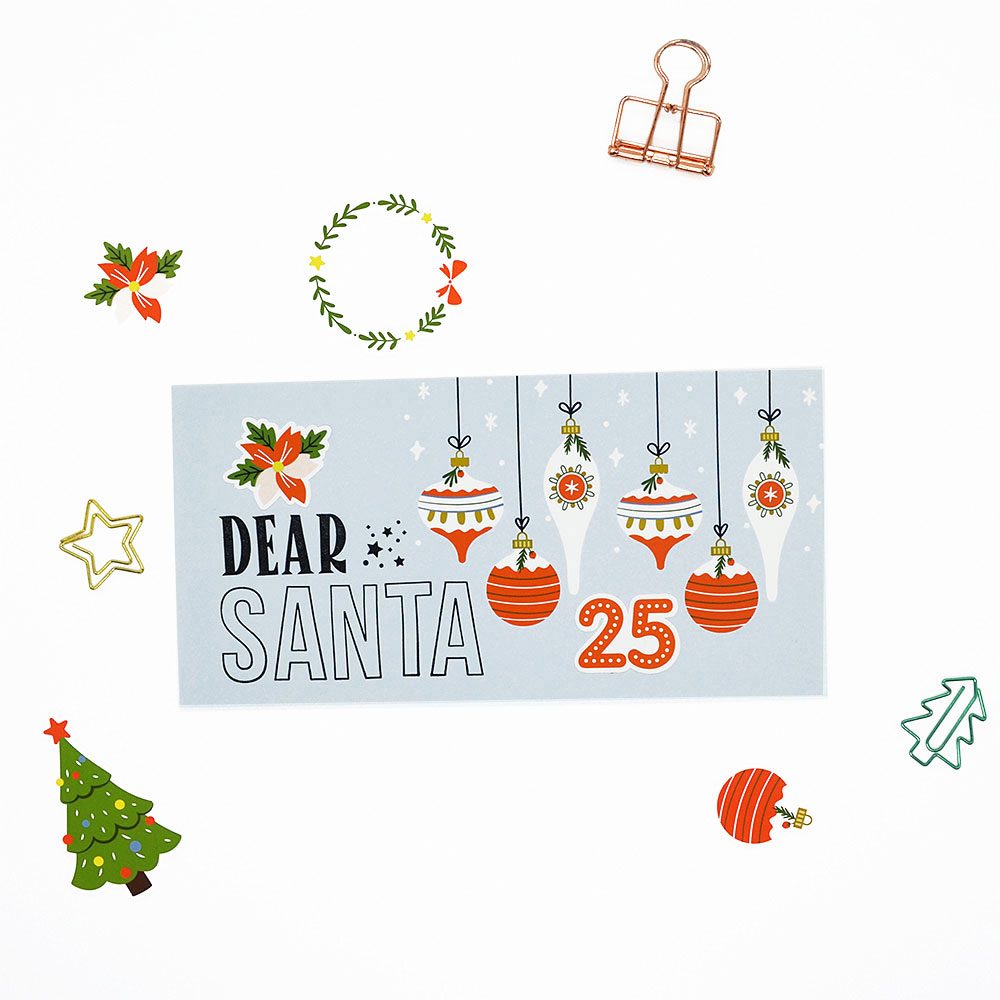
1. Transform the pocket card to the Traveler's notebook page.
I used one of my favorite cards from December 2024 Pocket life kit to create the right page of this spread. I used the Photoshop to make some changes. At first, I removed the quote. I added the new layer and picked the color from card’s background, then used the Rectangular Marquee tool to select the area with quote and add selected color to this area. After I removed the selection and merged all layers, I opened my traveler’s notebook page template, copy-pasted the pocket card to it and filled the background layer with the color of card’s background. Then I used Pen Tool to draw the curve around the Christmas balls, made a selection, copy-pasted it as a new layer and moved to the left. You can see all the process on the video. After I printed the page, I use the alpha clear stamps to add the big title «Dear Santa» and decorate the page with a couple of ephemera and star clear stamps.
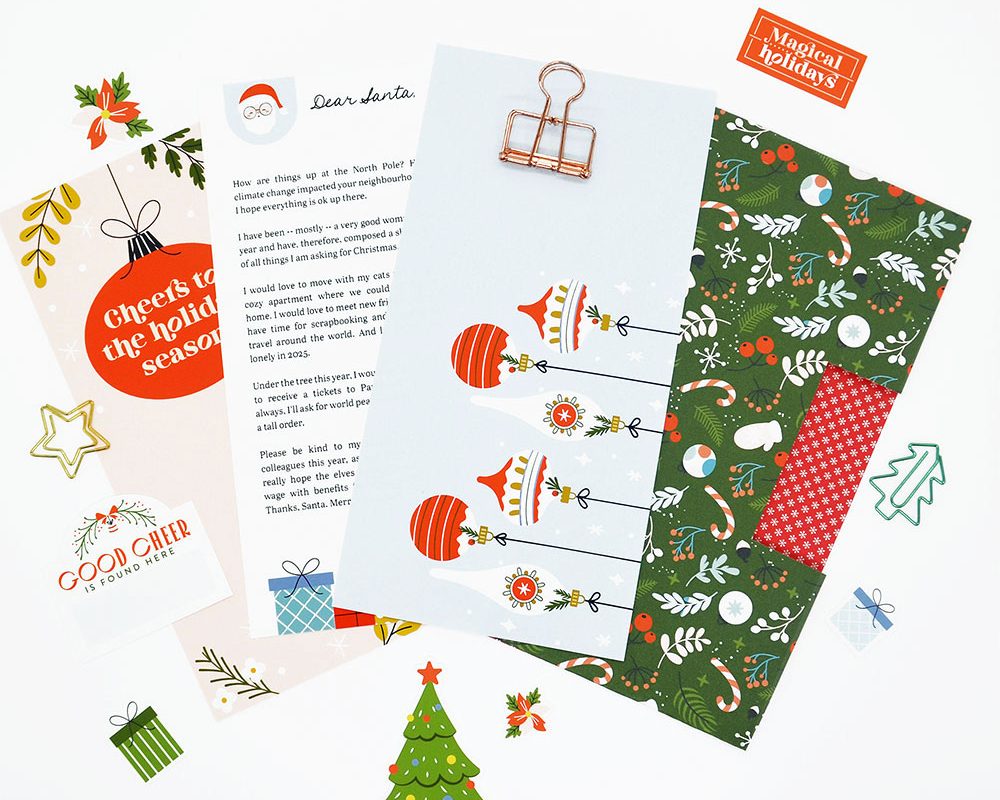
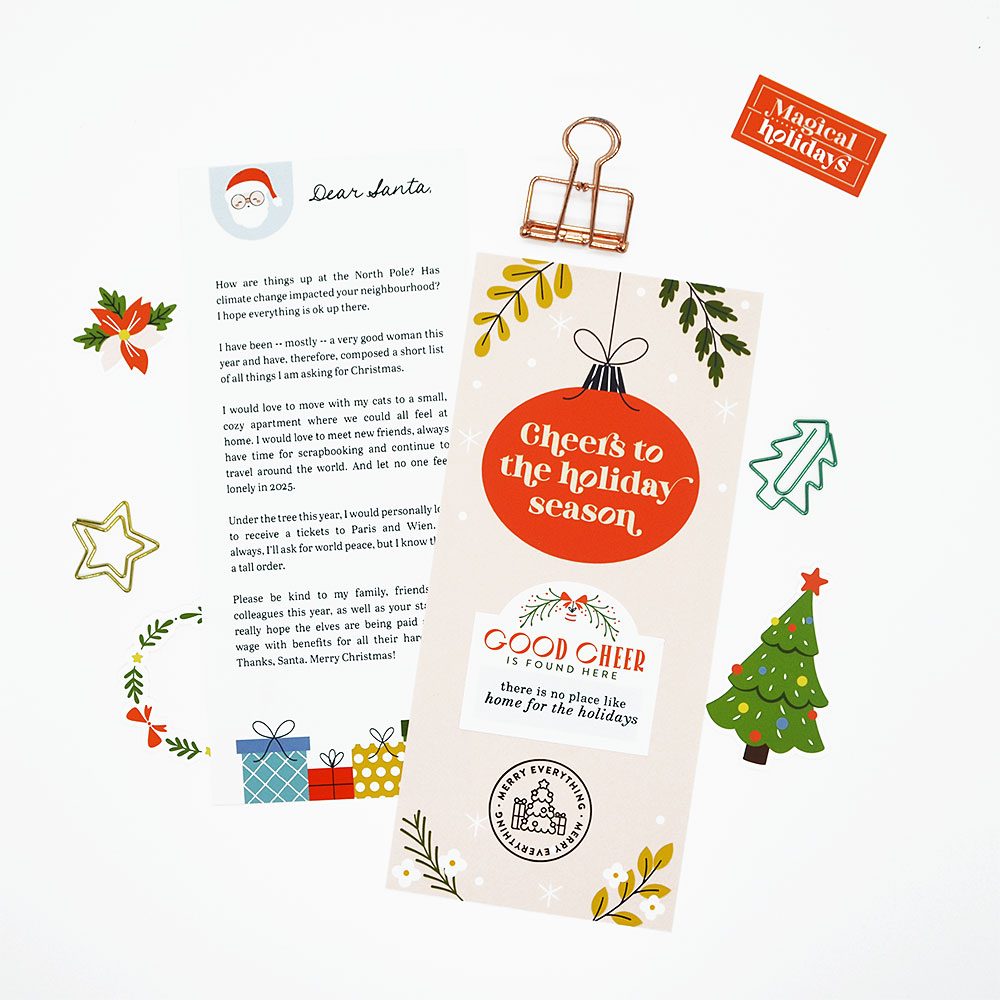
2. Write a letter to Santa.
For the letter to Santa I used a template 9x20 cm. I chose the journaling card with «Dear Santa» title and a cute Santa’s face, but removed the lines. To the bottom of the page I placed the gift boxes from another pocket card and added my text. To create the back side of the letter, I chose the beautiful pink card with «Cheers to the holiday season» wishes, but changed it a little bit to open the spot for stamps. Here is the short video that takes you through the creating process in Photoshop. After I printed the both pages, I simply glued them together and decorate the back side with some stamps and ephemera.

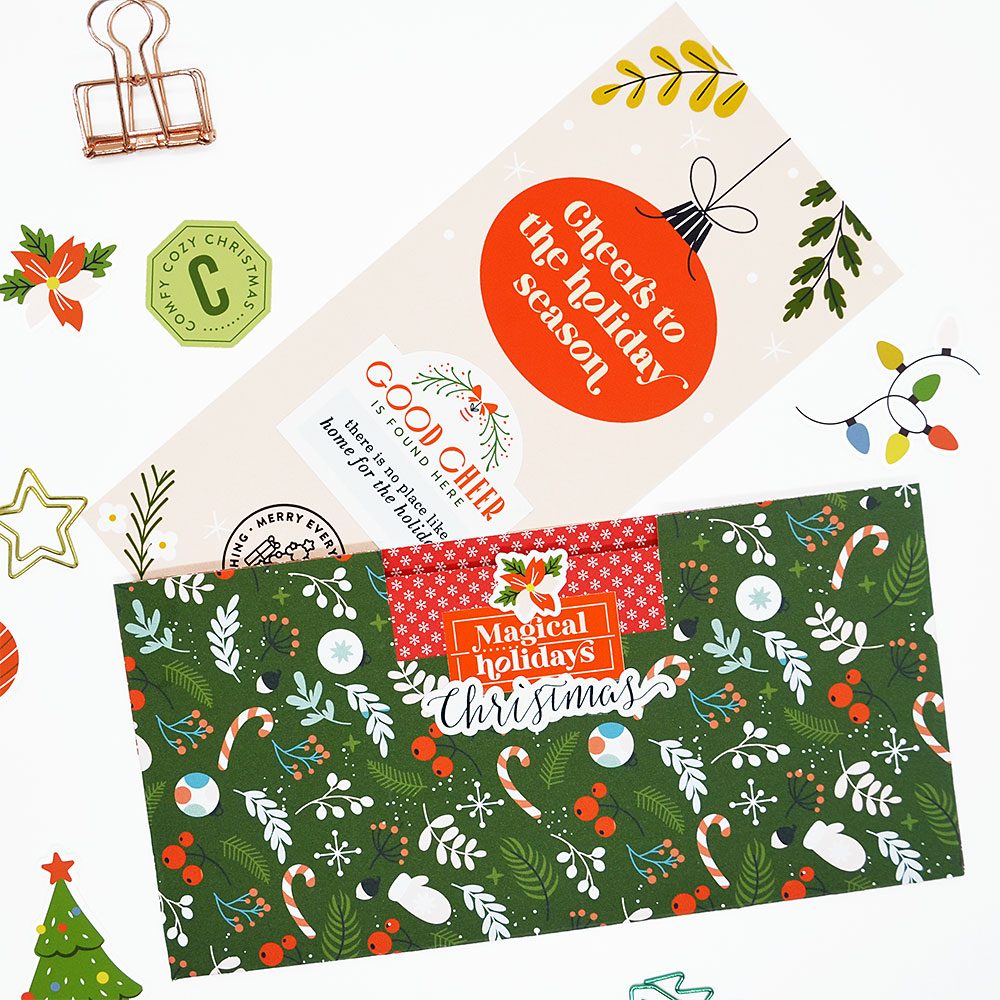
3. Create a pocket page.
For a pocket page I chose the double sided paper with Christmas pattern. To cut the pocket I used the pocket template, which you can download from here. I printed this template directly onto patterned paper. Alternatively you can print it onto thin cardboard, cut out and use this pocket pattern over and over because it’s nice and sturdy. I cut out the pocket on the trace line, folded on the dotted line (the short sides first, then the bottom), added glue to the edges and glued the pocket to the previous traveler’s notebook page. I used a piece of red patterned paper and glued it from inside the pocket to decorate the slot. I also added some ephemera.
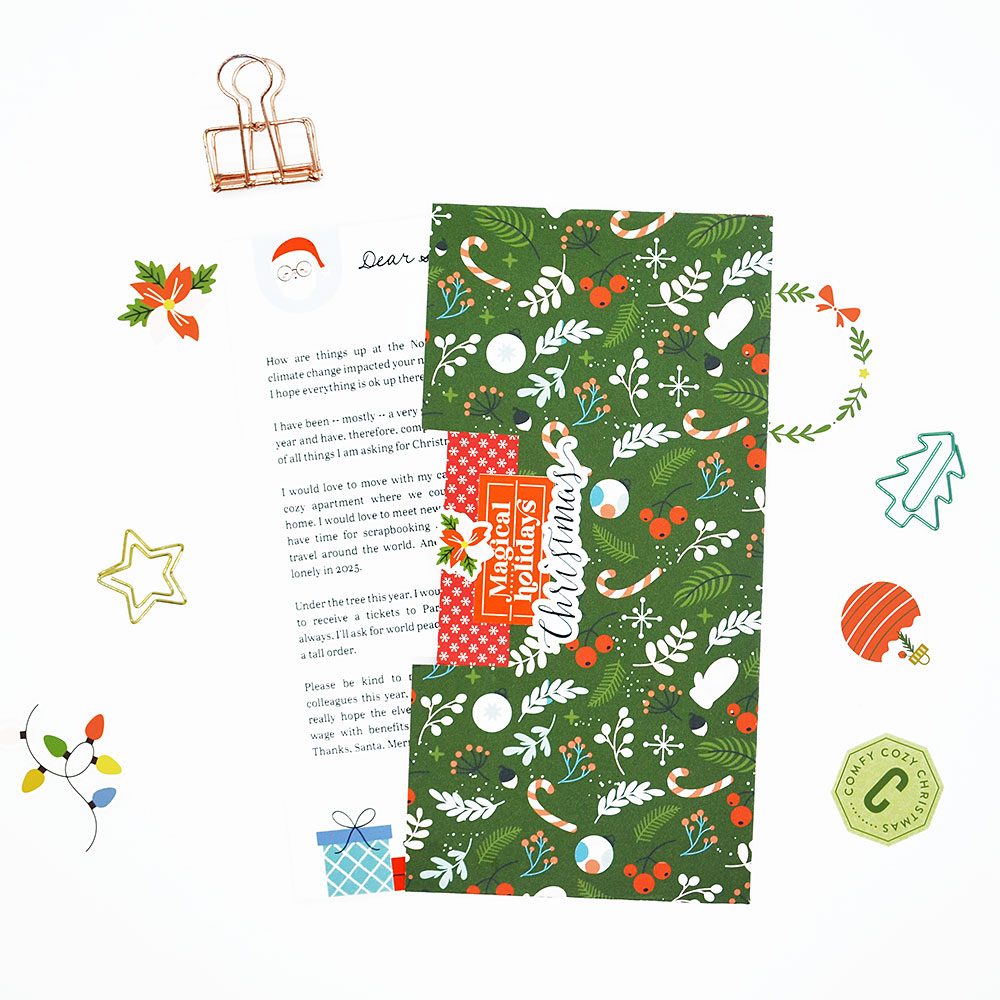
Finally I put the letter to Santa inside the pocket page to hold it hidden. Now my message to Mr. Claus is ready. It will be funny to open it next year to see which of my wishes came true. I hope you will capture the magic of Santa letters in your Christmas projects this year!

PRODUCTS I USED IN THIS TUTORIAL