MORE PHOTOS USING PHOTO STRIPS
There is no better way to add more photos to your traveler's notebook layout than using photo strips. It works especially great with travel pictures. I always take a lot of photos when we travel. And every time, when I create pages for my traveler’s notebook, I try to fill them with as many pictures as possible. I use different ways to share the variety of photos, and adding the photo strips is one of my favorite method. It’s also a great solution for those scrappers, who love to keep their layouts simple. Just add a few decorative elements and your layout is ready to shine.
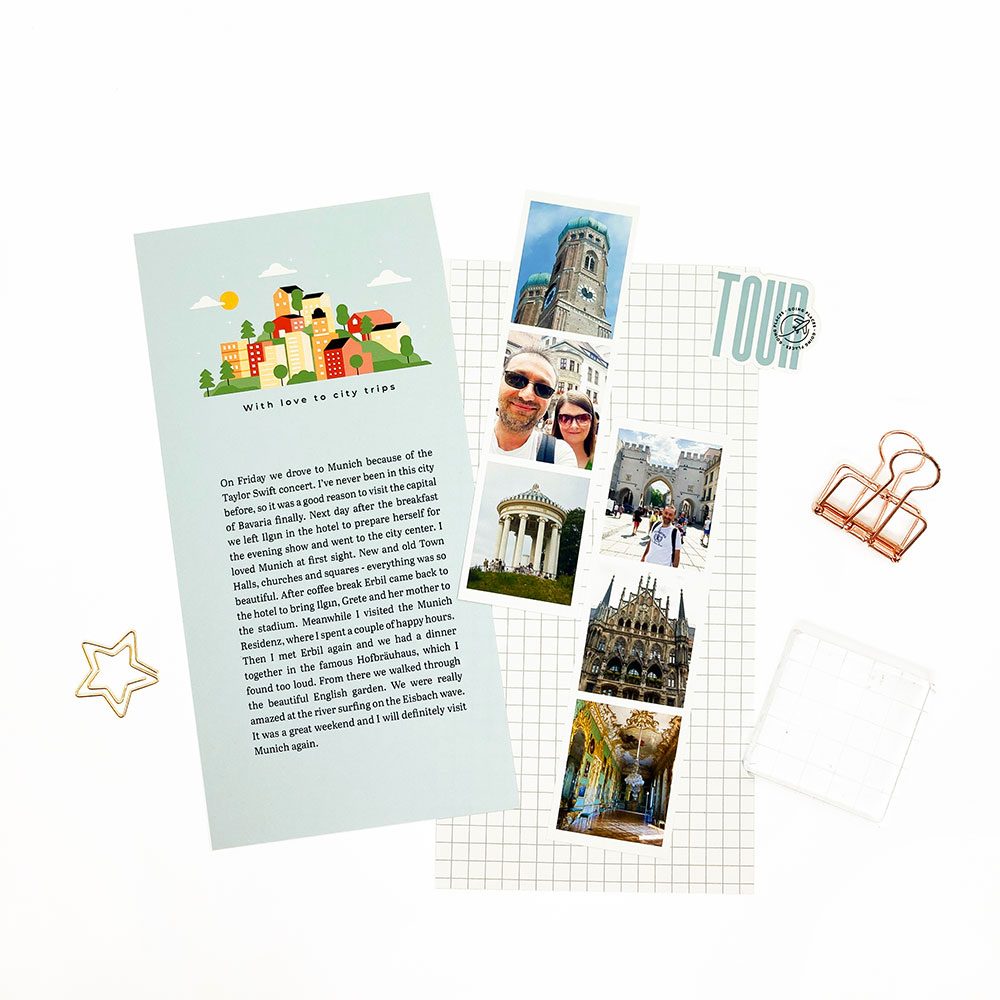
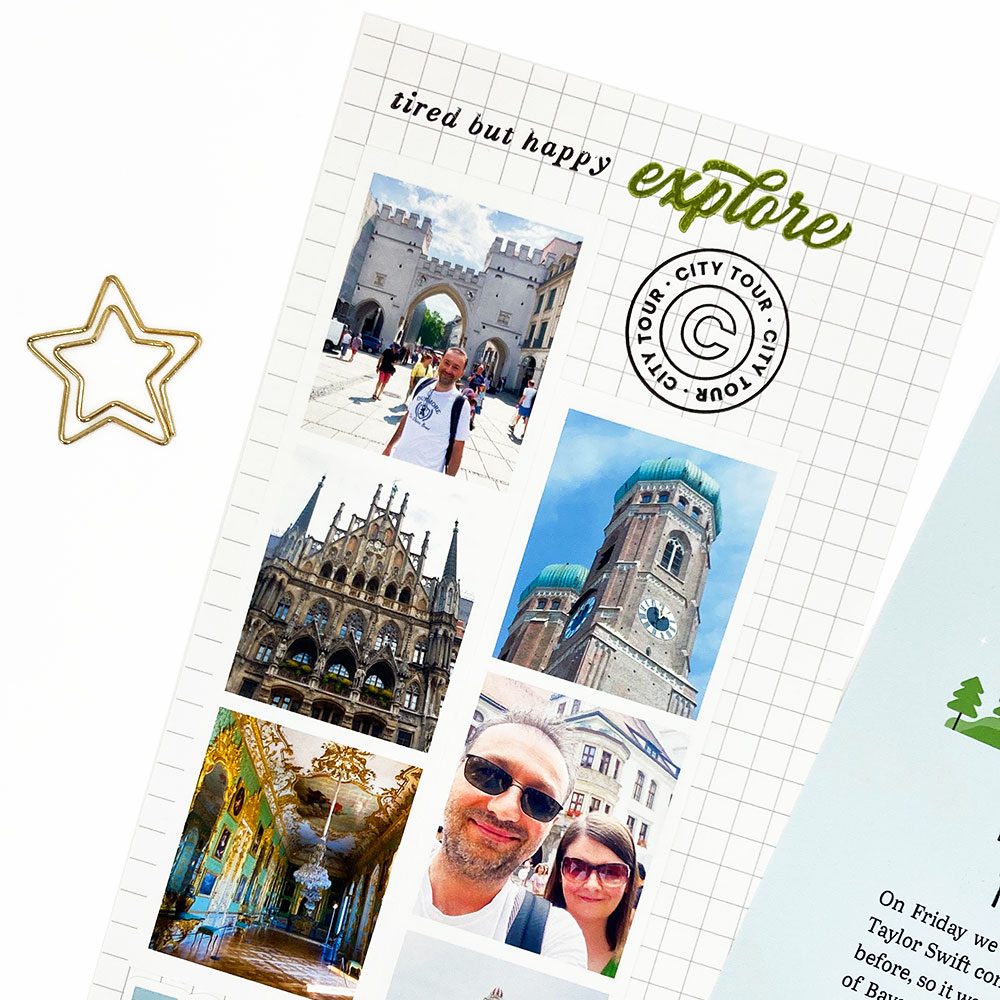
For my layout I need two photo strips. To save time I used free layered template and added my pictures to it using clipping masks. Then I simply merged all layers and got my first photo strip. It took another couple of minutes to create the second one. I saved both photo strips as .png. I chose the basic grid pattern as a background for the photo strips, used my traveler’s notebook page template to fix the size of patterned paper and saved it as .jpg.
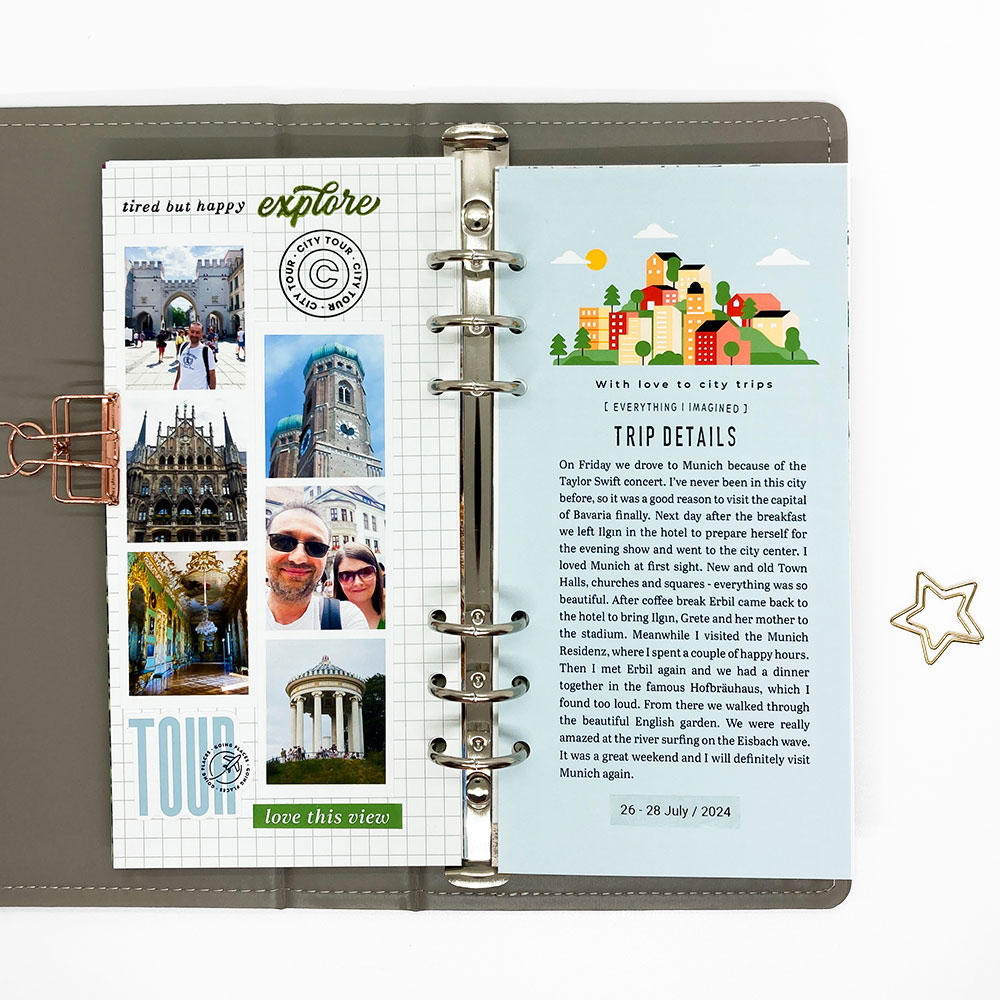
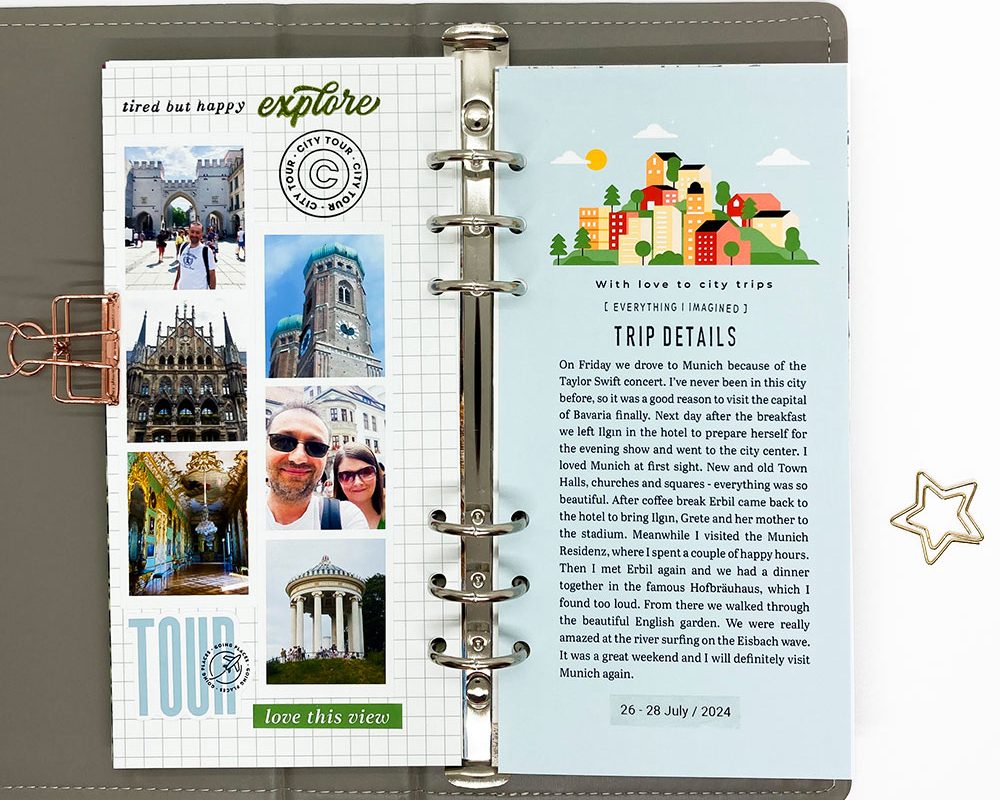
For the right side of the spread I used a 6x4 card from City trip pocket cards set. I added the card to the page template, used the eyedropper tool to sample the blue color from the card and transfer it to the background layer. I added the story to complete the right page, merged all layers and saved as .jpg. Then I placed the both pages and the photo strips to A4 document, saved it as. jpg and printed using borderless printing. I cut all the stuff using paper cutter and finished my traveler’s notebook spread. I kept my layouts simple with a few decorative elements and a little bit of stamping, so my photos can shine.
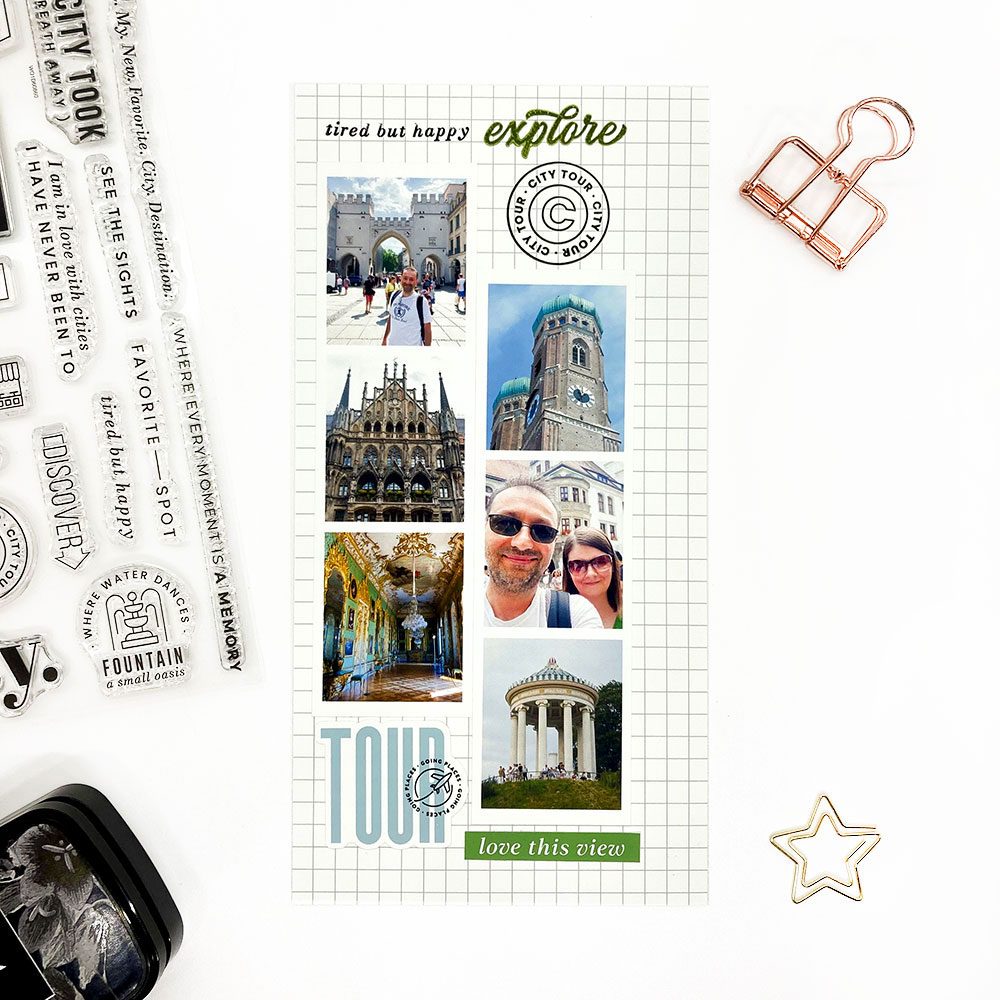
Credits: July 2024 Travel Pocket life kit, City trip Pocket cards, clear stamps City scape (except the Explore stamp).
Olesya Rudenko Manaz
Hi there! I’m a graphic designer, scrapbooker and storyteller. I enjoy creating quality supplies to make scrapbooking and storytelling easy, fun and practical for you.

TN: HOW TO CREATE A FLIP FLAP
