Creating Final Album Spread
The last spread of an album always feels special to me. It’s not just another page — it’s a quiet place where the whole year slowly comes to rest. For my 2025 album, I wanted that final spread to be both reflective and interactive, something that could hold more than what fits on the surface. That’s why this layout is built around a pocket. Pockets create space for stories, letters, and small details that don’t need to be visible all at once. They invite you to pause, pull something out, and really engage with the page — which felt exactly right for closing a year. In this tutorial, I’m sharing how I created this final spread, step by step, using a mix of printed inserts, journaling, and simple design choices that help turn memories into something tangible and meaningful.
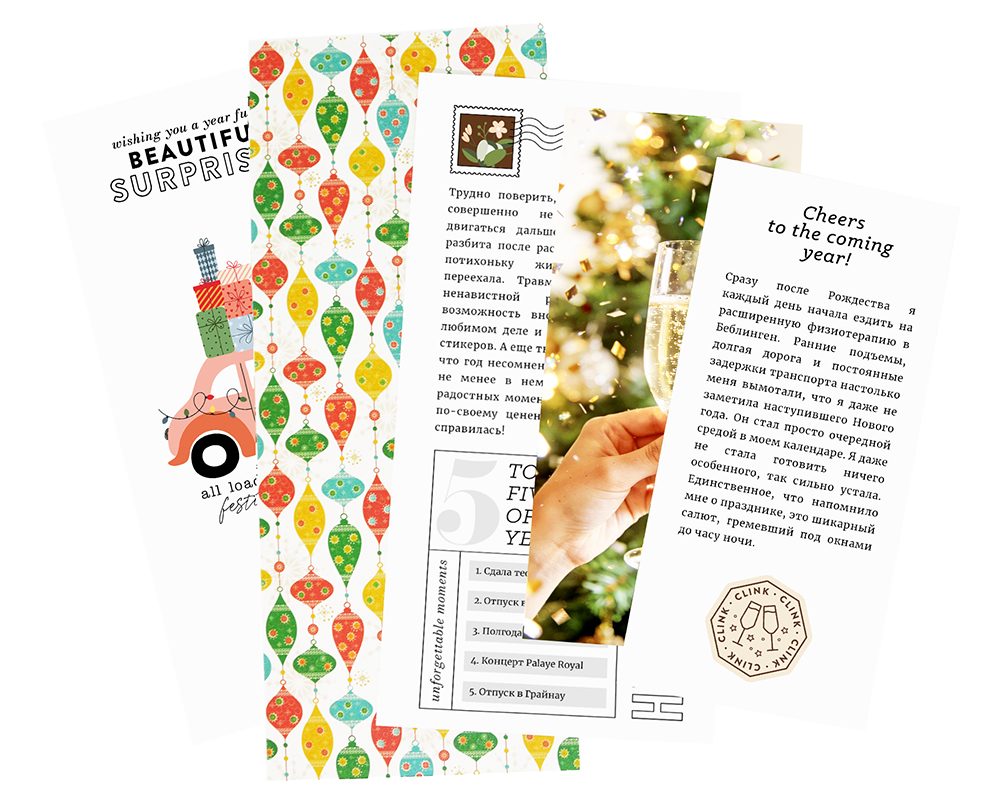
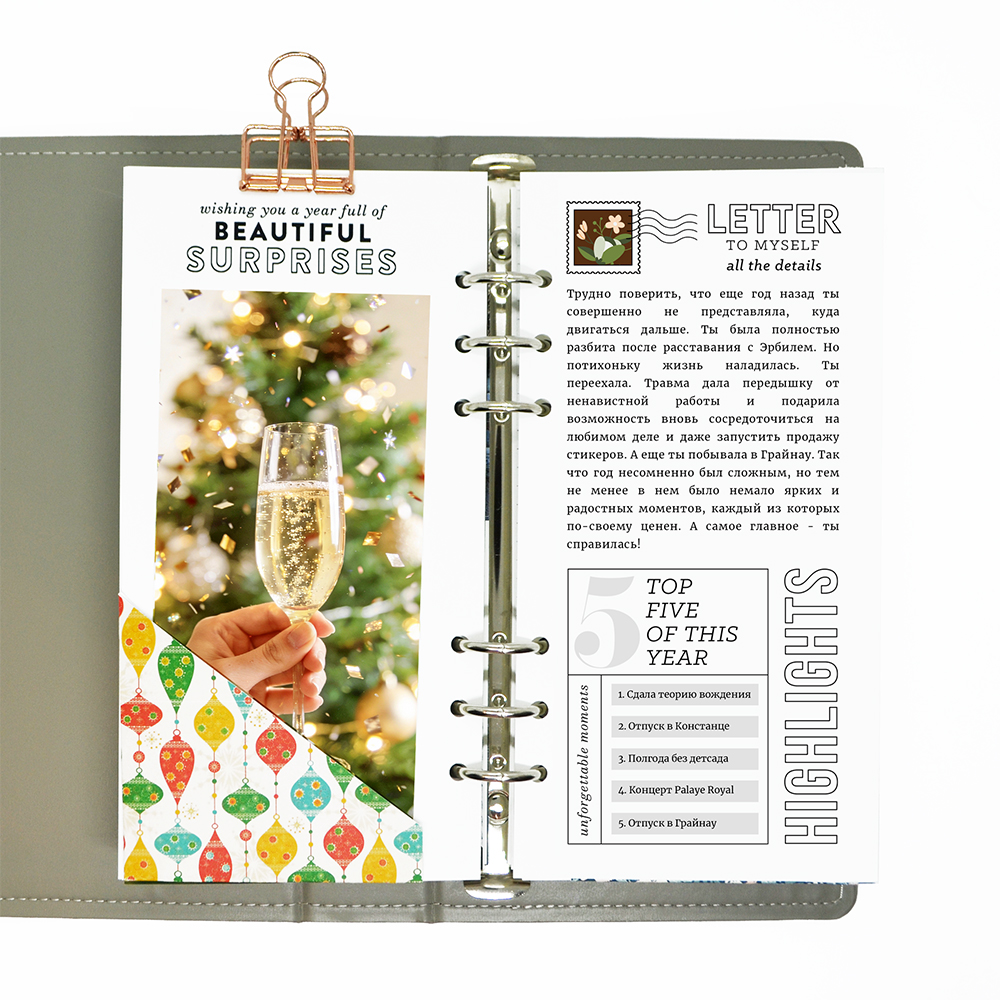
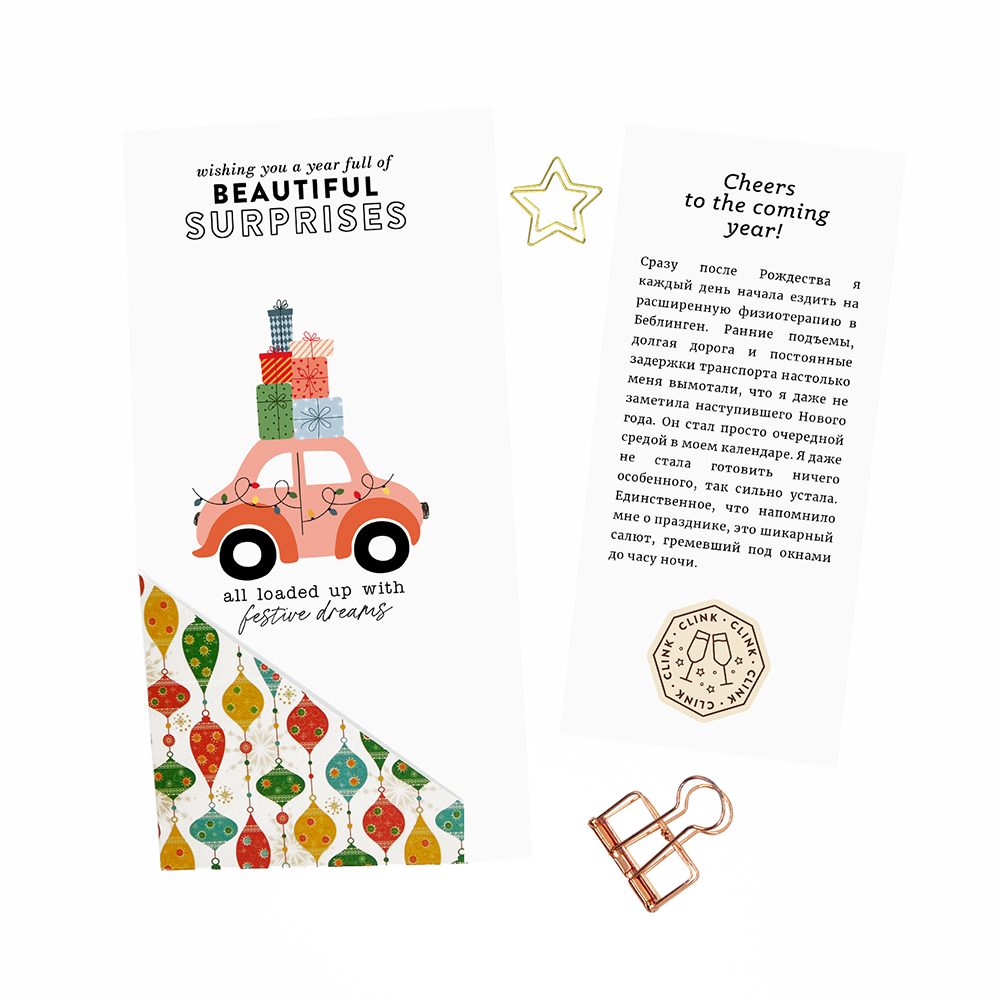
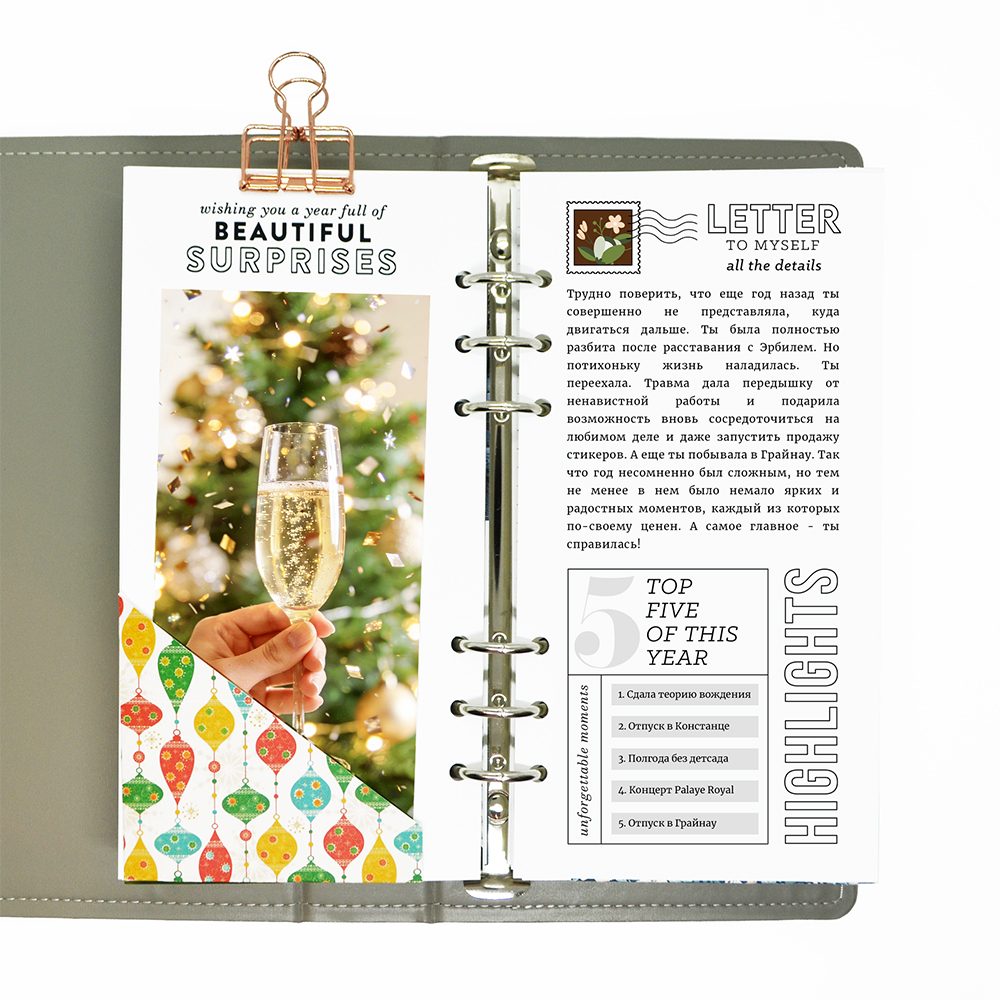
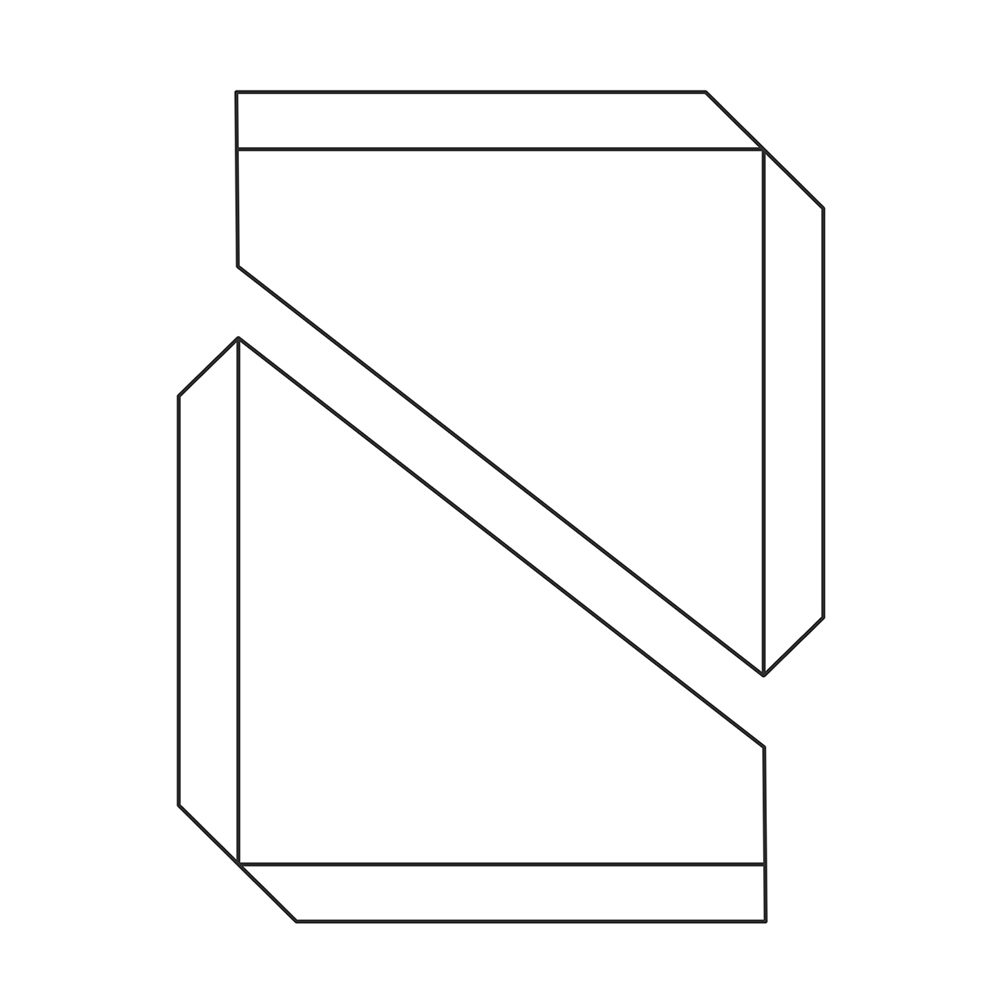
For the left side of the spread, I started with a card from the December Pocket Life kit. I added a stamped message to myself, wishing for more pleasant surprises in the year ahead — a small intention hidden right inside the page. Next, I glued a pocket along the left edge of the spread. I made it from patterned paper using a simple template (you’ll find the download link at the end of the post). Inside this pocket, I placed a double-sided insert that I designed in Photoshop.
First, I created a new 8 × 17 cm document and added a photo of a champagne glass, letting the image fill the entire side. I chose not to add a white border here, because the base page of the spread is already white — a frame would only make the photo look smaller and visually weaker, without adding any real contrast or structure. That said, if you’re working with a colored or patterned base page, I do recommend leaving a thin 0.5 mm white border around the edges of your photo. That subtle frame helps the image breathe visually: it separates the photo from the busy background, makes the colors feel cleaner, and gives the whole insert a more intentional, finished look — almost like a tiny print mounted on paper.
Then I created a second document in the same size, where I typed a short story about how my New Year’s Eve went and added a couple of stamps for texture and rhythm. After printing both pages, I glued them back to back and slipped the finished card into the pocket, turning it into a little interactive moment inside the spread.
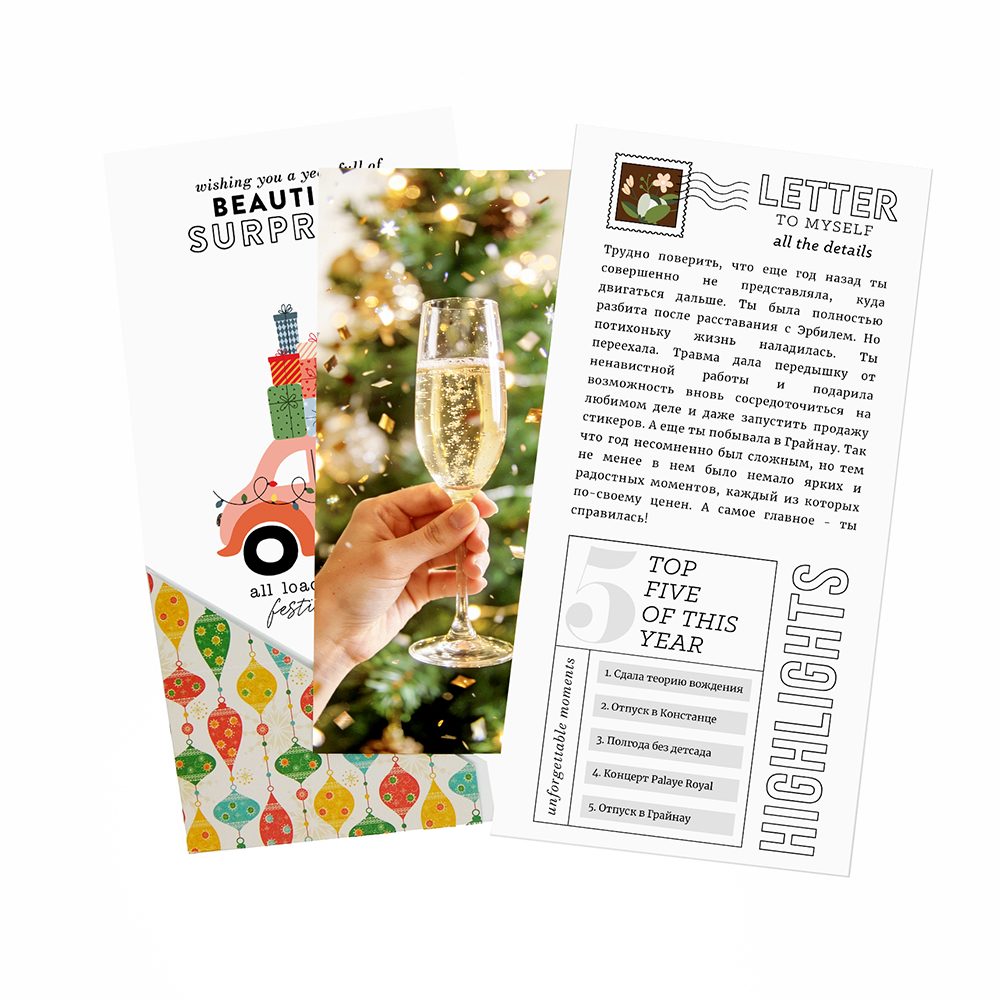
On the right side of the spread, I wrote a letter to myself about this past year. Even though 2025 was incredibly challenging, I still made it through — and that alone felt important to acknowledge. Alongside all the hard moments, there were also many small, meaningful joys, and each of them deserved to be seen and remembered. For the title, I used a card from the Year in Review kit, because it perfectly reflects the purpose of this page: looking back with honesty, not just at what went wrong, but at everything that shaped the year.
At the bottom of the page, I added another card with my five favorite memories from 2025. This kind of summary helps anchor the whole story — when a year feels overwhelming, narrowing it down to a few bright highlights makes it easier to see that it wasn’t only about survival, but also about moments worth holding onto. The final touch was a “highlights” stamp. I love how it subtly reframes the page: instead of feeling like a list of struggles, the spread becomes a curated collection of what truly mattered, giving the entire layout a more positive, reflective tone.
Finishing this spread felt a lot like closing a chapter — not in a rushed way, but gently, with intention. By combining journaling, photos, and hidden elements inside the pocket, I was able to give both the difficult and the beautiful parts of the year a place to exist side by side. This kind of final page isn’t about making the year look perfect. It’s about honoring everything it was, and allowing yourself to see the full picture before turning the page. For me, this spread became a small act of self-recognition — proof that even in a hard year, there were moments worth remembering, and strength worth celebrating. I hope this tutorial inspires you to create a meaningful ending for your own album, whether it’s with a pocket, a letter to yourself, or a simple list of memories that mattered.
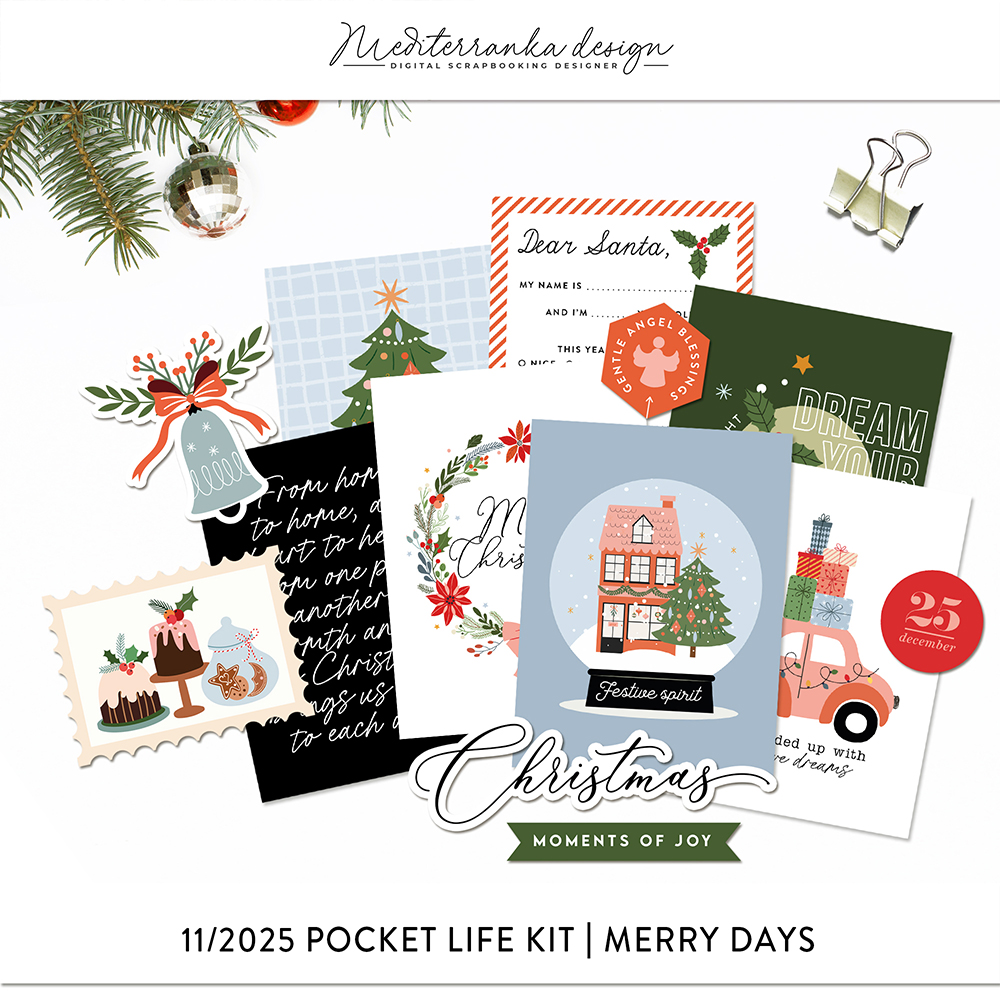
PRODUCTS I USED IN THIS TUTORIAL


Olesya Rudenko Manaz
Hi there! I’m a graphic designer, scrapbooker and storyteller. I enjoy creating quality supplies to make scrapbooking and storytelling easy, fun and practical for you.

BIRTHDAY 2025 PARTY – FINAL!
