HOW TO CREATE A PHOTO MASK
Hello dears.
I love photo masks. Today I will show you, how you can create your own photo mask using my products.
Please note, if you create your photo masks from PU products, you can use them for PU only. If you want to create photo mask to sell, you should use CU products.
For creating a photo mask you can use brushes, overlays, transfers or accents. I will show you, how to create a photo mask using some of my accents.
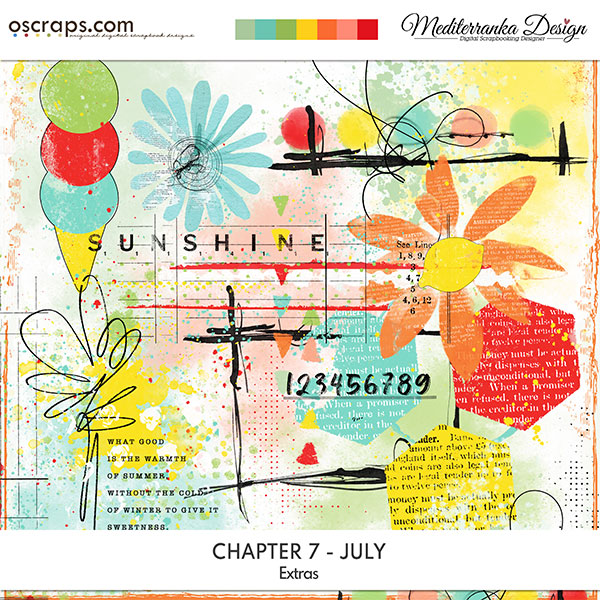
For this tutorial I used Extras from my July collection ''Chapter 7 - July''.
Click on pictures for a large view.
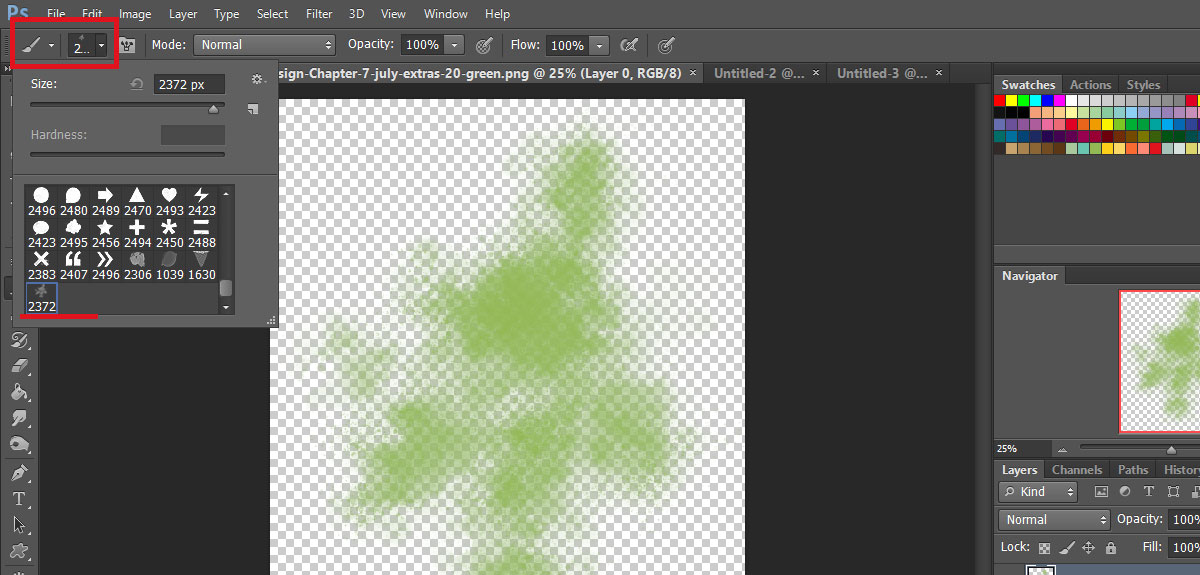
STEP 1. Open the new document. I like to work with size 2500x2500. The background need to be transparent. Resolution had to be 300 pixels/inch for the best quality.
STEP 2. Prepare your brushes. If you use accents or transfers like I do, go to STEP 3.

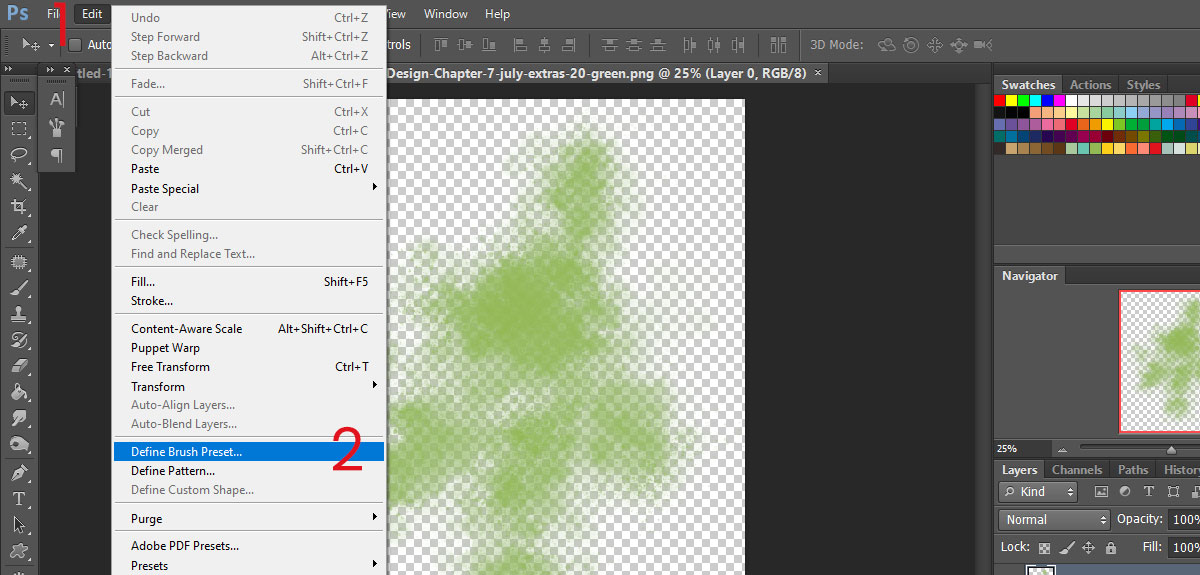
STEP 3. Open accents and transfers, which you want to use in your photo mask. You can create brushes from them (option 1) or simply discolor them and use as .png (option 2).
- Option 1.
1). EDIT - Define brush preset
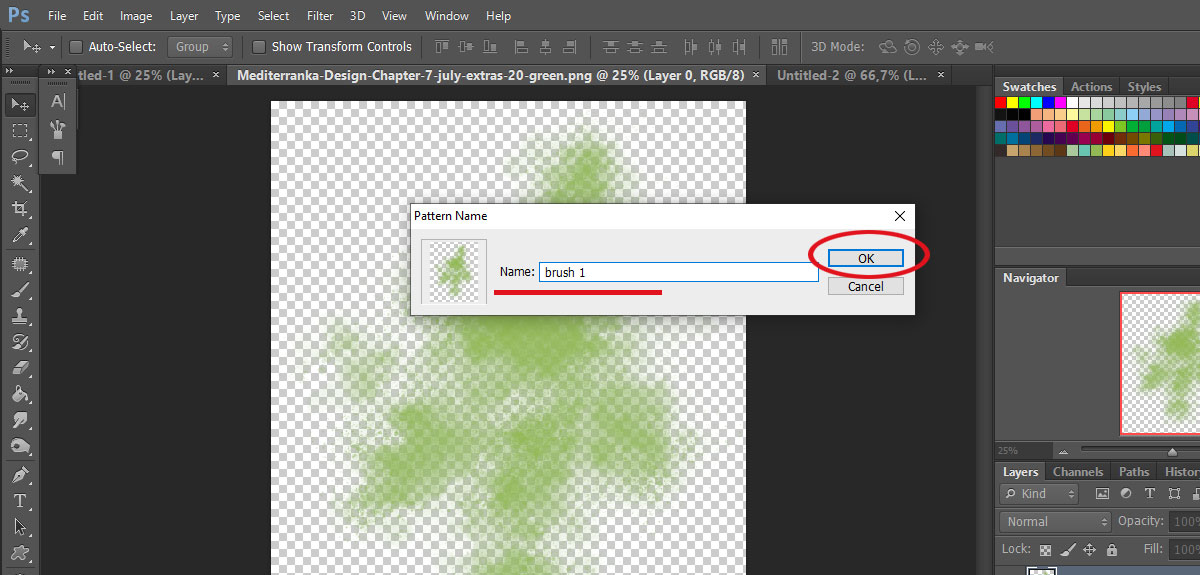
2). Name your brush and press OK.
3). Your brush is ready to use.
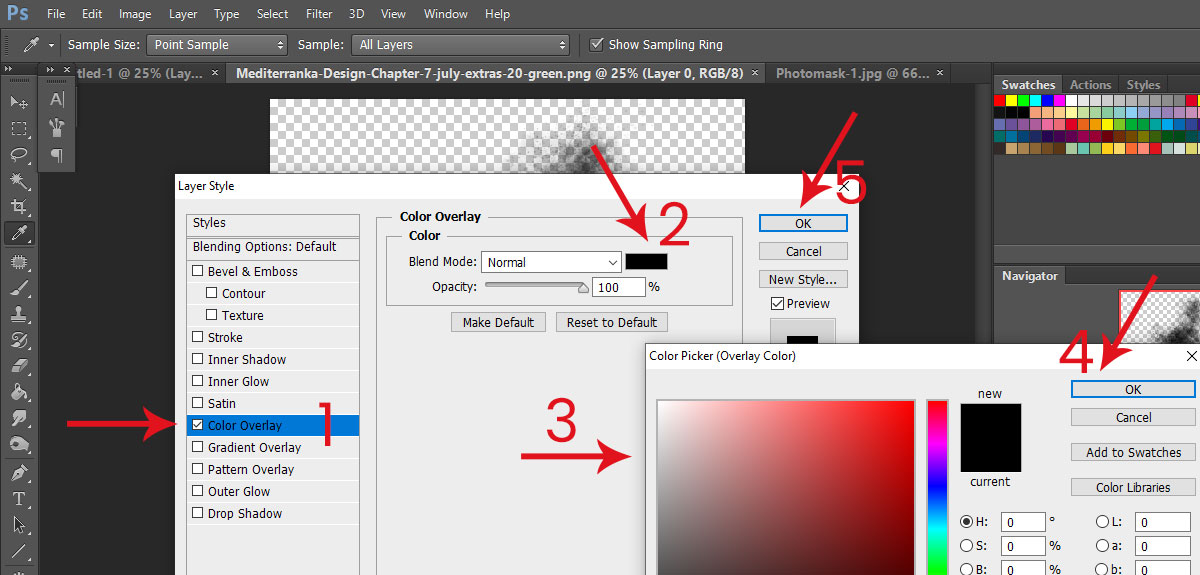
- Option 2.
1). Double click on the layer to go to the layer style panel.
2). Choose COLOR OVERLAY.
3). Change color to the BLACK.
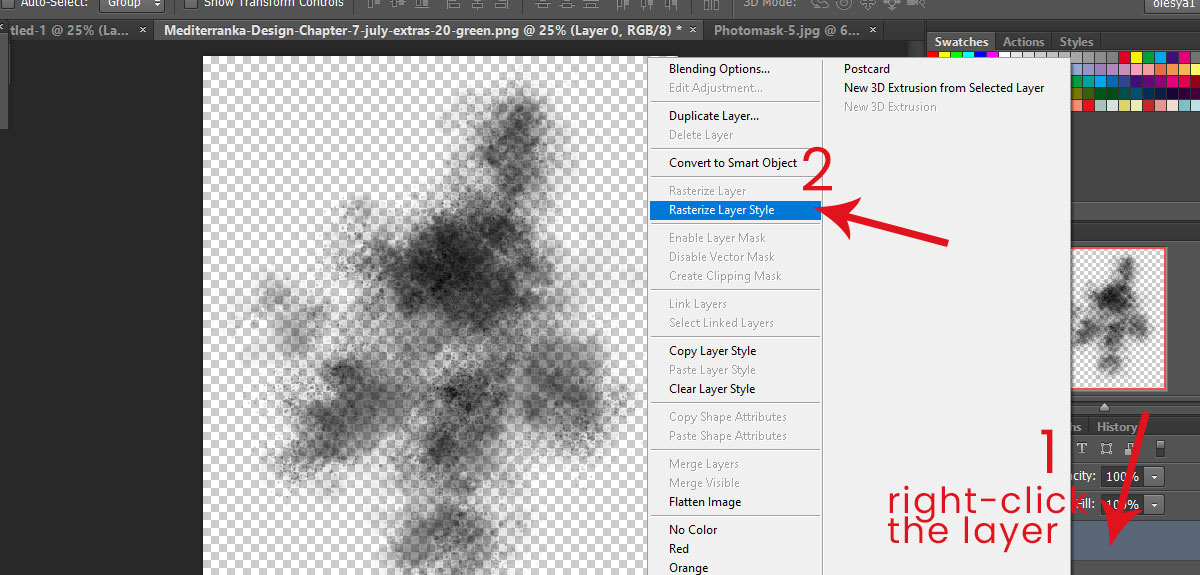
4). Rasterize layer: simply right-click the layer + rasterize layer style.
Repeat STEP 3 for all other accents and transfers you want to use.
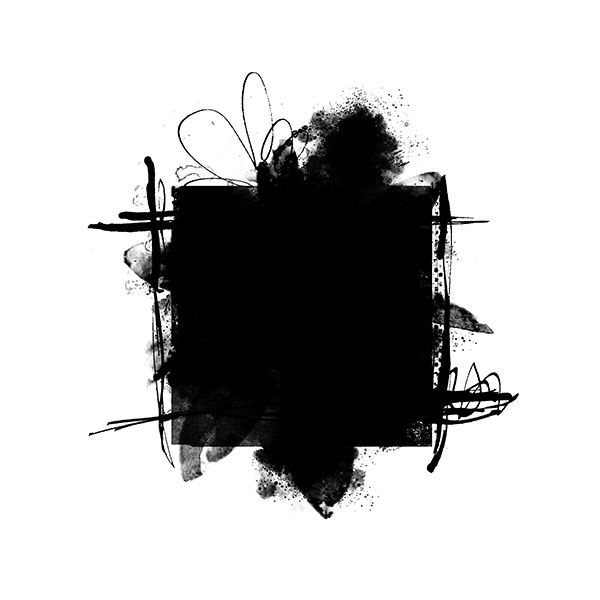
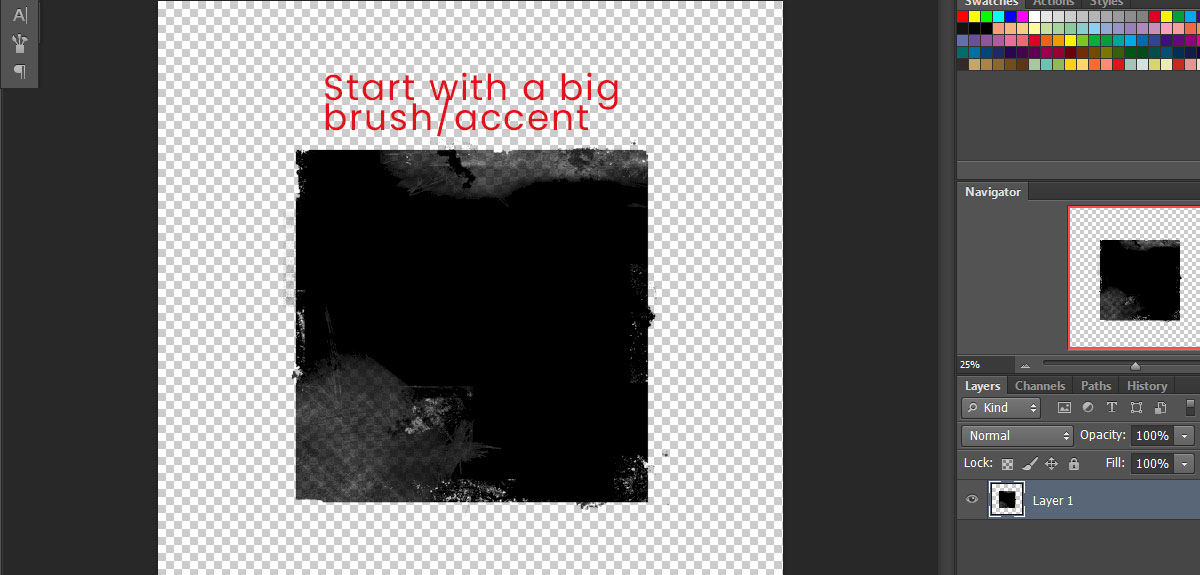
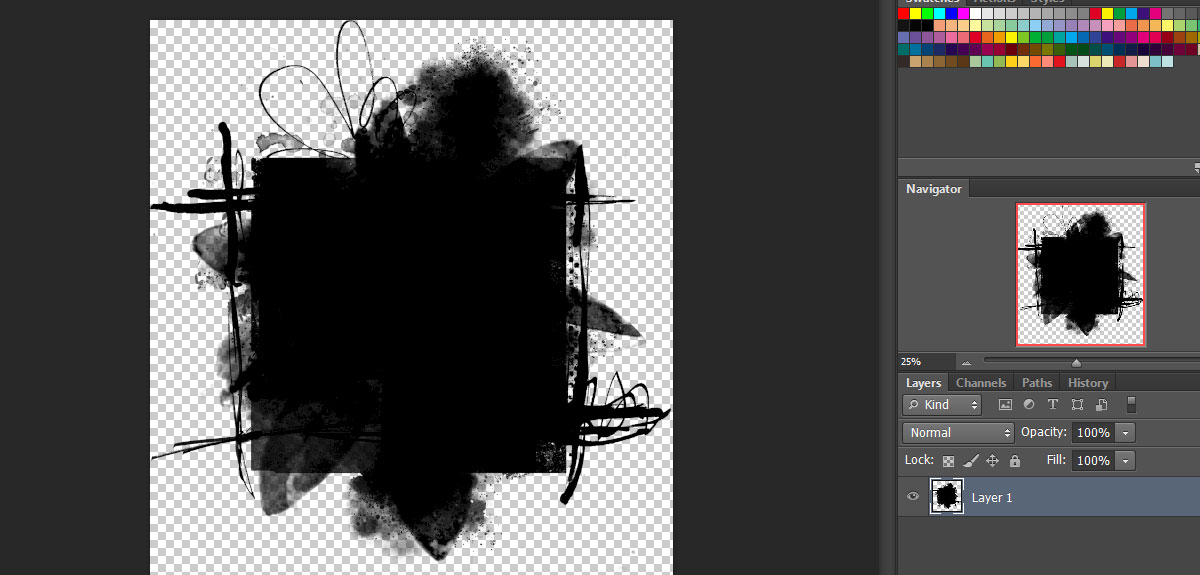
STEP 4. Now go to the document, you opened in STEP 1 and create your photo mask.
1). Start with a big centered brush/accent/transfer. Use black color only.
2). Add other brushes/accents/transfers on your choice. Play with their size and opacity, if you need it. Don't forget, new brush/accent/transfer goes to the new layer.
3). When you are happy with the result, merge all layers (CTRL+SHIFT+E). Save your photo mask as .png and use.
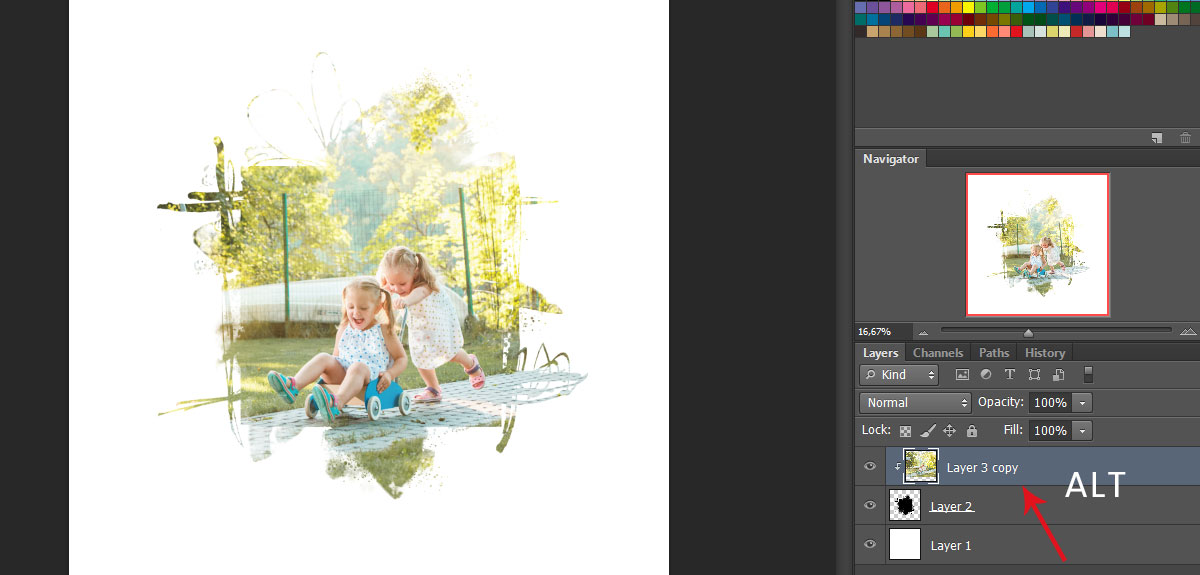
HOW TO USE PHOTO MASK. Hold down the the ALT key and click on the line between the photo and photo mask layers.
I hope this tutorial helps you. If you have any questions, you can ask them in comments.
X.O., your Olesya


2 Comments
Gala Kosinova
Олеся,большое спасибо! Всегда интересно какие есть способы сделать фотомаску !
Mediterranka Design
Пользуйтесь на здоровье!