HOW TO CREATE A TRIPTYCH
Hello dears.
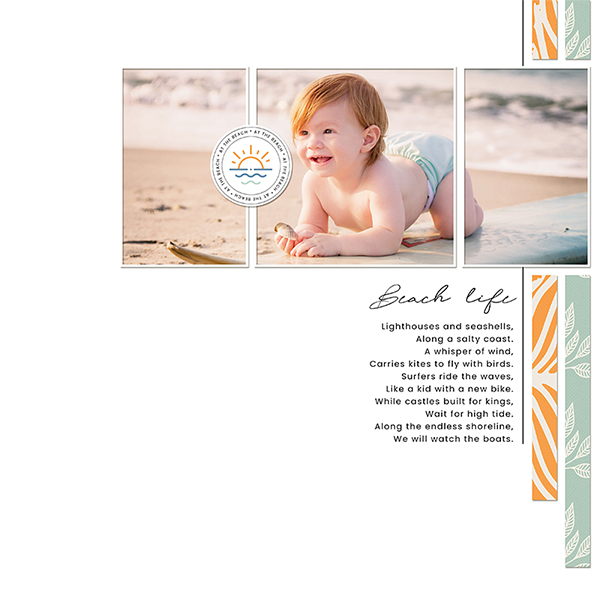
The triptych effect is simplistic, bright, and timeless. You can highlight certain parts of your photo and add an artistic look to your page. I want to help you easily achieve the triptych effect on your layout.
Triptych is a work of art that is divided into three sections, or three carved panels that are hinged together and can be folded shut or displayed open. A photographic triptych is a common style used in modern commercial artwork. The photographs are usually arranged with a plain border between them. The work may consist of separate images that are variants on a theme, or may be one larger image split into three.
In this tutorial we will learn to create the triptych from one large picture.
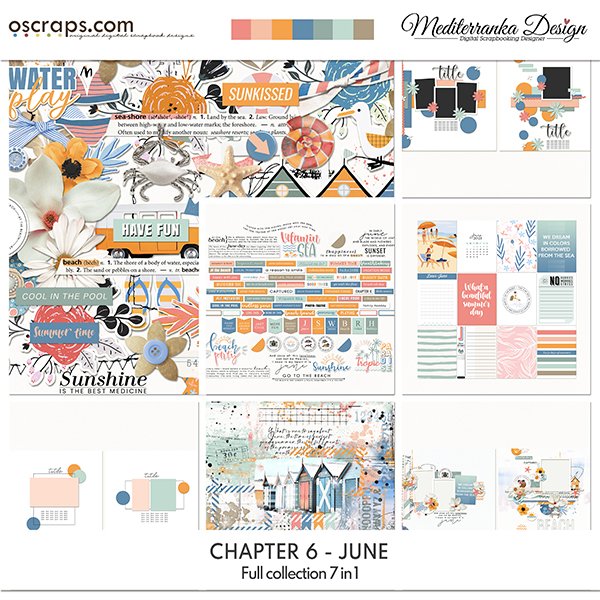
For this tutorial I used CS templates ''Chapter 4 - April'' and collection ''Chapter 6 - June''.
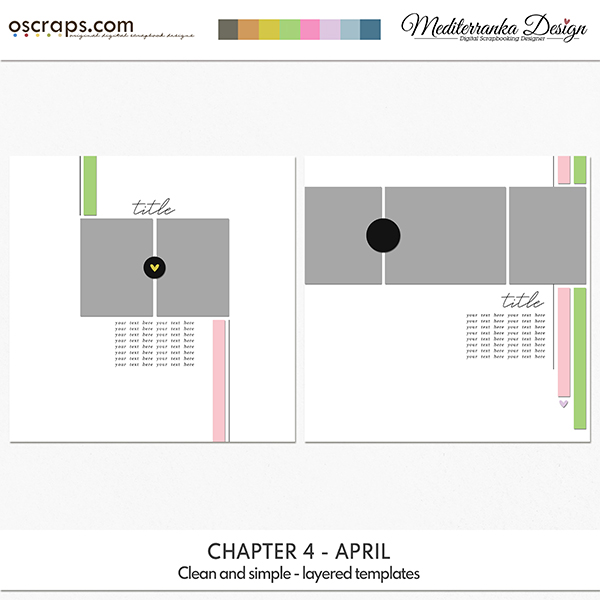
STEP 1. Open new document. I will use one of my CS templates from April 2021 Collection, but you can easily create your own triptych template using Rectangular marquee tool (M). Call the layers «photo 1», «photo 2», «photo 3».
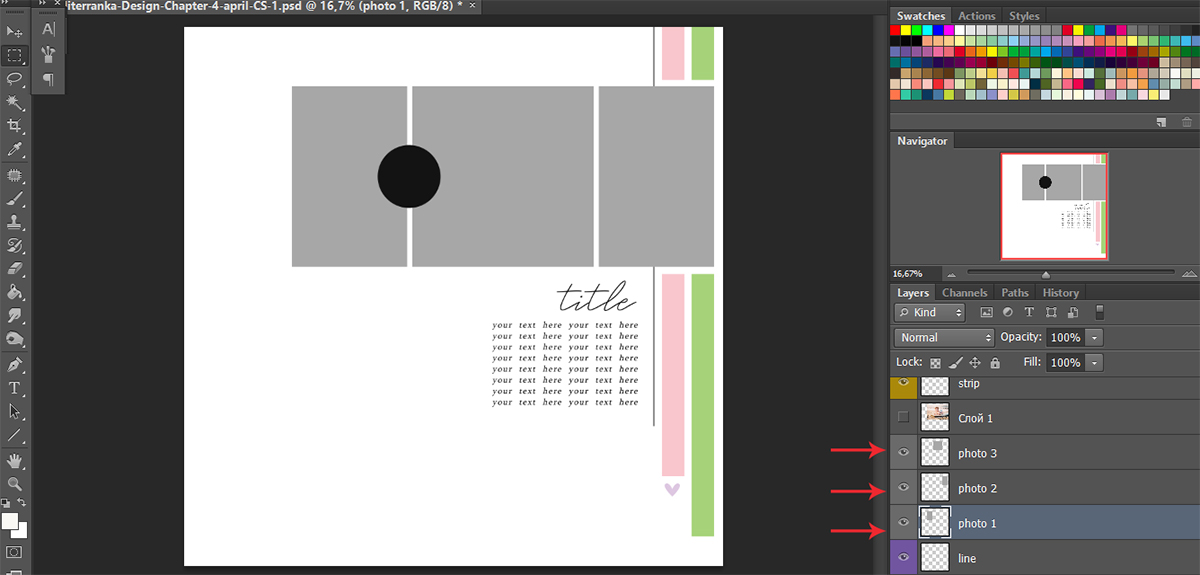
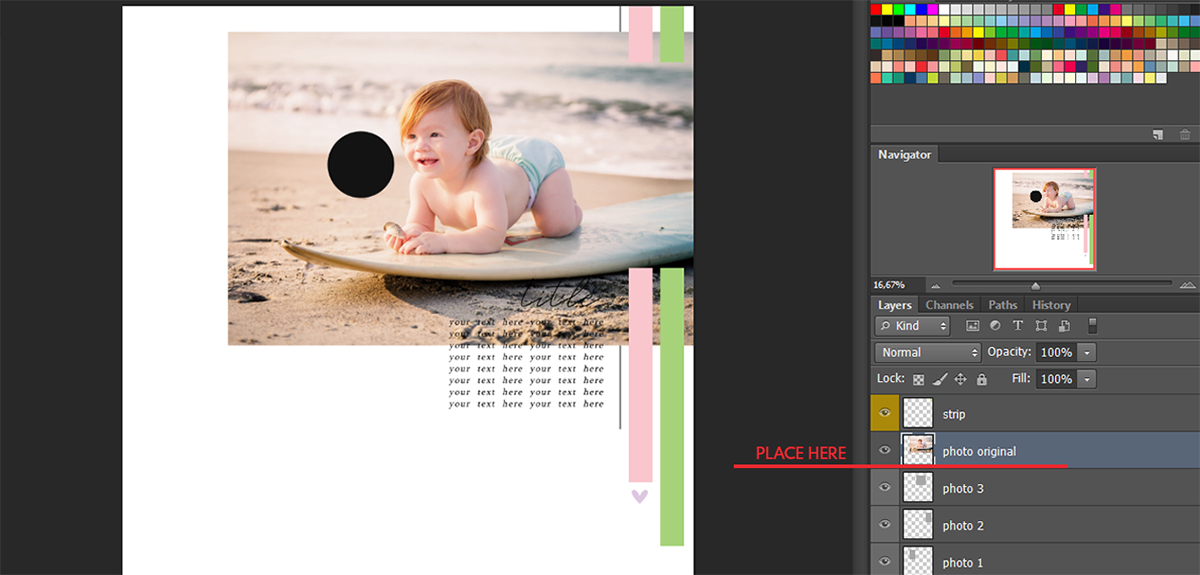
STEP 2. Choose the photo and add it to your document. Call this layer «photo original». Focus on your photo. Which part of it is most important for you? Which photo layer you will use for this important part? For example, on my photo I focus on the baby and I want to put it to the center of triptych («photo 3» on my page). So at first I will play with this two layers - «photo original» and «photo 3». That’s why I place them over the other «photo» layers.
STEP 3. Click ALT + the space between the two layers «photo original» and «photo 3» (when the clipping mask cursor appears). You will get the clipping mask.
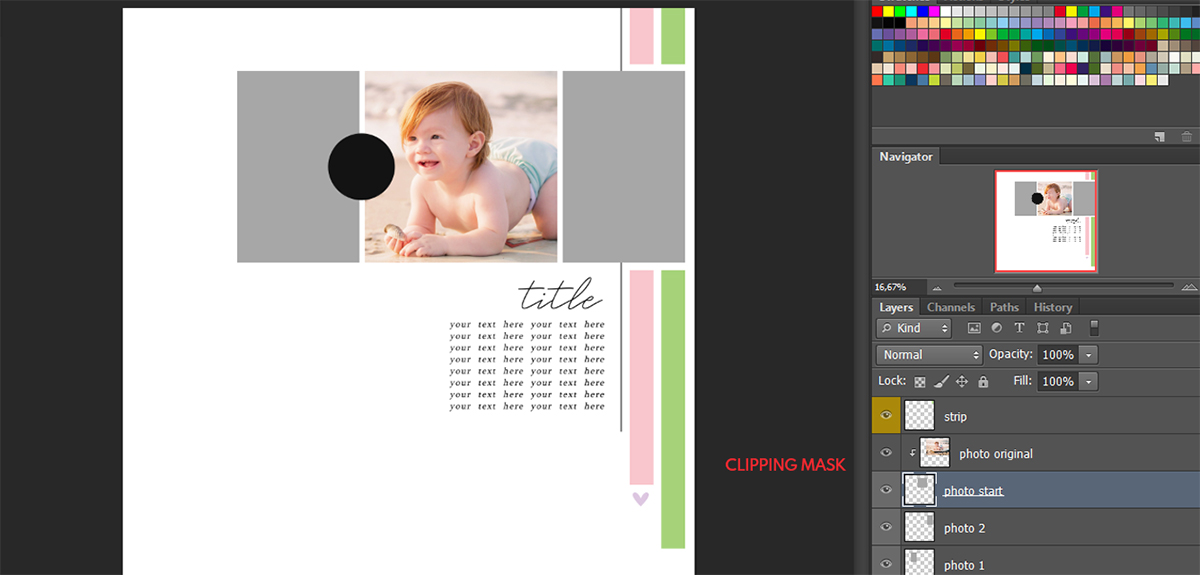
STEP 4. Play with position of the photo inside this clipping mask. If it’s necessary, move it a little bit right, left, down or upstairs until you are satisfied.
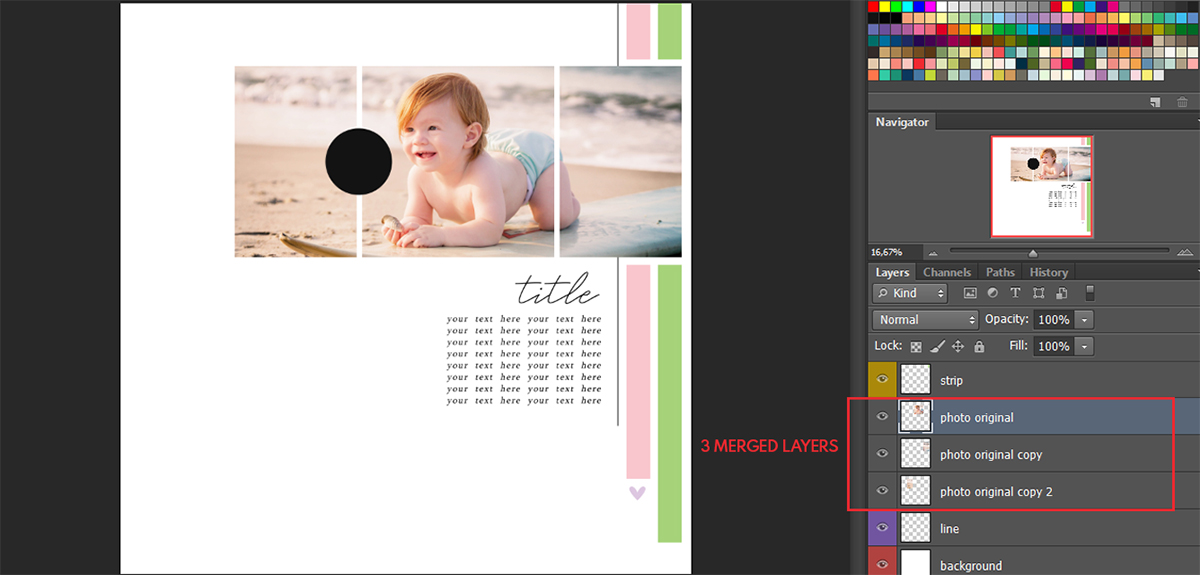
STEP 5. Now be sure that the active layer is «photo original» layer. Click CTRL + J, do ittwo times. You will get two copy of «photo original» layer.
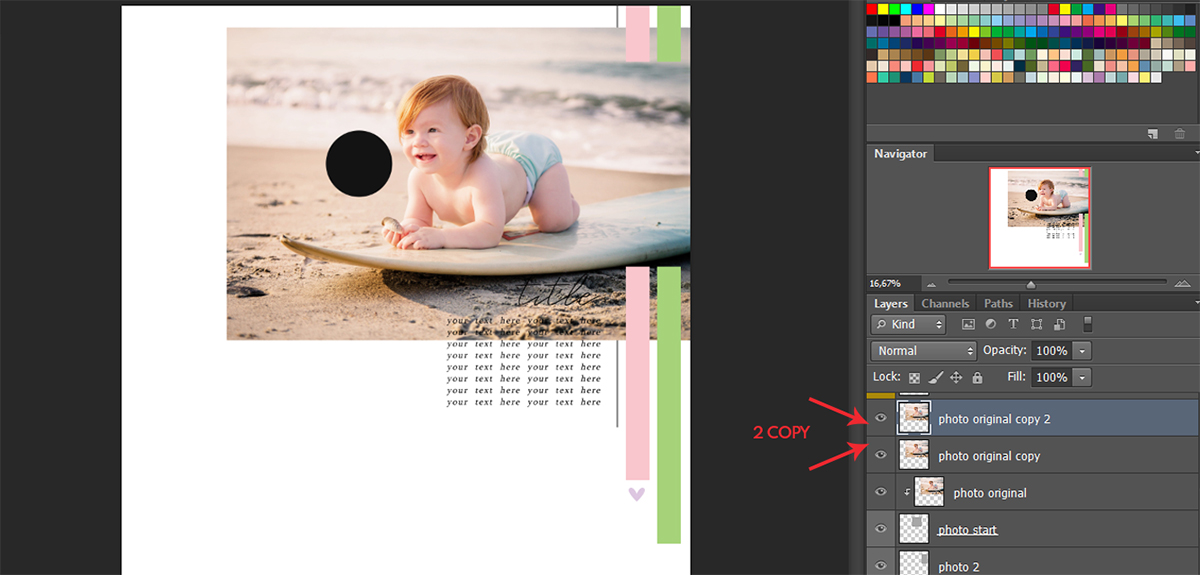
STEP 6. Place «photo original copy» layer over the «photo 2» layer. Create clipping mask clicking ALT + the space between these two layers.
STEP 7. Place «photo original copy 2» layer over the «photo 1» layer. Create clipping mask clicking ALT + the space between these two layers.
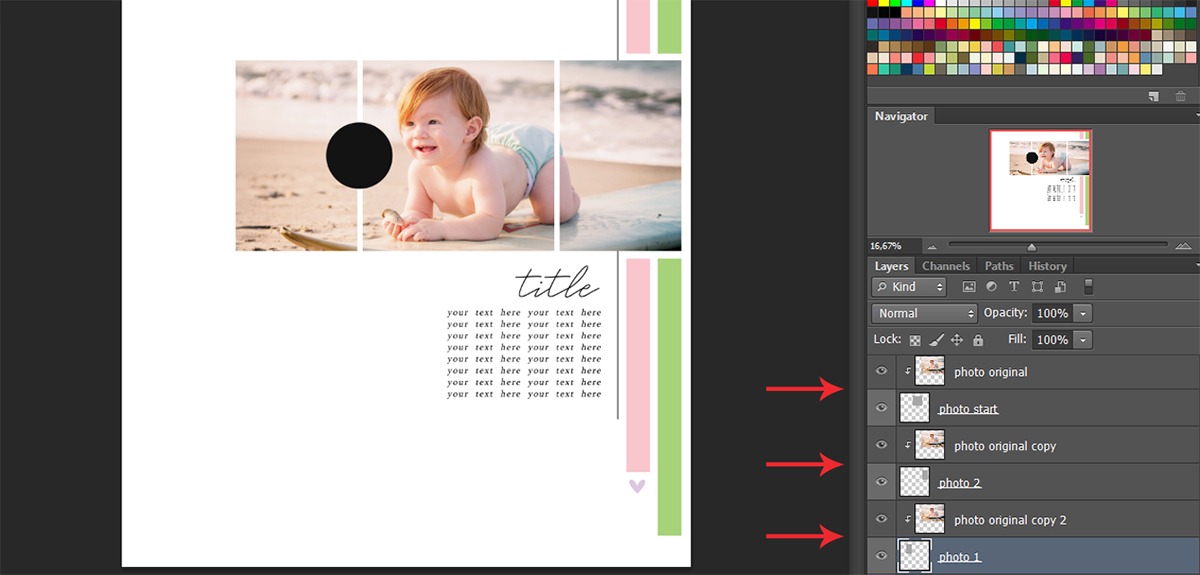
Tipp: if you want to change position of photos, you need to do it at the same time. Click CTRL + «photo original copy 2» + «photo original copy» + «photo original» and than move them. Otherwise you will disturb the proportions.
STEP 8. To merge layers select «photo original copy 2» + «photo 1» layers and click CTRL + E. Repeat with other «photo» layers.
Done! Your triptych is ready! Now you can finish your layout adding background paper, decorative elements and wordarts on your choice.
I hope today you learned something new and useful.
X.O., your Olesya


One Comment
Marijke
Thank you for the tutorial …